Easy Garlic Butter Shrimp Scampi in 20 Minutes

Butter hits a hot pan and turns nutty right as the garlic goes in, and that smell alone tells you dinner is close. Shrimp scampi lives or dies on timing, and once you get the rhythm down, this becomes one of those meals you can cook with your eyes half closed after a long day.
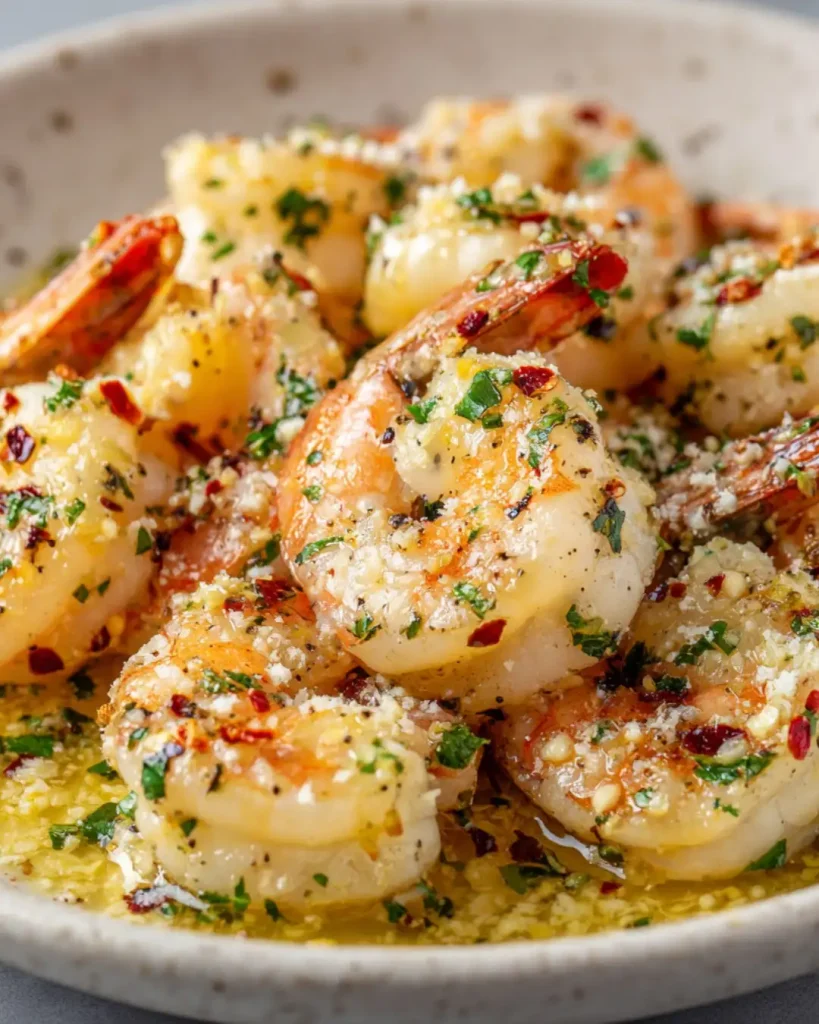
This version leans on a splash of lemon and a spoon of pasta water instead of wine, so the sauce stays bright without needing a bottle you might not have open. The whole thing, from cold shrimp to plated pasta, takes about 20 minutes, and most of that is boiling water. Shrimp scampi doesn’t need a long ingredient list or a fancy technique, just heat control and good timing.
Why You’ll Love This Recipe
- Ready before the pasta water even reboils. Active cooking time for the shrimp itself is under 6 minutes, so this fits a weeknight without planning ahead.
- One pan for the sauce. Everything from garlic to lemon juice happens in the same skillet the shrimp cooked in, which means fewer dishes and more flavor carried through.
- No wine required. Chicken broth and fresh lemon juice build the same bright, savory base without needing an open bottle in the fridge.
- Forgiving for beginners. Shrimp gives you a clear visual cue when it’s done, curled and opaque, so there’s little guesswork once you know what to look for.
- Restaurant flavor for a fraction of the price. A pound of shrimp and a few pantry staples get you close to what you’d pay double for at an Italian spot.
Ingredient Selection Tips
Look for shrimp labeled “wild caught” when you can, since they tend to hold their snap better than farmed shrimp once cooked. Size matters here too: 16/20 count shrimp (meaning 16 to 20 shrimp per pound) gives you a meaty bite without overcooking before the outside browns. If you’re buying frozen, choose bags marked “IQF” (individually quick frozen) so you can thaw only what you need.
Recipe Snapshot
| Servings | Difficulty | Course | Cuisine | Prep Time | Cook Time | Total Time | Calories |
| 4 | Easy | Main Course | Italian American | 10 minutes | 10 minutes | 20 minutes | 420 kcal |
Ingredients
For the shrimp and sauce:
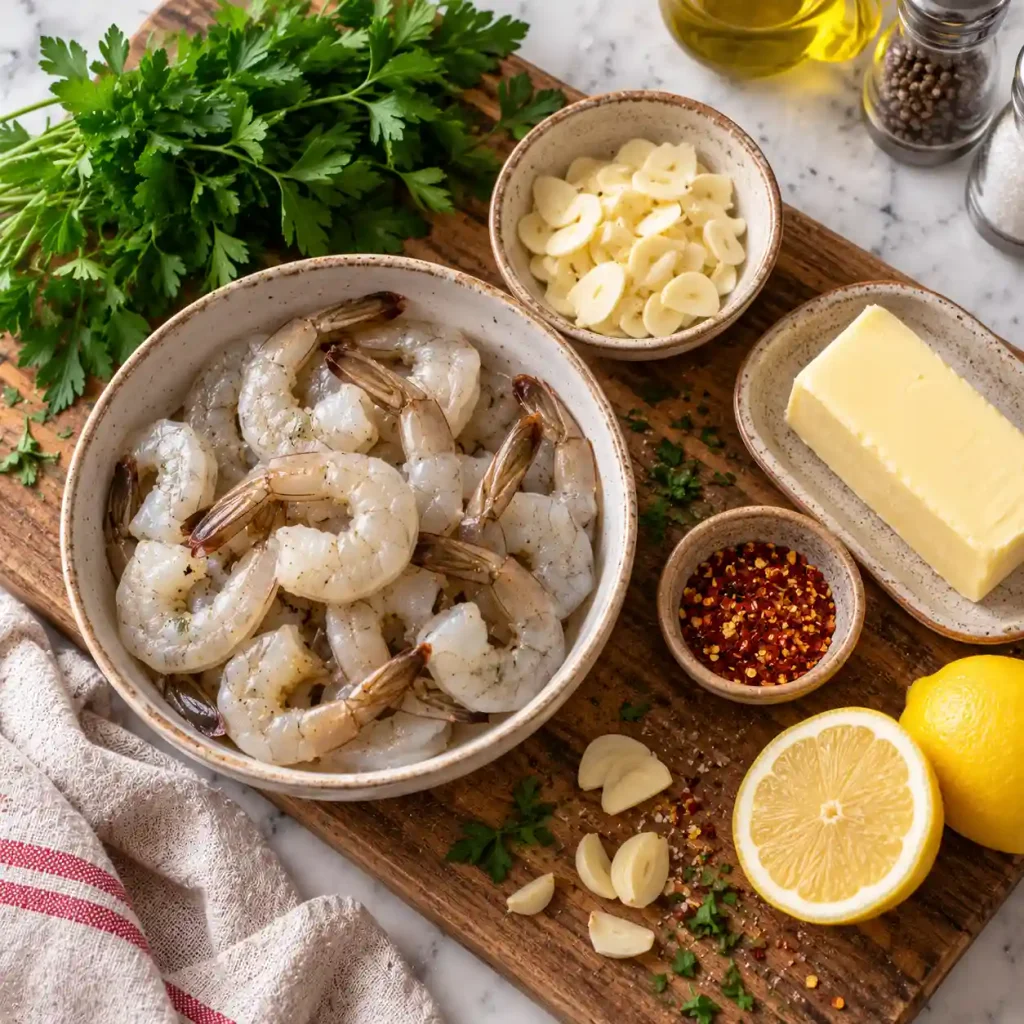
- 1 pound large shrimp (16/20 count), peeled and deveined, tails on or off, fresh or thawed shrimp cook more evenly than shrimp still holding ice crystals
- 5 tablespoons unsalted butter, divided, using unsalted lets you control the final saltiness after the broth reduces
- 4 large garlic cloves, thinly sliced, sliced garlic browns more evenly than minced and won’t burn as quickly
- 1/4 teaspoon red pepper flakes, optional
- 1/2 cup low sodium chicken broth, stands in for wine and keeps the sauce savory without alcohol
- 2 tablespoons fresh lemon juice, plus zest of 1 lemon
- 2 tablespoons olive oil
- Salt and black pepper, to taste
- 1/4 cup chopped fresh parsley
- 8 ounces linguine or spaghetti, a long noodle holds the buttery sauce better than short pasta shapes
Substitution note: if shrimp isn’t available, this same method works well with boneless chicken thigh cut into strips, though cook time will run closer to 8 minutes.
Read Also: Chicken Pot Pie
Recipe Timing
The 10 minute prep window covers peeling shrimp, slicing garlic, and getting pasta water on to boil, all of which can happen at the same time if you work in that order. Cook time is short because shrimp only needs 60 to 90 seconds per side, and the sauce comes together in the same pan right after. Nothing here needs resting time, so what you see in the pan is what lands on the plate.
Allergen & Dietary Disclosure
This recipe contains shellfish, dairy (butter), and gluten (pasta). For a shellfish free version, swap the shrimp for chicken thigh strips as noted above. For dairy free, use olive oil in place of the butter, though the sauce will taste lighter and less rich. For gluten free, swap in a rice or corn based pasta and check your broth label, since some brands add gluten as a thickener. If anyone eating has a severe shellfish allergy, treat this as a recipe to skip entirely rather than adjust, since trace exposure risk isn’t worth it.
Equipment Needed
- Large skillet, 12 inch: gives the shrimp room to sit in a single layer instead of steaming in a crowded pan
- Fine mesh strainer or colander: for draining pasta while saving a cup of the starchy water
- Microplane or fine grater: makes quick work of the lemon zest without hitting the bitter white pith
- Tongs: far easier than a spoon for flipping shrimp one by one without breaking them apart
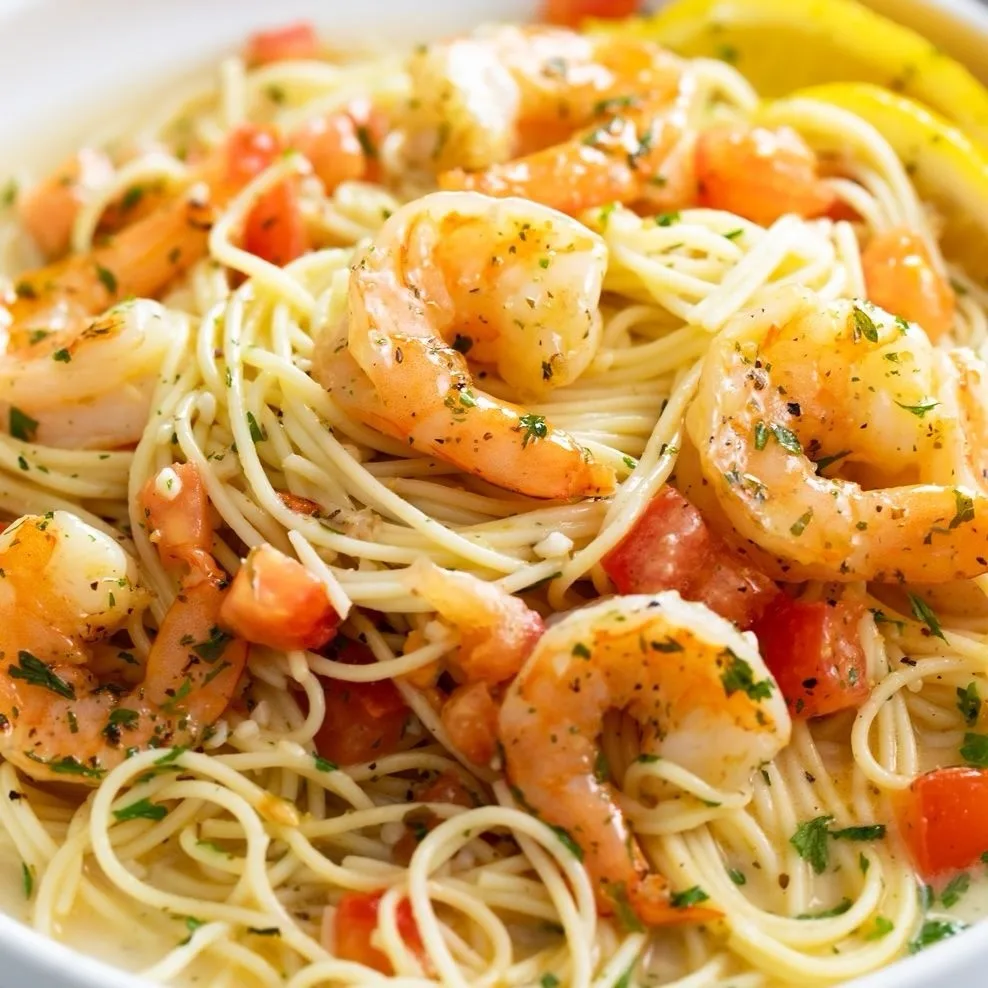
Preparation
Pat the shrimp completely dry with paper towels before doing anything else, since wet shrimp will steam instead of sear. Slice the garlic thin and set it next to the stove along with the measured broth, lemon juice, and zest, so nothing is still being prepped once the pan heats up. Get a large pot of salted water going for the pasta at the same time you start heating the skillet.
Step-by-Step Instructions
Step 1: Get the pasta moving Drop the linguine into boiling salted water and cook it two minutes short of the package instructions, since it will finish cooking in the sauce later. Scoop out a full cup of the starchy pasta water before draining, then set the pasta aside.
Step 2: Heat the pan Warm the olive oil and 2 tablespoons of the butter in the skillet over medium high heat until the butter stops foaming and turns slightly golden at the edges. Chef’s Note: letting the butter go just past foaming (but well before it browns dark) adds a nutty layer under the garlic without any bitterness.
Step 3: Sear the shrimp Lay the shrimp in a single layer, working in two batches if your pan is on the smaller side, and let them sit untouched for 90 seconds. Flip each one and cook the second side for another 60 seconds, until they’ve curled into a loose C shape and turned opaque with light pink edges. Food safety note: shrimp is fully cooked once it reaches an internal temperature of 120°F and the flesh is no longer translucent in the center. Pull the shrimp onto a plate and set aside.
Step 4: Build the garlic base Drop the sliced garlic and red pepper flakes into the same pan, off the direct high heat for a moment so the residual warmth cooks the garlic gently. Stir constantly for about 45 seconds, just until the garlic turns fragrant and pale gold, never brown.
Chef’s Note: garlic goes from perfect to bitter in about 15 seconds once it starts browning, so pull the pan off heat the second you see color starting.
Step 5: Deglaze and reduce Pour in the chicken broth and lemon juice, scraping up any browned bits stuck to the pan bottom with a wooden spoon. Let this bubble for about 2 minutes until it reduces by roughly a third and smells noticeably more concentrated.
Step 6: Finish the sauce Lower the heat and swirl in the remaining 3 tablespoons of butter a little at a time, letting each piece melt into the sauce before adding the next. This slow addition is what keeps the sauce silky instead of greasy or split.
Chef’s Note: cold butter added gradually off high heat is the same technique that makes a proper pan sauce, and it works exactly the same way here.
Step 7: Bring it together Add the drained pasta directly into the skillet along with a splash of the reserved pasta water, tossing until every strand is coated and glossy. Add more pasta water a tablespoon at a time if the sauce looks tight or the pasta seems dry.
Step 8: Return the shrimp Nestle the cooked shrimp back into the pasta along with the lemon zest and parsley, tossing gently just until everything is warmed through, about 30 seconds. Taste and adjust salt and pepper before serving right away.
[AI IMAGE PROMPT: Close up 45 degree angle of shrimp searing in a stainless steel skillet, golden brown edges, sizzling butter with visible steam, garlic slices scattered nearby, warm kitchen lighting, dark stovetop surface, shallow depth of field.] [IMAGE PLACEHOLDER — alt-text: “Shrimp searing in butter in a stainless steel skillet” | filename: “shrimp-scampi-searing-process.jpg” | orientation: horizontal]
Expert Tips & Tricks
- Dry shrimp sear better. This is the mistake I made the most when I first started cooking scampi. Skipping the paper towel step left the shrimp gray and rubbery instead of golden, because the moisture steamed them before they could brown.
- Pull shrimp early rather than late. Shrimp keeps cooking a little from residual heat even off the stove, so slightly underdone in the pan means perfectly done by the time it’s plated.
- Save more pasta water than you think you need. A full cup gives you room to loosen the sauce twice if it tightens up while sitting.
- Prep everything before the pan gets hot. Scampi moves fast once it starts, and there’s no time to slice garlic once the shrimp is in the pan.
- Make the sauce base ahead. Steps 4 and 5 can be done up to a day ahead and reheated gently, which cuts the actual dinner time down to about 8 minutes.
- Store leftover sauce separately from pasta when possible. Pasta keeps absorbing the sauce as it sits, and reheated shrimp scampi tastes noticeably better when the noodles haven’t gone fully limp overnight.
Read Also: Easy Cake Pops Recipe
Common Mistakes & Troubleshooting
| Problem | Why It Happens | How to Fix or Prevent It |
| Shrimp turns rubbery | Cooked too long or at too low a temperature for too long | Sear over medium high heat for no more than 90 seconds per side, then pull immediately |
| Sauce looks greasy or split | Butter added too fast or over heat that’s still too high | Lower the heat before adding butter and add it in small pieces, swirling as it melts |
| Garlic tastes bitter | Left in the pan too long or the pan was too hot | Pull the pan off heat as soon as the garlic turns fragrant, before any browning starts |
| Pasta and sauce won’t bind | No starchy water was reserved before draining | Always scoop out at least a cup of pasta water before draining, this is what I forgot the first few times I made this dish |
| Dish tastes flat | Sauce wasn’t seasoned again after adding broth and butter | Taste right before serving and adjust salt, pepper, and a squeeze of extra lemon as needed |
Storage, Reheating, Freezing, Make-Ahead
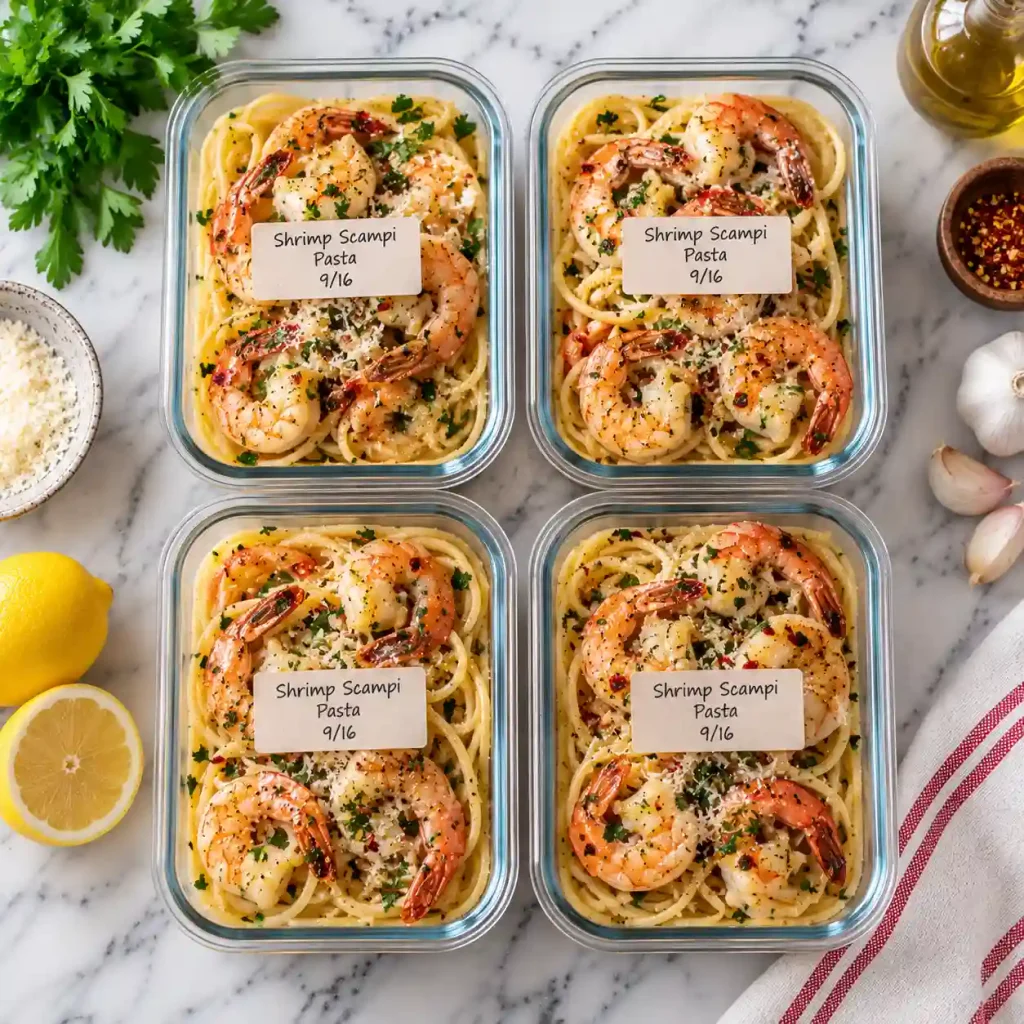
Refrigerator: Store cooled leftovers in an airtight container for up to 2 days. Shrimp continues to lose texture the longer it sits, so this dish is really best within 24 hours.
Freezer: Freezing isn’t recommended for the finished dish, since both the pasta and the shrimp turn watery and separate once thawed. If you want to freeze ahead, freeze the raw shrimp only and cook fresh.
Reheating: Warm gently in a skillet over low heat with a splash of water or broth, stirring often, until just heated through. Avoid the microwave on high power, since it tends to turn the shrimp tough within seconds.
Make-Ahead: The garlic butter sauce base (through step 5) holds well in the fridge for up to 2 days. Reheat it gently in the skillet, then cook the shrimp fresh and combine everything right before serving.
My own habit is prepping this sauce on a Sunday so a weeknight version only takes about 8 minutes start to finish.
Variations & Substitutions
- Spicy version: Double the red pepper flakes and add a pinch of smoked paprika to the sauce for extra heat and depth.
- Kid-friendly version: Skip the red pepper flakes entirely and add an extra tablespoon of butter for a milder, richer flavor kids tend to prefer.
- Vegetarian version: Replace shrimp with thick sliced king oyster mushrooms, seared the same way, which pick up the garlic butter flavor surprisingly well.
- Gluten free version: Use a chickpea or brown rice pasta and confirm the broth is labeled gluten free.
- Zucchini noodle version: Swap the pasta for spiralized zucchini added raw at the very end, tossed just until slightly softened by the residual heat.
- Extra vegetable version: Stir in a handful of halved cherry tomatoes or baby spinach during step 7 for more color and nutrients.
Serving Suggestions
- Serve with a simple side salad dressed in lemon vinaigrette to echo the brightness in the sauce.
- Warm, crusty bread on the side is almost mandatory for soaking up any leftover garlic butter sauce.
- A crisp cucumber salad balances the richness of the butter well.
- Pair with grilled asparagus or roasted broccoli for an easy vegetable side.
- For a full Italian style spread, this works well next to [INTERNAL LINK: garlic bread recipe].
- Finish the table with [INTERNAL LINK: a light lemon dessert recipe] to keep the citrus theme going.
Nutrition Information
Serving size: approximately 1.5 cups | Servings per recipe: 4
| Nutrient | Amount |
| Calories | 420 kcal |
| Protein | 26 g |
| Carbohydrates | 38 g |
| Fiber | 2 g |
| Sugar | 2 g |
| Fat | 18 g |
| Saturated Fat | 9 g |
| Cholesterol | 195 mg |
| Sodium | 480 mg |
Notably high in selenium and vitamin B12 thanks to the shrimp, and a decent source of vitamin C from the fresh lemon. These numbers are estimates only, and actual values will shift depending on the specific brands used and how ingredients are measured.
Why This Recipe Works
Shrimp cooks through fast because it’s a thin, lean protein with very little connective tissue to break down, which is exactly why overcooking it by even a minute turns it tough. Searing it hot and fast, then pulling it out of the pan before building the sauce, protects that texture while still leaving behind the browned bits in the pan that carry real flavor.
The broth and lemon combination works the same way wine typically does in a scampi sauce: acid and liquid both lift the browned bits off the pan (a process called deglazing) and build a base the butter can emulsify into. Adding cold butter gradually, rather than dumping it all in at once, keeps the fat suspended in tiny droplets throughout the sauce instead of pooling on top, which is what gives the finished dish its glossy, cohesive look rather than an oily one.
Read Also: Chicken Salad Recipe
Frequently Asked Questions
FAQ Source Note: The following questions reflect common patterns typically seen in shrimp scampi searches and related cooking forums, based on general recurring question types rather than any specific live search results.
Can I make shrimp scampi ahead of time?
The sauce base holds up well made a day ahead and reheated gently in a skillet. Shrimp itself is best cooked fresh right before serving, since reheated shrimp tends to lose its snap and turn a bit chewy.
What’s the most common mistake people make with shrimp scampi?
Overcrowding the pan is the biggest one. When too much shrimp goes in at once, it steams instead of searing, which leaves it pale and rubbery instead of golden with those slightly browned edges that give the dish its flavor.
Can I use frozen shrimp for this recipe?
Yes, as long as it’s fully thawed and patted dry before cooking. Thaw it overnight in the fridge, or under cold running water for a faster option, then dry it thoroughly so it sears instead of steams.
How do I know when shrimp is fully cooked?
Fully cooked shrimp turns opaque and curls into a loose C shape, reaching an internal temperature of 120°F. A shrimp curled into a tight O shape is a sign it’s gone past done and started to overcook.
What can I use instead of white wine in shrimp scampi?
Chicken broth mixed with fresh lemon juice gives a similar savory, acidic base without needing wine on hand. Vegetable broth works as well if you want to keep the dish fully alcohol free without changing the flavor much.
Is shrimp scampi safe for someone with a shellfish allergy?
No, shrimp scampi is not appropriate for anyone with a shellfish allergy, since shrimp is the central ingredient here. For a shellfish free version, swap in chicken thigh strips instead, cooked using the same searing method.
Why did my sauce turn out greasy instead of smooth?
This usually means the butter was added too quickly or over heat that was still too high, which causes the fat to separate rather than blend in. Lower the heat first, then add the butter in small pieces one at a time, swirling the pan as each piece melts.
Conclusion
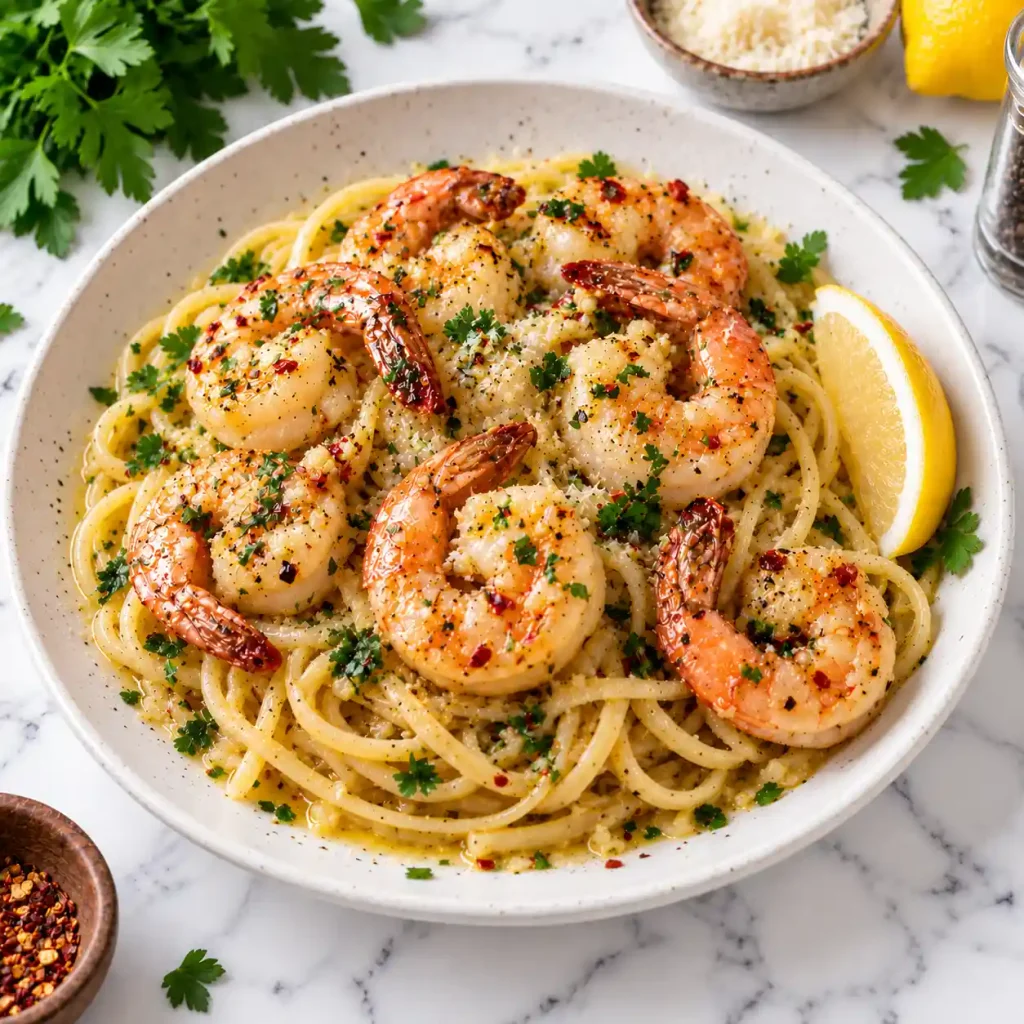
Once you’ve made this a couple of times, the whole thing stops feeling like a recipe and starts feeling like muscle memory, garlic in, shrimp out, sauce built, pasta tossed. That’s really the appeal of shrimp scampi: it rewards attention to timing more than it demands any real skill.
I keep coming back to this one on nights when the fridge feels empty but a pound of shrimp is sitting in the freezer, because it turns into a full dinner faster than delivery would arrive.
If you loved this recipe, save it to your Easy Weeknight Dinners Pinterest board so you can find it easily later!
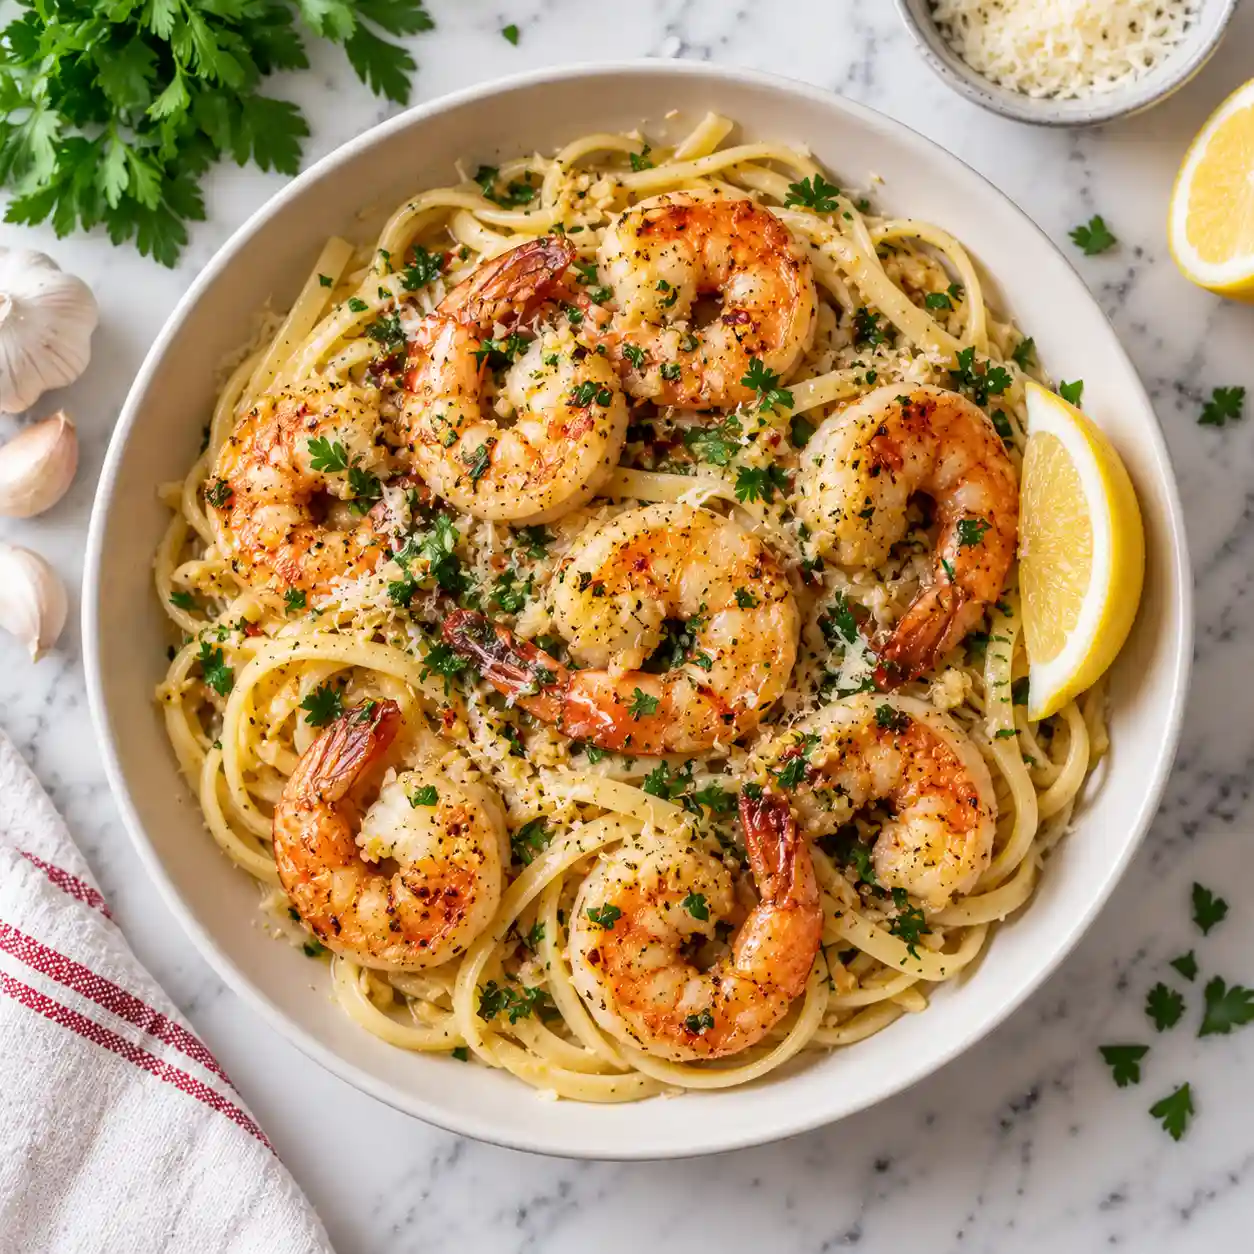
Garlic Butter Shrimp Scampi
Ingredients
Method
- Instructions:
- Cook pasta 2 minutes short of package directions in salted water, reserving 1 cup of pasta water before draining.
- Heat olive oil and 2 tablespoons butter in a large skillet over medium high until the butter turns lightly golden.
- Sear shrimp in a single layer, 90 seconds per side, until opaque and curled, then remove to a plate.
- Add garlic and red pepper flakes to the pan, stirring 45 seconds until fragrant but not browned.
- Pour in broth and lemon juice, scraping the pan, and simmer 2 minutes until slightly reduced.
- Lower heat and swirl in remaining butter a little at a time until the sauce turns glossy.
- Add drained pasta and a splash of pasta water, tossing to coat evenly.
- Return shrimp to the pan with lemon zest and parsley, toss briefly, and serve immediately.
Notes
- Leftovers keep in the fridge for up to 2 days but are not recommended for freezing.
- Sauce base (through step 5) can be made a day ahead and reheated before adding fresh shrimp.
- For gluten free, use a rice or chickpea pasta and confirm the broth label is gluten free.
- For dairy free, replace the butter with olive oil, noting the sauce will be lighter in richness.