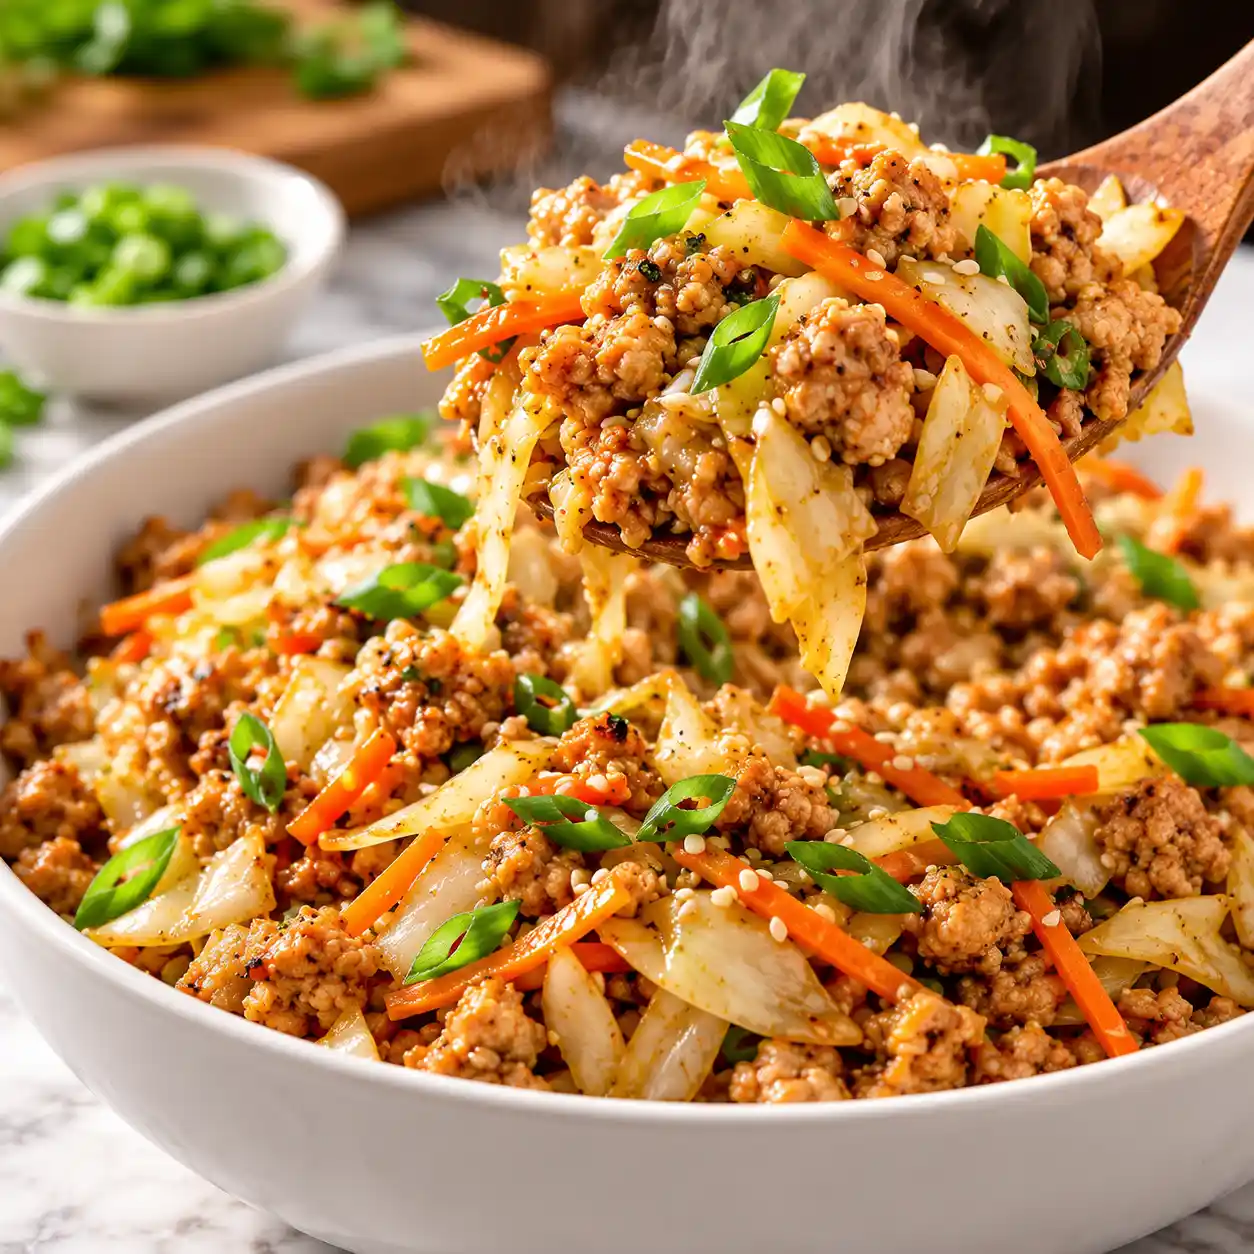
Best Juicy Teriyaki Chicken in 30 Minutes (Foolproof Recipe)

The sound comes first: a loud sizzle as chicken hits a hot skillet. Within minutes the kitchen fills with a sweet, savory smell that pulls people in from the next room, and the sauce thickens into a glossy lacquer that clings to every edge. It turns an ordinary Tuesday into the kind of dinner people talk about the next day.
This teriyaki chicken goes from fridge to table in 30 minutes, with one bowl for the sauce and one skillet for everything else. The homemade glaze is what sets it apart. It tastes balanced instead of cloying, and you decide how salty it gets. After testing a few cuts, juicy boneless thighs won every time, because they stay tender even if you look away for a minute. If you can stir and flip, you can make this, and the cleanup is short. A spoonful of sauce over rice is almost a meal on its own.
Why You’ll Love This Teriyaki Chicken Recipe
- Real sauce, no bottle: Five pantry ingredients and a few minutes of simmering give you a glaze that tastes fresh and lets you control the sodium.
- One skillet cooking: The chicken sears, the sauce reduces, and the glaze forms in the same pan, so the browned bits flavor the sauce.
- Forgiving cut: Boneless thighs carry enough fat to stay juicy even if the timing slips by a minute or two.
- Fast enough for weeknights: Ten minutes of prep and fifteen minutes at the stove leave you with a full dinner.
- Easy to scale: The sauce doubles cleanly, which makes meal prep and feeding a crowd simple.
- Kid approved flavor: The sweet and savory balance appeals to picky eaters, and the ginger stays gentle.
Ingredient Selection Tips
Look for thighs that are pink, plump, and free of any sour smell or pooled liquid in the tray. Pieces of similar size cook at the same pace, so skip packs that mix tiny and huge thighs. For the sauce, choose low sodium soy sauce, since the glaze reduces and concentrates the saltiness. Fresh ginger should feel firm with tight, smooth skin. The jarred paste works in a pinch, but fresh gives a brighter, cleaner heat.
Recipe Snapshot
| Servings | Difficulty | Course | Cuisine | Prep Time | Cook Time | Rest Time | Total Time | Calories |
| 4 | Easy | Main Course | Japanese | 10 minutes | 15 minutes | 5 minutes | 30 minutes | 330 kcal |
Ingredients
For the chicken:
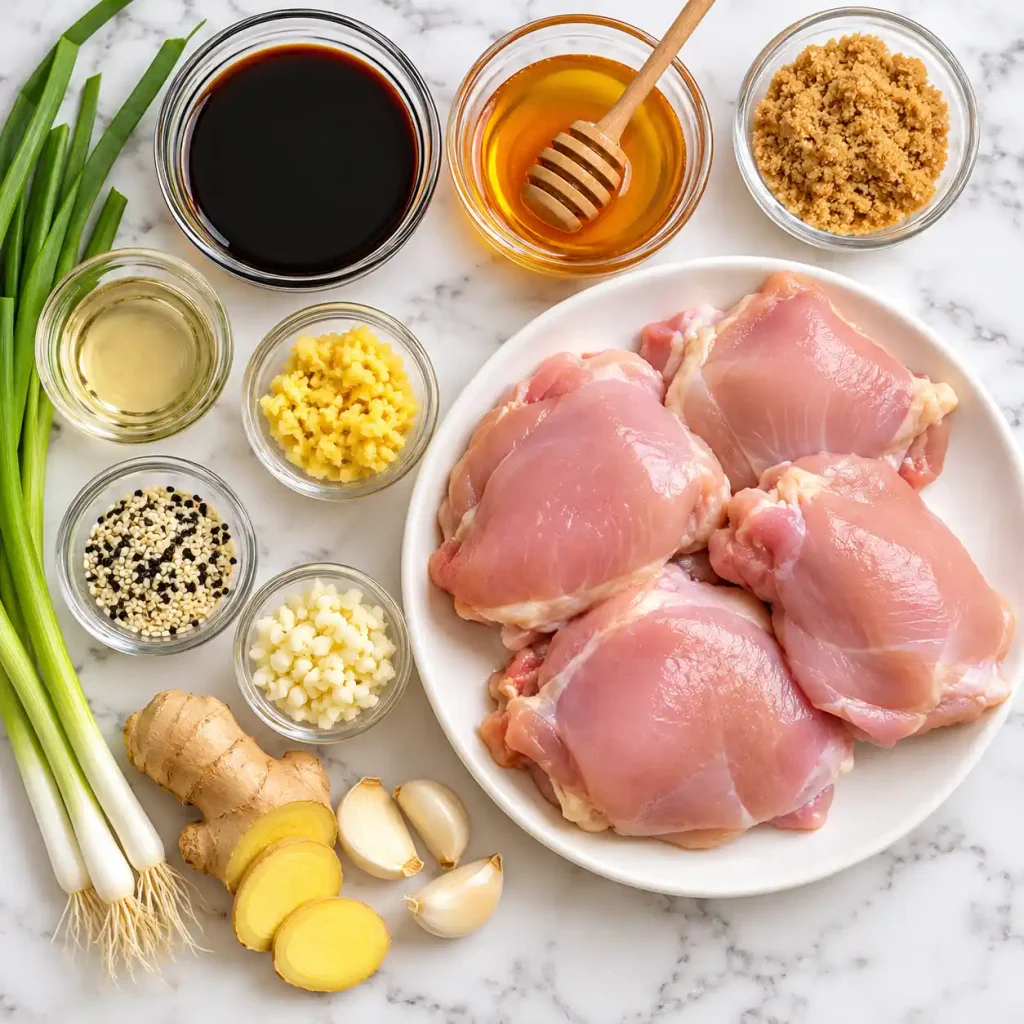
- 1.5 pounds (680 g) boneless, skinless chicken thighs. The extra fat keeps the meat tender under the hot glaze.
- 1 tablespoon avocado or canola oil. A neutral oil handles searing heat without adding its own flavor.
- 1/2 teaspoon kosher salt
- 1/4 teaspoon black pepper
- 1 tablespoon cornstarch. A thin dusting helps the sauce grip the meat later.
For the sauce:
- 1/3 cup (80 ml) low sodium soy sauce. It supplies the savory base without turning salty as it reduces.
- 1/3 cup (80 ml) water
- 3 tablespoons honey. It gives shine and a rounder sweetness than sugar alone.
- 2 tablespoons light brown sugar. The molasses adds a deeper caramel note.
- 1 tablespoon rice vinegar. Its mild tang takes the place of mirin, balancing the sweetness so the glaze never feels heavy.
- 1 tablespoon freshly grated ginger
- 3 garlic cloves, minced
- 1 teaspoon toasted sesame oil. Add it for aroma, and keep it small because it overpowers quickly.
For thickening:
- 1 tablespoon cornstarch mixed with 2 tablespoons cold water
To finish:
- 2 green onions, thinly sliced
- 1 tablespoon toasted sesame seeds
- Cooked jasmine rice, for serving
Substitutions: Light corn syrup or maple syrup can stand in for honey. Apple cider vinegar works if rice vinegar is missing, using the same amount.
Recipe Timing
Ten minutes covers the sauce, the trimming, and the grating. The skillet then needs about fifteen minutes from first sear to finished glaze. Let the chicken sit for five minutes afterward so the juices settle before slicing, which brings you to a full 30 minutes on the clock.
Allergen & Dietary Disclosure
This recipe contains soy (soy sauce), wheat (most soy sauces include it), and sesame (oil and seeds).
- Soy or wheat: Use coconut aminos for a soy free version, or tamari for a gluten free one.
- Sesame: Leave out the oil and seeds. The sauce still tastes great.
Anyone with a severe allergy should check every label, since brands vary and this recipe cannot be guaranteed safe for a specific allergy.
Equipment Needed
- 12 inch skillet (stainless steel or cast iron): A wide surface keeps the thighs from crowding, which is what gives you browning instead of steaming.
- Instant read thermometer: It takes the guesswork out of doneness and prevents overcooking.
- Small whisk or fork: It breaks up the cornstarch slurry fast so the glaze stays smooth.
- Microplane grater: It turns ginger into a fine pulp that melts into the sauce.
- Tongs: They let you flip each piece cleanly without piercing the meat.
Preparation
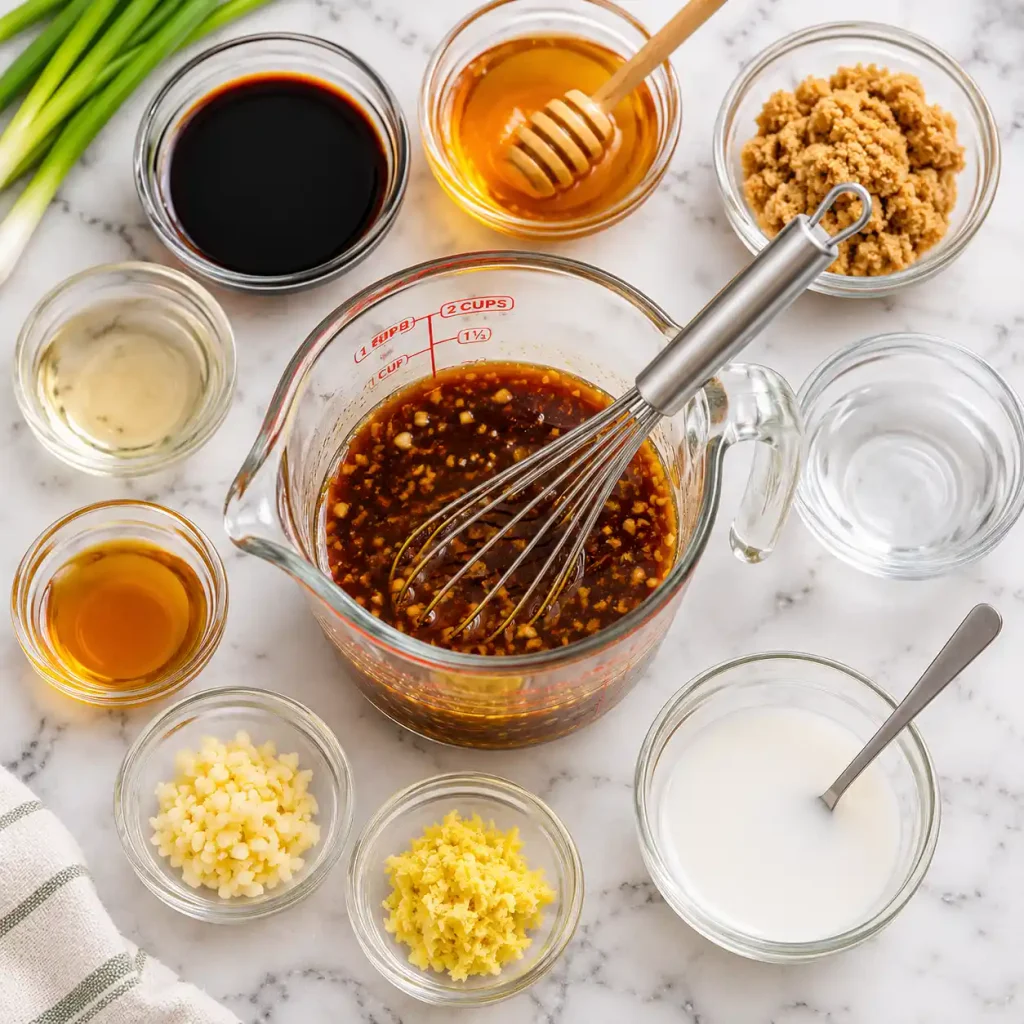
Pull the chicken from the fridge about 10 minutes before cooking so it loses its chill. Mix the sauce ingredients (soy sauce, water, honey, brown sugar, vinegar, ginger, garlic, sesame oil) in a measuring jug, then stir the cornstarch and cold water together in a tiny cup. Slice the green onions and put the sesame seeds in a small dish. Having everything within reach matters here, because the glaze moves quickly once it starts to bubble.
Callout: Trim any large fat flaps from the thighs, but leave a little. That bit of fat renders into the pan and adds flavor to the sauce.
Step by Step Instructions
Step 1: Stir the sauce. Whisk the soy sauce, water, honey, brown sugar, vinegar, ginger, garlic, and sesame oil in a jug until the sugar dissolves. Keep it nearby, along with the separate cornstarch mixture.
Step 2: Dry and coat the chicken. Blot each thigh with paper towels until the surface feels dry to the touch. Sprinkle with salt, pepper, and 1 tablespoon cornstarch, then turn each piece to coat it evenly.
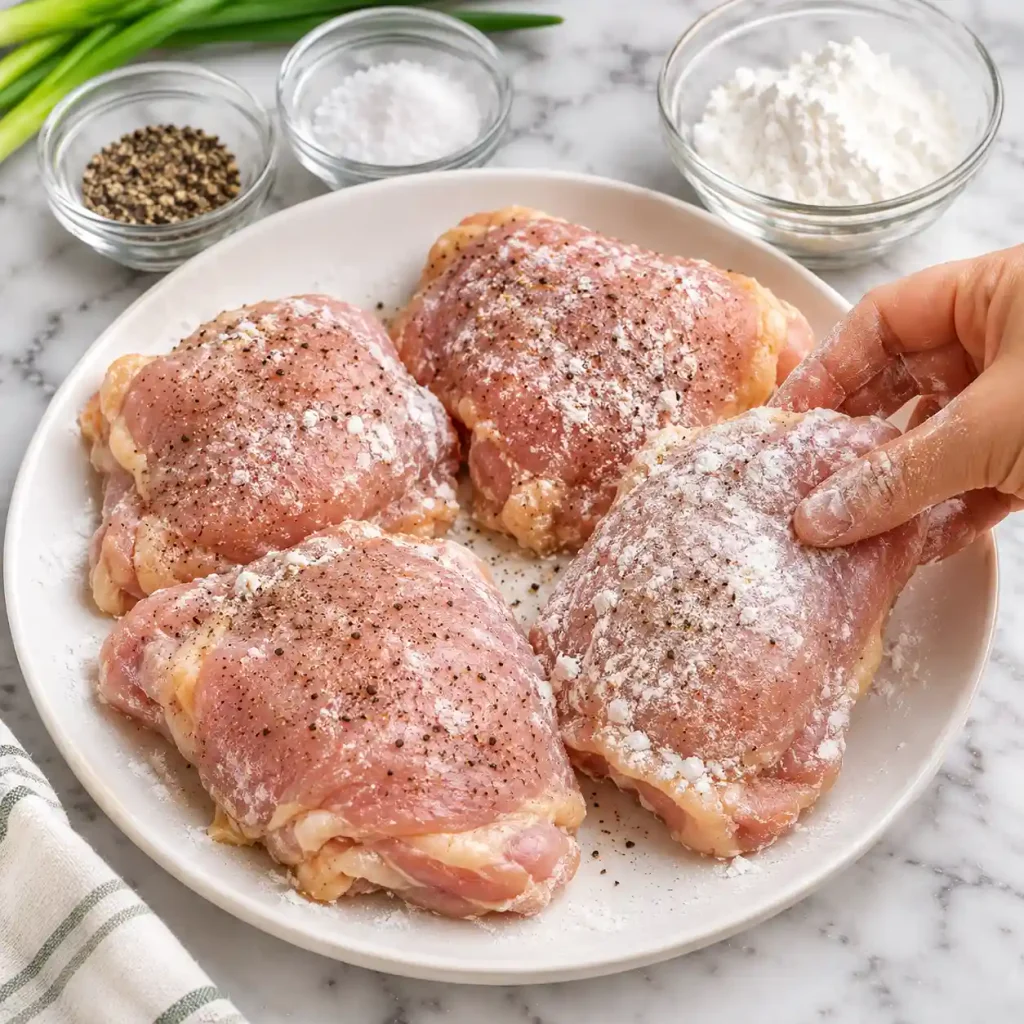
Chef’s Note: Dry meat browns, and wet meat steams. That thin cornstarch coat also gives the finished glaze something to cling to.
Step 3: Sear the first side. Warm the oil in a skillet over medium high heat until it shimmers. Lay the thighs in a single layer and leave them for 4 to 5 minutes, until the underside is deeply browned and releases easily from the pan.
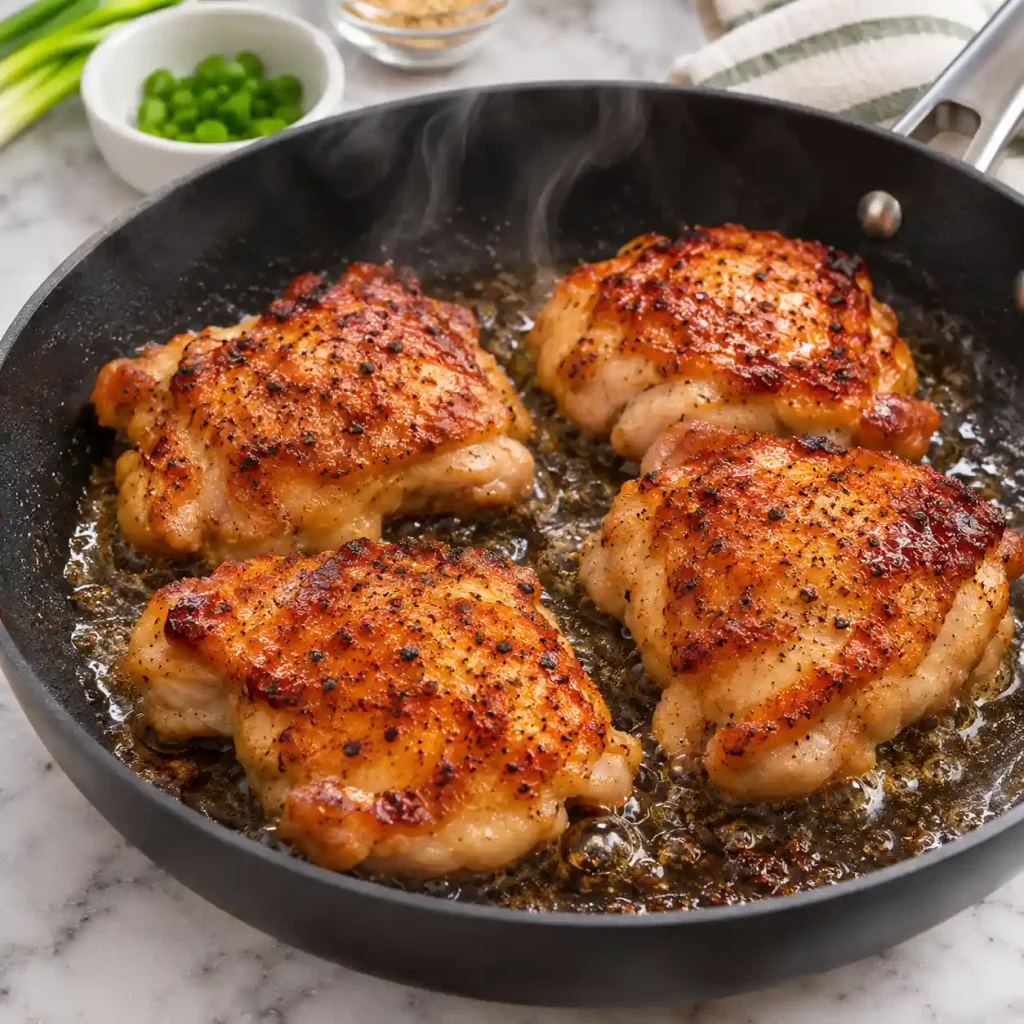
Chef’s Note: Resist the urge to nudge the chicken. A piece that sticks is telling you the crust is not ready yet.
Step 4: Flip and finish the cooking. Turn the thighs over and cook the second side for 3 to 4 minutes. Check the thickest piece with a thermometer, which should read at least 165°F (74°C), since raw poultry must reach that temperature to be safe.
Step 5: Add the sauce. Drop the heat to medium and pour the sauce around the chicken. Let it bubble gently for about 2 minutes while you spoon it over the meat, and stir the browned bits from the pan into the liquid.
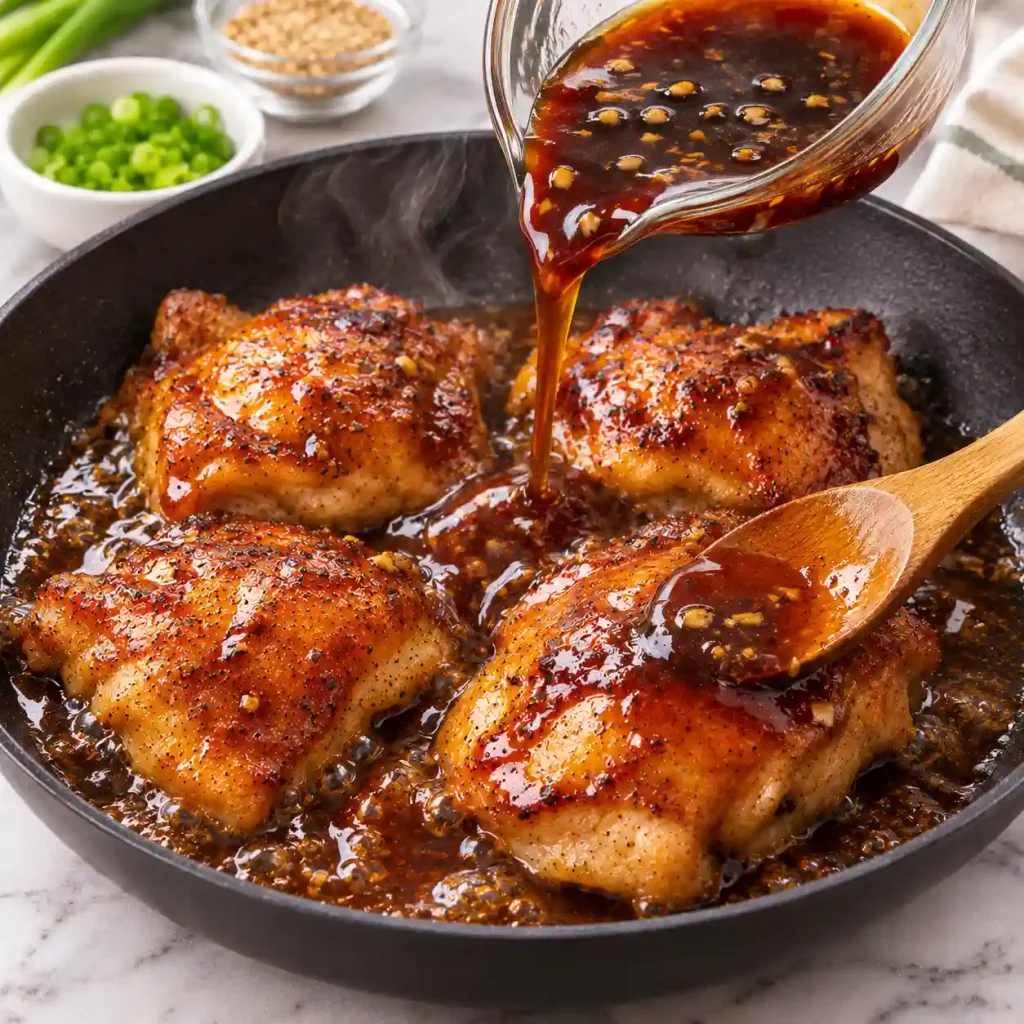
Chef’s Note: Lowering the heat first prevents the honey and sugar from scorching, which is the fastest way to a bitter glaze.
Step 6: Thicken the glaze. Stir the cornstarch mixture again, then pour it into the pan while stirring. Cook for 1 to 2 minutes, until the sauce turns glossy and coats the back of a spoon in a thin, even layer.
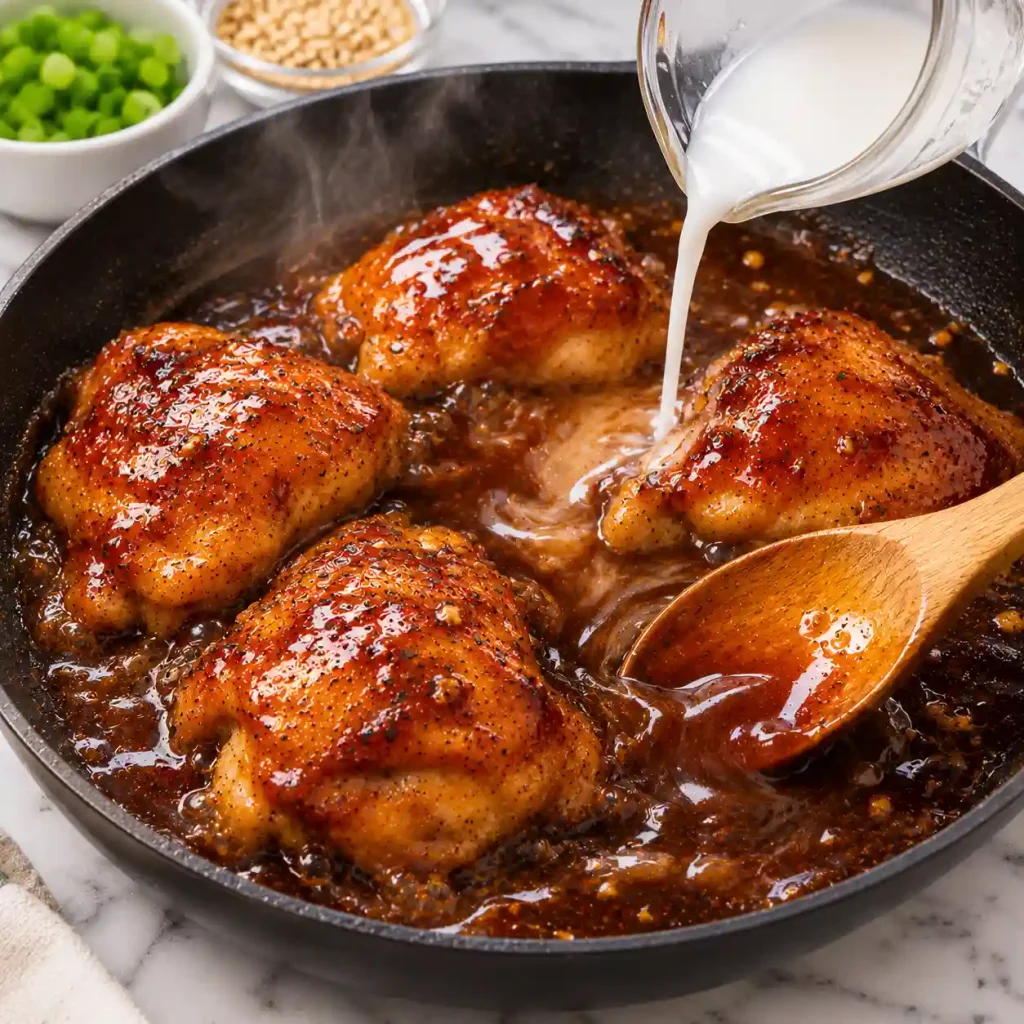
Step 7: Rest the chicken. Slide the skillet off the heat and let the chicken sit in the sauce for 5 minutes. The juices redistribute, and the glaze tightens a little as it cools.
Chef’s Note: Slicing too soon sends juices onto the cutting board instead of keeping them in the meat.
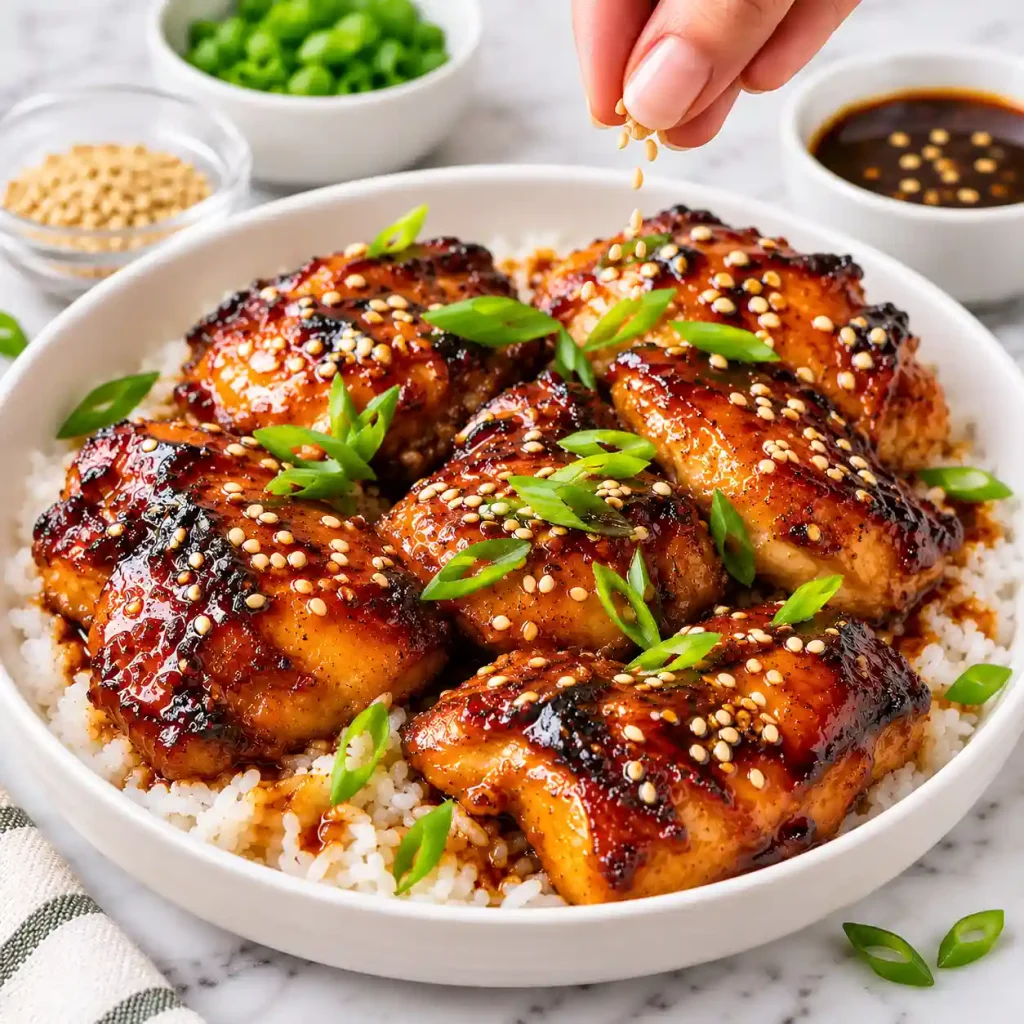
Step 8: Slice and finish. Cut the thighs into strips against the grain, then spoon the pan sauce over the top. Scatter the green onions and sesame seeds over each portion and serve while hot.
Expert Tips & Tricks
- Dry the surface well. Paper towels are the cheapest tool for better browning, and a deeper crust means a richer sauce.
- Keep the sauce loose before thickening. It looks thin at first, but it tightens fast once the cornstarch hits the heat, so avoid adding more too early.
- My burnt glaze mistake. I once poured the sauce into a screaming hot pan and the sugar blackened in seconds. Dropping the heat first fixed it for good.
- Make the sauce ahead. Mix everything except the cornstarch slurry and refrigerate it in a jar for up to 5 days. That saves a few minutes on busy nights. [INTERNAL LINK: simple weeknight meal prep ideas]
- Store the sauce with the chicken. The glaze protects the meat from drying out in the fridge, so pack them together.
- Save time with frozen ginger. Keep a knob in the freezer and grate it straight from frozen. It stays fresh and needs no peeling.
Common Mistakes & Troubleshooting
| Problem | Why It Happens | How to Fix or Prevent It |
| Chicken turns out dry | The thighs cooked past 180°F or were cut very thin | Pull at 165 to 175°F and flatten uneven pieces to the same thickness |
| Glaze tastes bitter | Sugar scorched in an overheated pan | Lower the heat to medium before adding the sauce and stir often |
| Chicken looks pale | The meat was wet or the pan was overcrowded | Pat dry, use a wide skillet, and leave space between pieces |
| Sauce is too salty | Regular soy sauce concentrates as it reduces. I learned this on my first test batch | Use low sodium soy sauce and stop reducing as soon as it coats a spoon |
| Sauce turns clumpy | The cornstarch settled and was not stirred before pouring | Whisk the slurry right before adding it and stir while pouring |
Storage, Reheating, Freezing, and Make Ahead
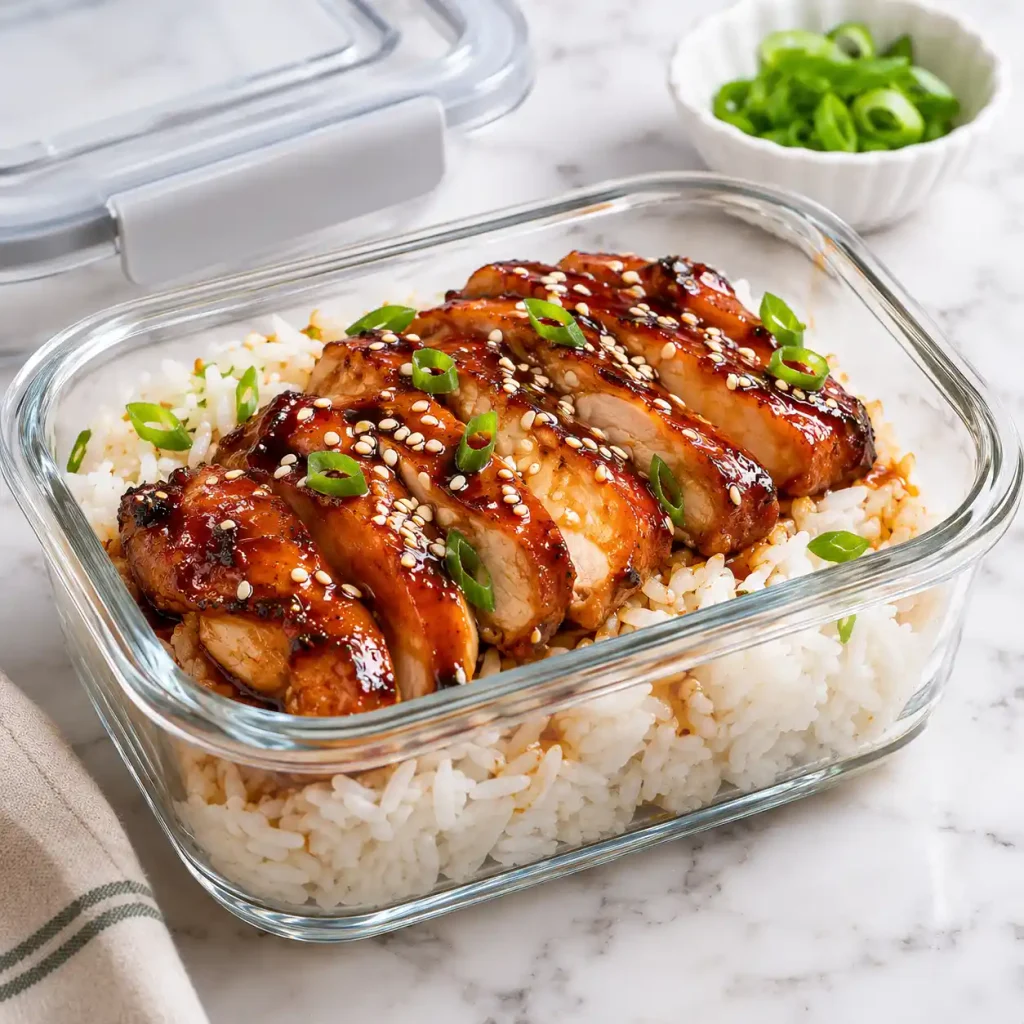
Refrigerator: Cool the chicken within 2 hours, then store it with the sauce in an airtight glass container for up to 4 days.
Freezer: Freeze cooled portions with the sauce in freezer safe containers for up to 3 months. Thaw overnight in the refrigerator.
Reheating: Warm it in a skillet over low heat with a splash of water, stirring until the glaze loosens. The microwave works too, in 45 second bursts with a cover.
Make ahead: Mix the sauce up to 5 days in advance and keep it chilled. Slice the green onions and grate the ginger the day before to speed up cooking.
Callout: Pack the rice separately from the chicken when meal prepping. Rice soaks up the sauce overnight and the meat ends up drier by day three.
Variations & Substitutions
- Spicy teriyaki: Stir 1 to 2 teaspoons of chili garlic sauce or red pepper flakes into the sauce for a slow burn.
- Kid friendly: Halve the ginger and add a teaspoon of extra honey for a softer, sweeter glaze.
- Gluten free: Swap the soy sauce for tamari, and confirm the label says gluten free.
- Pineapple twist: Add 1/2 cup of pineapple chunks with the sauce so they caramelize into the glaze.
- Vegetarian: Use extra firm tofu or thick cauliflower steaks, pressed and seared the same way.
- Soy free: Use coconut aminos and reduce the honey by a teaspoon, since the aminos are naturally sweeter.
Serving Suggestions
- Rice base: Spoon it over fluffy jasmine or short grain rice so the extra sauce soaks in. [INTERNAL LINK: perfect fluffy white rice method]
- Vegetables: Pair it with steamed broccoli, sautéed green beans, or quick cucumber salad for crunch.
- Noodles: Toss the sliced chicken and sauce with cooked lo mein or soba noodles for a quick noodle bowl. [INTERNAL LINK: easy stir fried vegetables recipe]
- Garnishes: Add extra sesame seeds, sliced green onions, or a squeeze of lime to brighten the sweetness.
- Drinks: Iced green tea, sparkling water with lemon, or a ginger lemonade round out the plate.
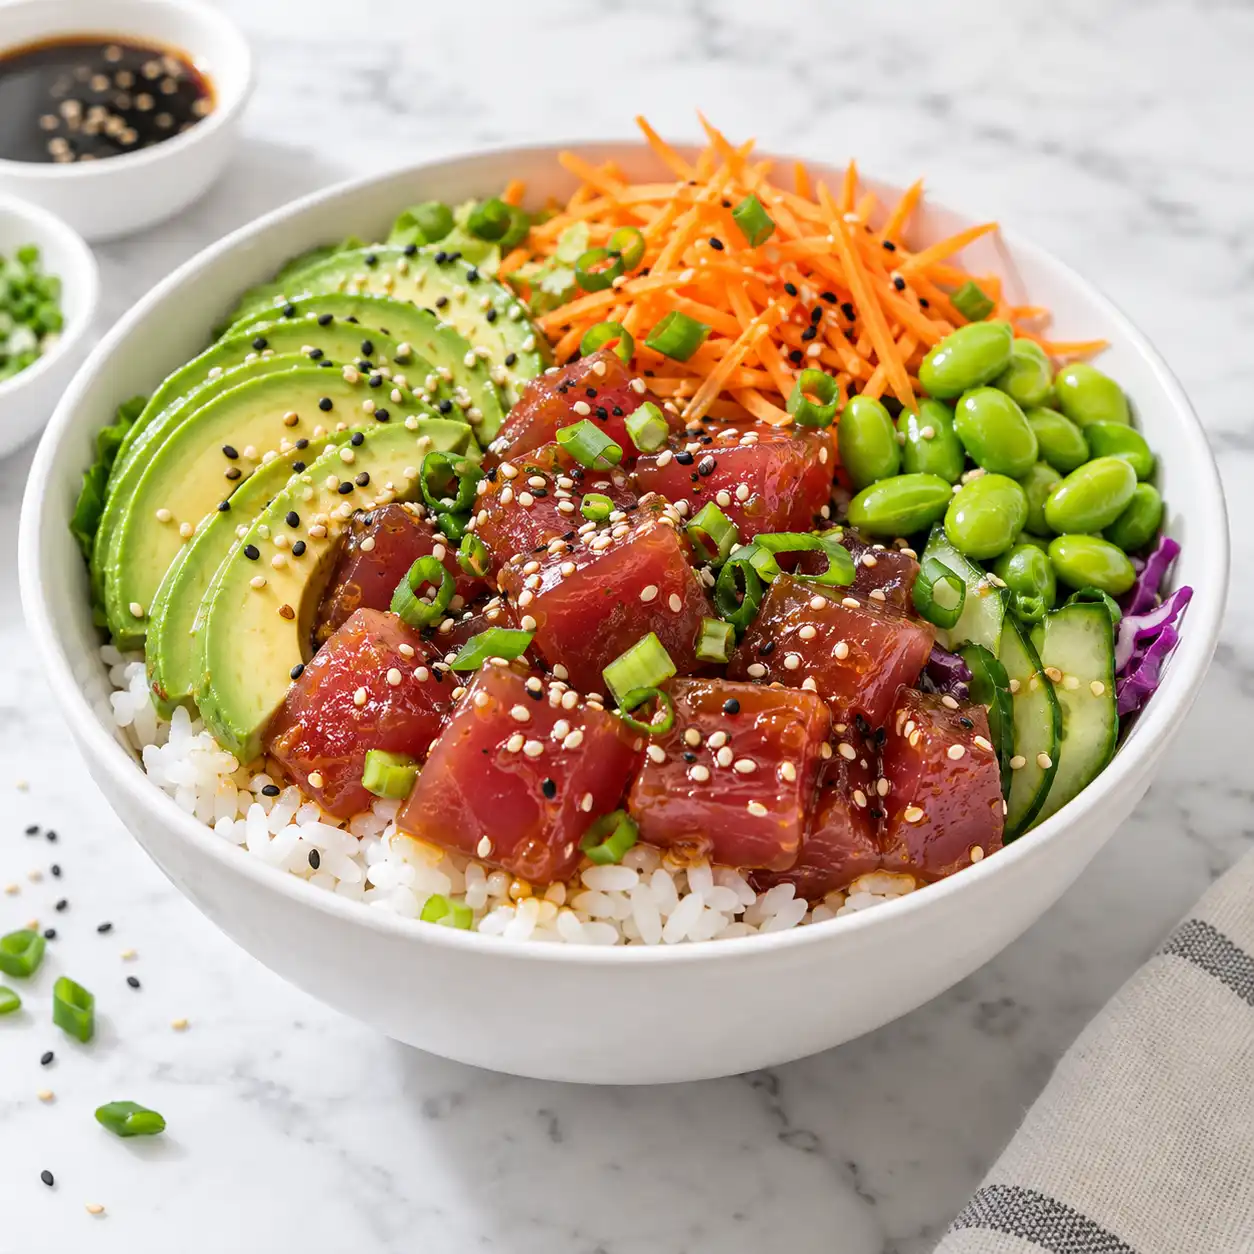
- Lunch bowls: Layer rice, chicken, shredded carrots, and edamame in a bowl for a packable lunch.
Nutrition Information
Serving size: 1 portion (about 6 ounces of chicken with sauce) | Servings per recipe: 4
| Nutrient | Amount |
| Calories | 330 kcal |
| Protein | 32 g |
| Carbohydrates | 24 g |
| Fiber | 0.5 g |
| Sugar | 19 g |
| Fat | 12 g |
| Saturated Fat | 3 g |
| Cholesterol | 125 mg |
| Sodium | 760 mg |
Chicken thighs supply niacin, zinc, and vitamin B6. These numbers are estimates, and they will shift with the brands you buy and how you measure.
Why This Recipe Works
Searing the chicken first builds flavor through the Maillard reaction, the browning process where heat turns proteins and sugars into deeper, roastier notes. Those browned bits stay in the pan and dissolve into the sauce, which gives the glaze body that bottled versions lack.
Thighs also contain more fat and connective tissue than breasts. Both break down gently at 165 to 175°F, which keeps the meat tender and a little forgiving if your timing drifts.
The cornstarch does two jobs. A thin coat on the raw meat helps the glaze cling, and the slurry at the end thickens the sauce quickly without cooking it down into something salty. Honey and brown sugar caramelize at different speeds, so the glaze builds sweetness in layers rather than one flat note.
Frequently Asked Questions
FAQ Source Note: These questions reflect typical search and forum question patterns around this topic, not live search results.
How long does teriyaki chicken last in the fridge?
Cooked teriyaki chicken keeps in the refrigerator for 3 to 4 days when stored in an airtight container. Cool it within 2 hours of cooking, and keep the sauce with the chicken so the meat stays moist. You can freeze it for up to 3 months. Thaw it overnight in the fridge, then warm it gently so the glaze loosens instead of scorching.
Why is my teriyaki sauce too thin or runny?
A thin sauce usually means it never reached a full simmer after the cornstarch went in. Cornstarch needs bubbling heat for about a minute to thicken. Pour the slurry in slowly while stirring, then let it bubble until it coats the back of a spoon. If it still runs, whisk in another half teaspoon of cornstarch mixed with a spoonful of cold water.
What can I use instead of mirin in teriyaki chicken?
This teriyaki chicken recipe skips mirin entirely. Rice vinegar plus honey gives the same sweet and tangy balance without needing a specialty bottle. If you only have apple cider vinegar, use the same amount and add a pinch more honey. White grape juice also works in a pinch, though the sauce will taste slightly fruitier and will need a minute longer to reduce.
How do I know the chicken is done?
Chicken thighs are safe at 165°F (74°C) in the thickest part, and an instant read thermometer is the quickest check. Thighs taste better a little past that, around 175°F (79°C), because the connective tissue softens. Without a thermometer, pierce the thickest piece. The juices should run clear and the meat should feel tender, not rubbery. Cook the thighs a minute or two longer if any pink remains near the bone or center.
Can I make teriyaki chicken gluten free?
Yes. Regular soy sauce contains wheat, so swap it for tamari or a certified gluten free soy sauce, and check the label on any other bottled item. The cornstarch in this teriyaki chicken is naturally gluten free. Cross contact matters for celiac disease, so use clean pans and utensils. Anyone with a severe allergy should confirm each ingredient with the manufacturer first.
Can I use chicken breast instead of thighs?
You can, but breasts dry out faster. Slice them into even cutlets about three quarters of an inch thick so they cook in the same window, and pull them off the heat at 165°F (74°C). Cook each side about a minute less than the thighs so the meat stays tender. Expect a leaner, firmer result than the juicy thighs this recipe was built around.
Conclusion
Once you have made teriyaki chicken from scratch, the bottled version starts to taste flat. The sauce takes five minutes of attention, and the payoff is a glaze with real ginger heat and a clean, savory finish. It also reheats beautifully for lunch the next day.
In my kitchen, this is the dinner I make when the day has run long and nobody has the energy for anything complicated. Double the sauce if you like extra for the rice, because there is never a spoonful left over. Pour a little more over the plate, take a bite, and let the rest of the evening be easy.
If you loved this recipe, save it to your easy chicken dinner Pinterest board so you can find it easily later!
Juicy Teriyaki Chicken
Ingredients
Method
- Instructions:
- Combine soy sauce, water, honey, brown sugar, vinegar, ginger, garlic, and sesame oil in a jug and stir until smooth. In a small cup, mix the remaining cornstarch with cold water.
- Blot the thighs dry. Season with salt and pepper, then coat lightly with 1 tablespoon of cornstarch.
- Heat the oil in a 12 inch skillet over medium high. Add the chicken in one layer and sear 4 to 5 minutes, until the underside is deep brown.
- Flip the pieces and cook 3 to 4 minutes more. The center of the thickest thigh should read 165°F (74°C).
- Reduce to medium and pour in the sauce. Simmer 2 minutes, spooning liquid over the meat.
- Stir the cornstarch mixture, add it to the pan, and cook 1 to 2 minutes until the sauce is glossy and clings to a spoon.
- Remove from the heat and leave the chicken in the sauce for 5 minutes.
- Slice across the grain, spoon sauce on top, and finish with green onions and sesame seeds.
Notes
- Store leftovers with the sauce in an airtight container for up to 4 days in the refrigerator.
- Freeze cooled portions for up to 3 months and thaw overnight before reheating.
- Use tamari in place of soy sauce for a gluten free version.
- The sauce can be mixed (without the slurry) and refrigerated up to 5 days ahead.