Easy Classic Stuffed Bell Peppers in 7 Easy Steps for Dinner

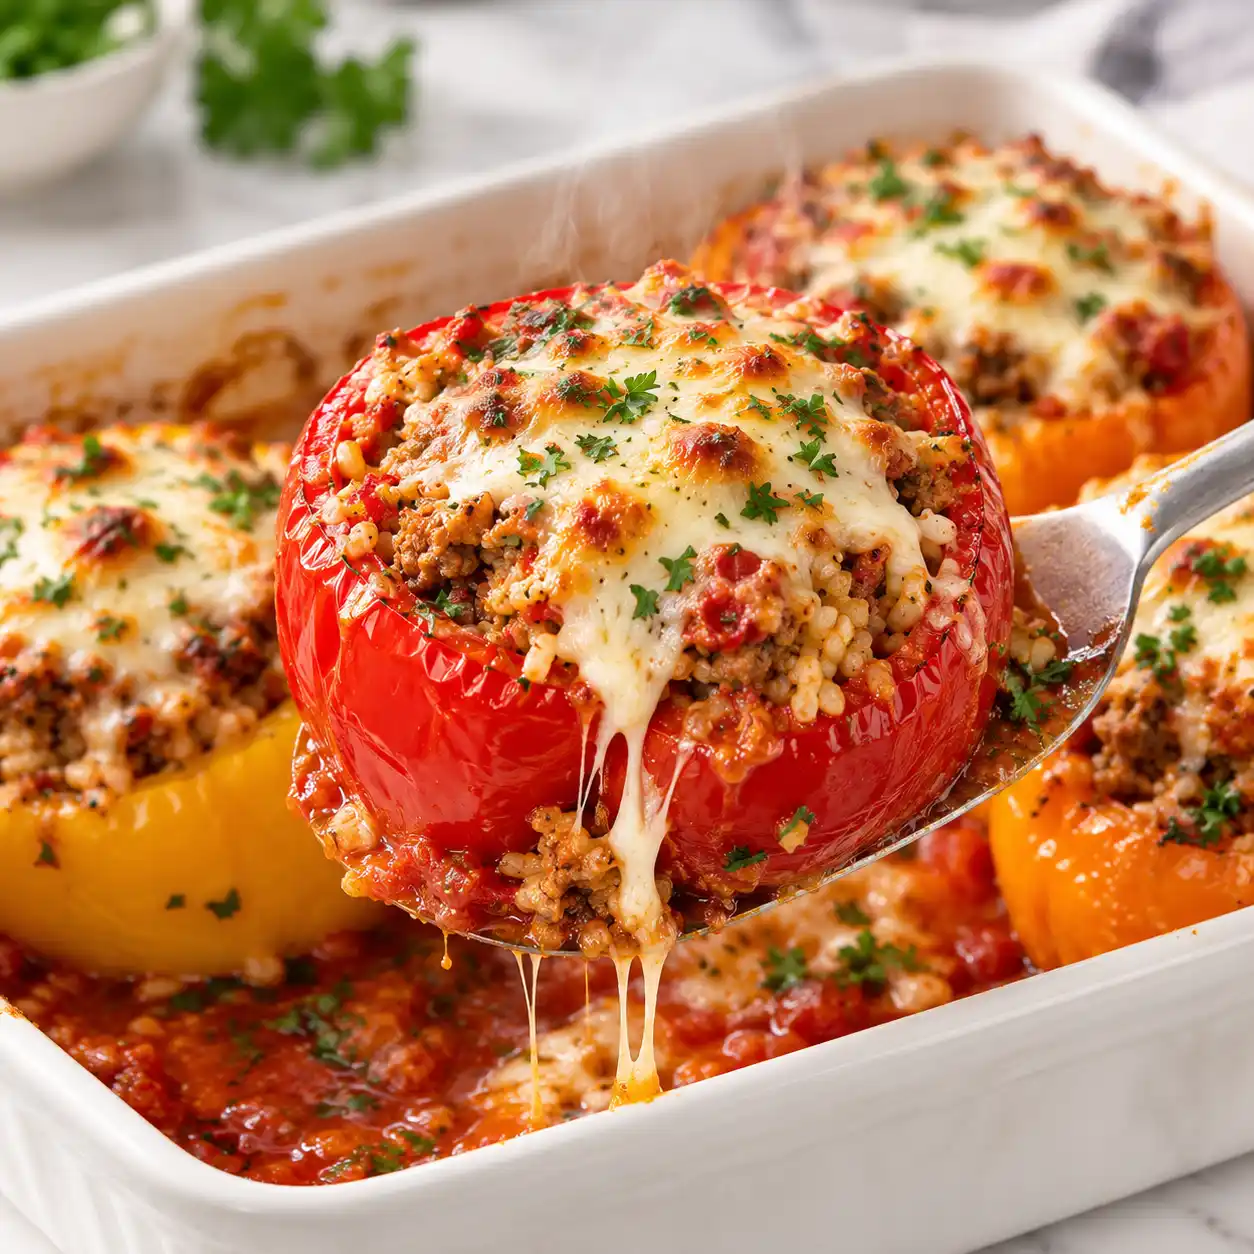
The first thing that reaches you is the smell, sweet and a little smoky, drifting out of the oven while the kitchen window fogs over. Then you open the door and see the tops blistered and glossy, steam curling up, and sauce bubbling at the base of the dish. That is the moment stuffed bell peppers earn their spot on the weeknight table.
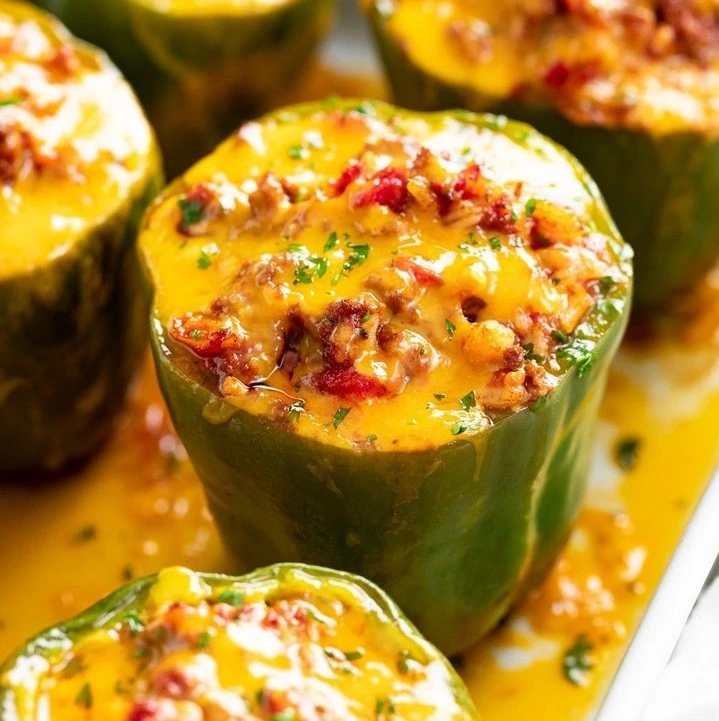
This version of stuffed bell peppers keeps things simple: a well seasoned beef and rice filling, a quick tomato base in the dish, and a cheese finish that melts in the last 10 minutes. Total time is 75 minutes, and only about 25 of those need your attention. The peppers come out tender but still hold their shape, so they stand upright on the plate instead of slumping. It is an easy recipe for beginners, and it scales up nicely for a crowd.
Why You’ll Love This Recipe
- Mostly hands off: After 25 minutes of active work, the oven handles the rest while you get the table ready.
- Built in portion control: Each pepper is one serving, so there is no guessing and no scooping from a big pan.
- Sturdy leftovers: The filling stays moist in the fridge, which makes these peppers a reliable lunch the next day.
- Pantry friendly: Rice, canned tomatoes, and spices do most of the work, and the beef is the only fresh protein you need.
- Easy to adjust: Swap the meat, change the cheese, or turn up the heat without changing the method.
Ingredient Selection Tips
Choose peppers that feel heavy for their size, with smooth, tight skin and a green, fresh looking stem. Wide, blocky peppers with three or four lobes at the base stand up best, so pick ones that wobble the least when set on the counter. Red, yellow, and orange peppers are sweeter than green, while green ones taste a little grassy and sharp. For the beef, 85/15 ground beef gives enough fat to keep the filling moist without leaving a greasy pool in the dish.
Recipe Snapshot
| Servings | Difficulty | Course | Cuisine | Prep Time | Cook Time | Rest Time | Total Time | Calories |
| 6 stuffed peppers | Easy | Main Course | American | 20 minutes | 50 minutes | 5 minutes | 75 minutes | 380 per pepper |
Ingredients
For the peppers:
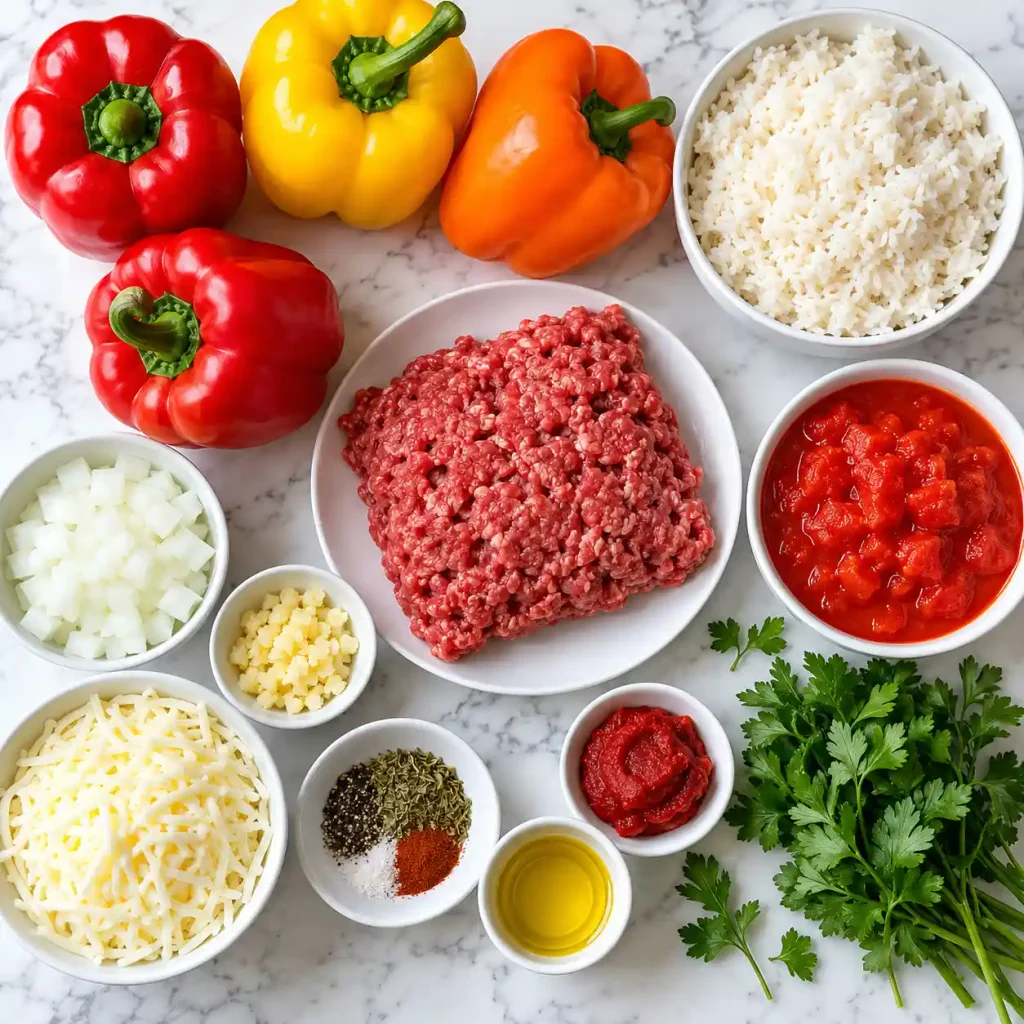
- 6 large bell peppers, any color (a flat, stable base matters more than color)
For the filling:
- 1 tablespoon olive oil (helps the onion soften without sticking)
- 1 medium yellow onion, finely diced (adds sweetness that balances the tomato)
- 3 garlic cloves, minced
- 1 pound (450 g) halal ground beef, 85/15 (enough fat to keep the filling juicy)
- 1 teaspoon smoked paprika (gives a gentle smoky note without heat)
- 1 teaspoon ground cumin
- 1 teaspoon dried oregano
- 1 teaspoon salt
- 1/2 teaspoon black pepper
- 1 can (14.5 oz / 411 g) diced tomatoes, well drained (draining keeps the filling from turning soupy)
- 1 1/2 cups cooked long grain rice (about 1/2 cup uncooked; leftover rice works well)
- 1/4 cup chopped fresh parsley, divided
For the sauce and topping:
- 1 can (15 oz / 425 g) tomato sauce, divided
- 1/2 cup water
- 1 1/2 cups shredded mozzarella, divided (low moisture mozzarella melts without turning watery)
Substitution notes: Ground turkey or chicken can replace the beef at the same weight. Monterey Jack or mild cheddar can stand in for mozzarella. Brown rice works too, but cook it fully first, since it will not soften much in the oven.
Recipe Timing
Plan on 20 minutes of cutting, mixing, and rice prep, then 50 minutes of cooking split between the stovetop and the oven, followed by 5 minutes of rest. Only about 25 minutes of the total needs you at the counter, which leaves the long oven stretch free for a salad or setting the table.
Allergen & Dietary Disclosure
- Dairy: Mozzarella is the only dairy ingredient. Use a plant based melting shred, or leave off the topping and finish with extra parsley and a squeeze of lemon.
- Gluten: The recipe has no gluten ingredients, but some tomato sauces and broths contain it, so check labels.
Anyone with a severe allergy should read every label and talk with their doctor, since this recipe is not guaranteed safe for any specific allergy.
Equipment Needed
- 9 by 13 inch baking dish: Choose one where six peppers fit snugly, because tight spacing keeps them upright.
- Large skillet: A 12 inch skillet gives the beef room to brown instead of steam.
- Small paring knife: It makes cutting around the stem and ribs much easier than a chef’s knife.
- Aluminum foil: A tight cover traps steam, which is what softens the peppers.
- Instant read thermometer: It removes the guesswork on doneness, especially with the beef filling.
Preparation
Heat the oven to 375°F (190°C) and position a rack in the middle. Cook the rice if you do not have leftovers, and let it steam in its pot while you work. Dice the onion, mince the garlic, chop the parsley, and shred the cheese if it is a block. Drain the canned tomatoes in a sieve over the sink and give them a gentle shake. Have the dish, skillet, foil, and spices within reach before the beef hits the pan.
Step by Step Instructions
Step 1: Trim the peppers
Slice the top off each pepper about 1/2 inch below the stem, then pull out the seeds and white ribs. If a pepper wobbles, shave a thin slice off the base so it sits flat. Each one should stand upright without tipping before you move on.
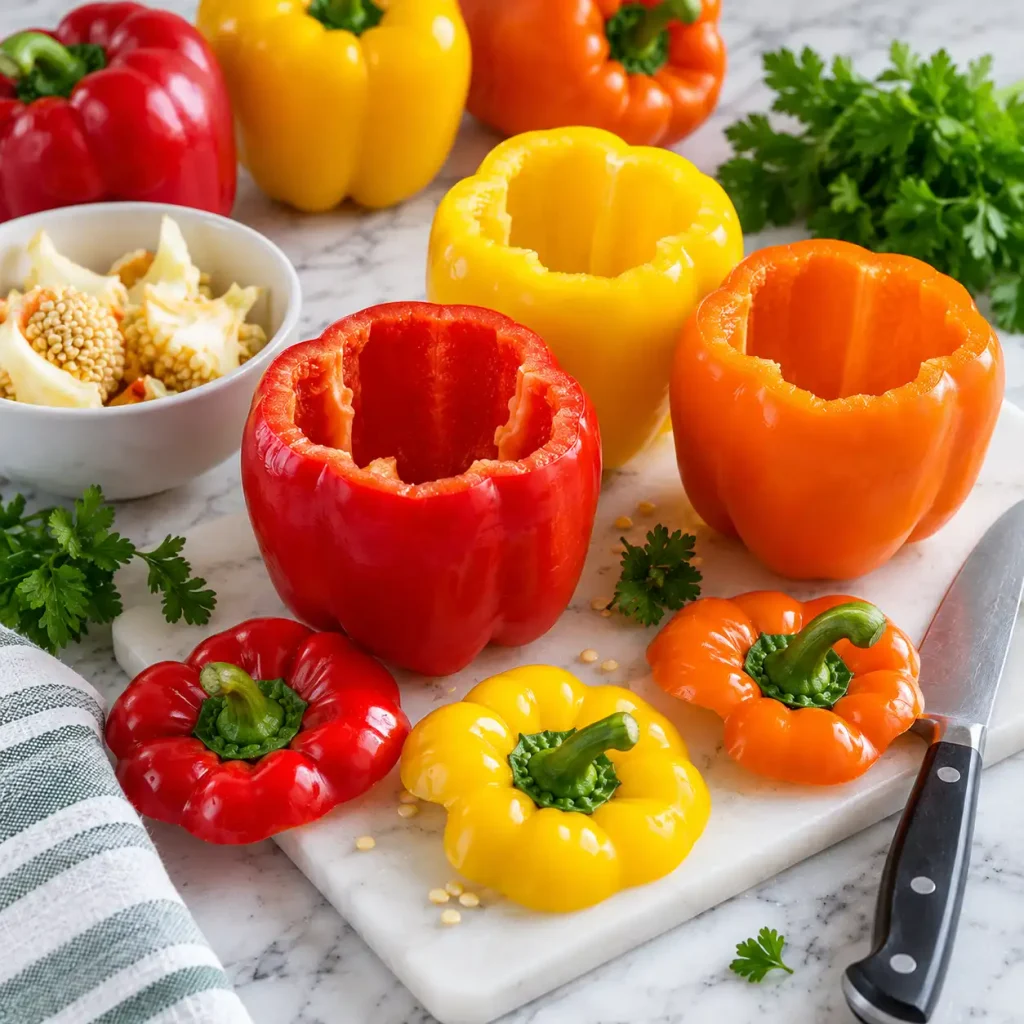
Chef’s Note: Save the pepper tops. You can chop the usable flesh and stir it into the filling, or bake the tops next to the peppers as a lid.
Step 2: Soften the onion
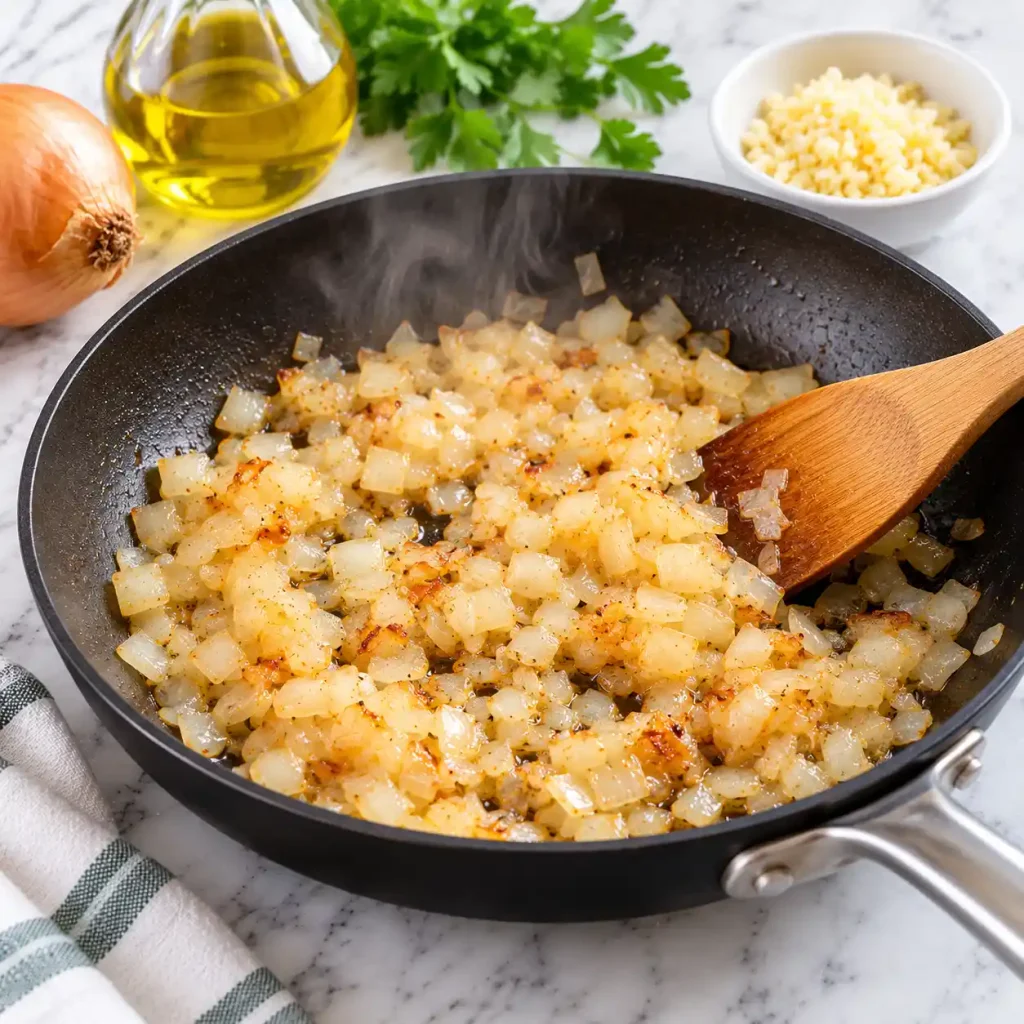
Warm the olive oil in the skillet over medium heat. Add the diced onion with a pinch of the salt and cook for 4 to 5 minutes, until the pieces look soft and translucent with light tan edges. Stir in the garlic for 30 seconds, until the smell turns fragrant.
Step 3: Brown the beef
Raise the heat to medium high and add the beef. Break it into small crumbles and cook for 6 to 7 minutes, until no pink remains and the pieces have browned in spots. Ground beef is safe at 160°F (71°C), so check with a thermometer, and wash your hands, cutting board, and utensils after handling the raw meat.
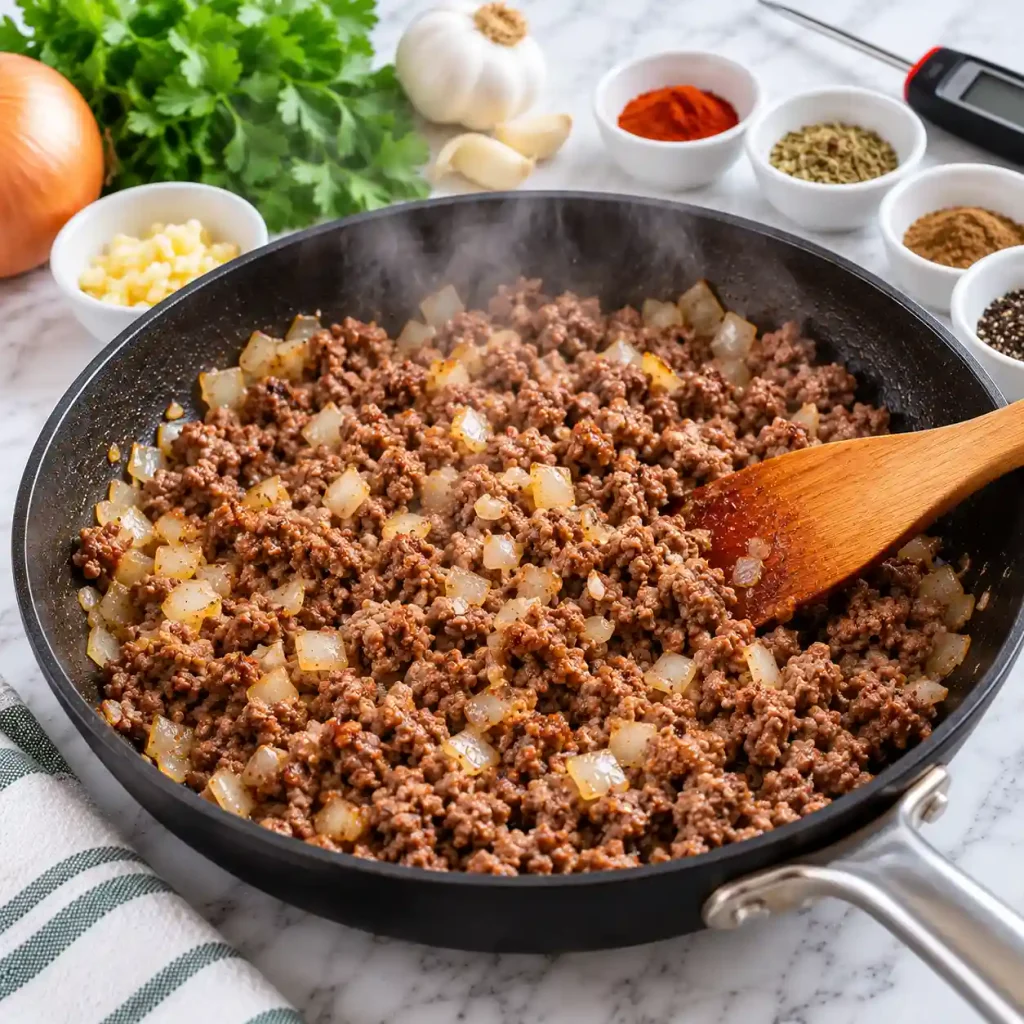
Chef’s Note: Leave the beef untouched for a minute at a time. Browned spots add savory flavor that plain steamed meat never gets.
Step 4: Build the filling
Sprinkle in the paprika, cumin, oregano, remaining salt, and black pepper, and stir for 1 minute until the spices smell warm. Add the drained tomatoes, 1/2 cup of the tomato sauce, the rice, half the parsley, and 1/2 cup of the cheese. Mix until the filling holds together when pressed with a spoon, with no loose liquid at the bottom of the pan.
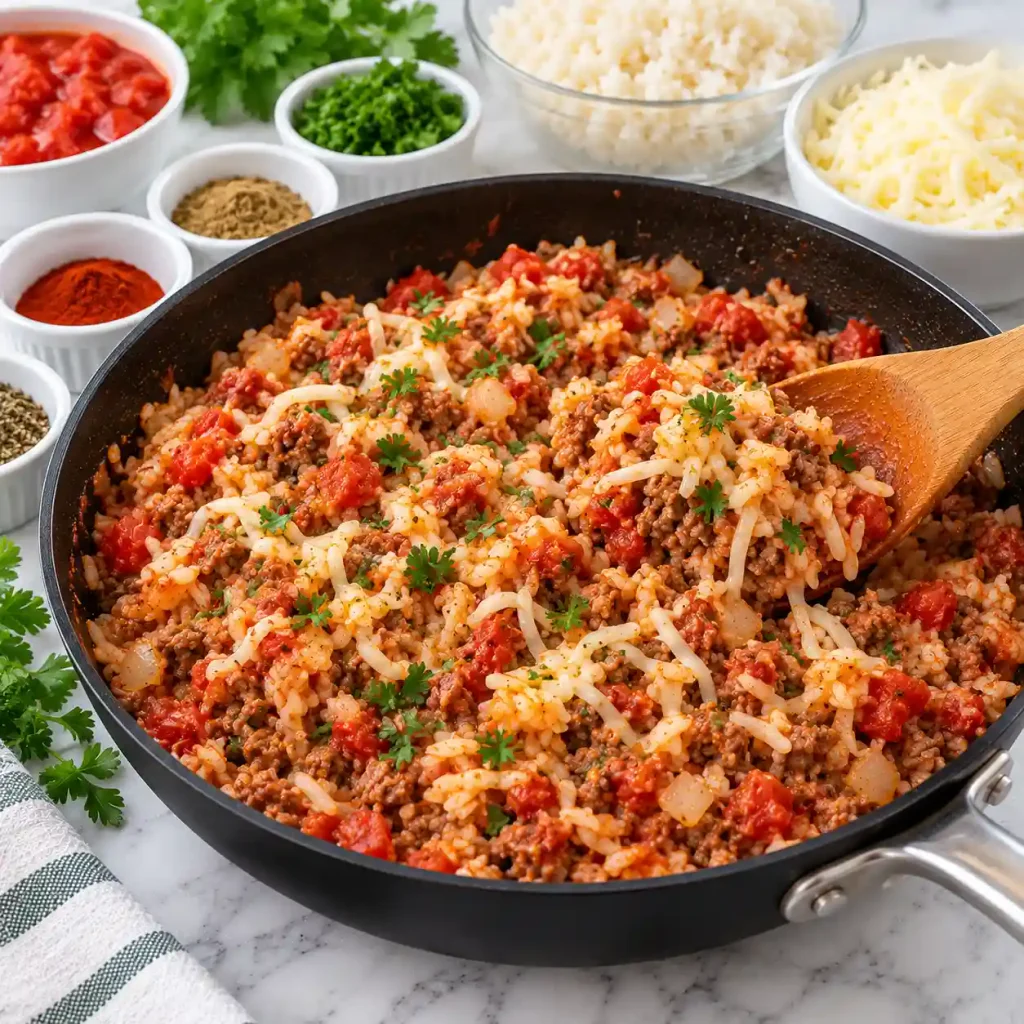
Chef’s Note: Cooking the spices briefly in the hot fat wakes up their flavor, so the filling tastes deeper than if you stirred them in cold.
Step 5: Stuff the peppers
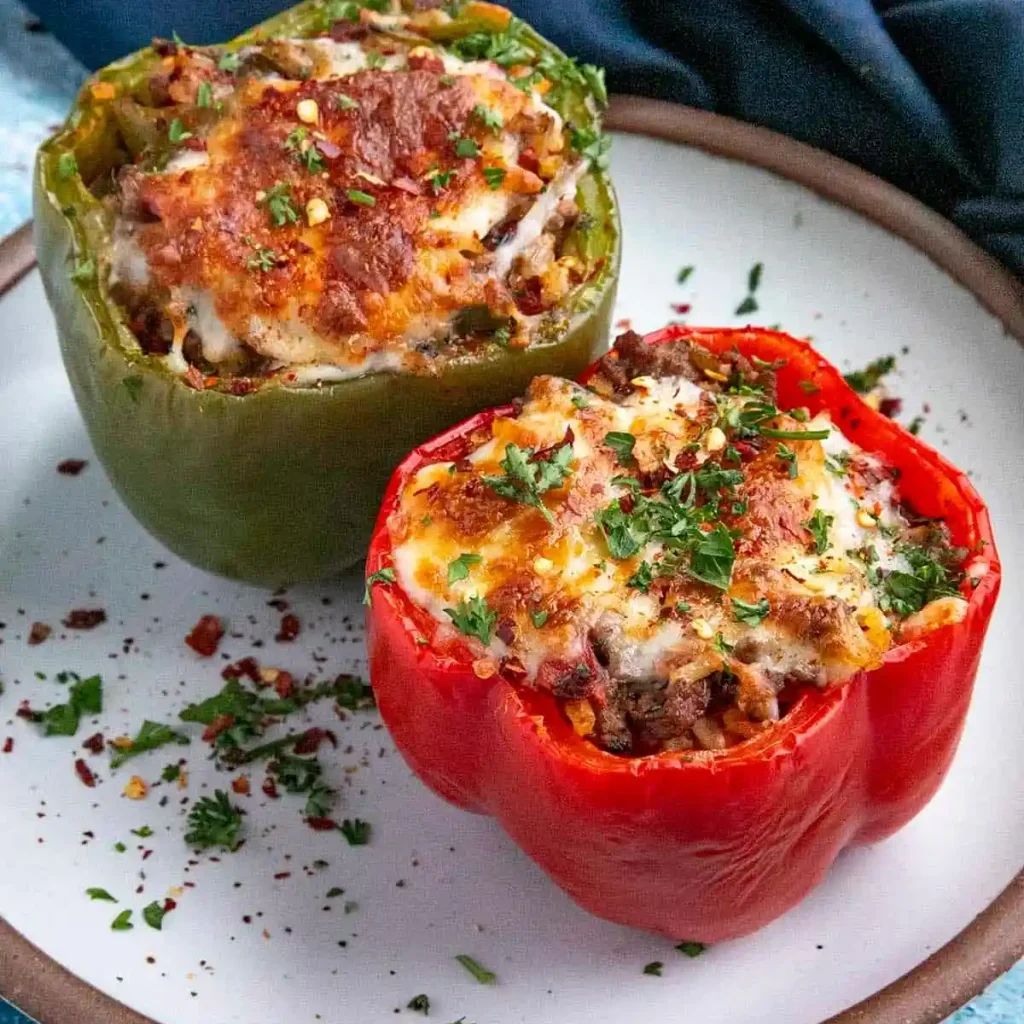
Stand the peppers in the baking dish. Stir the remaining tomato sauce with the water and pour it around the peppers, not over them. Spoon in the filling and press it down firmly, so each pepper is mounded about 1/2 inch above the rim.
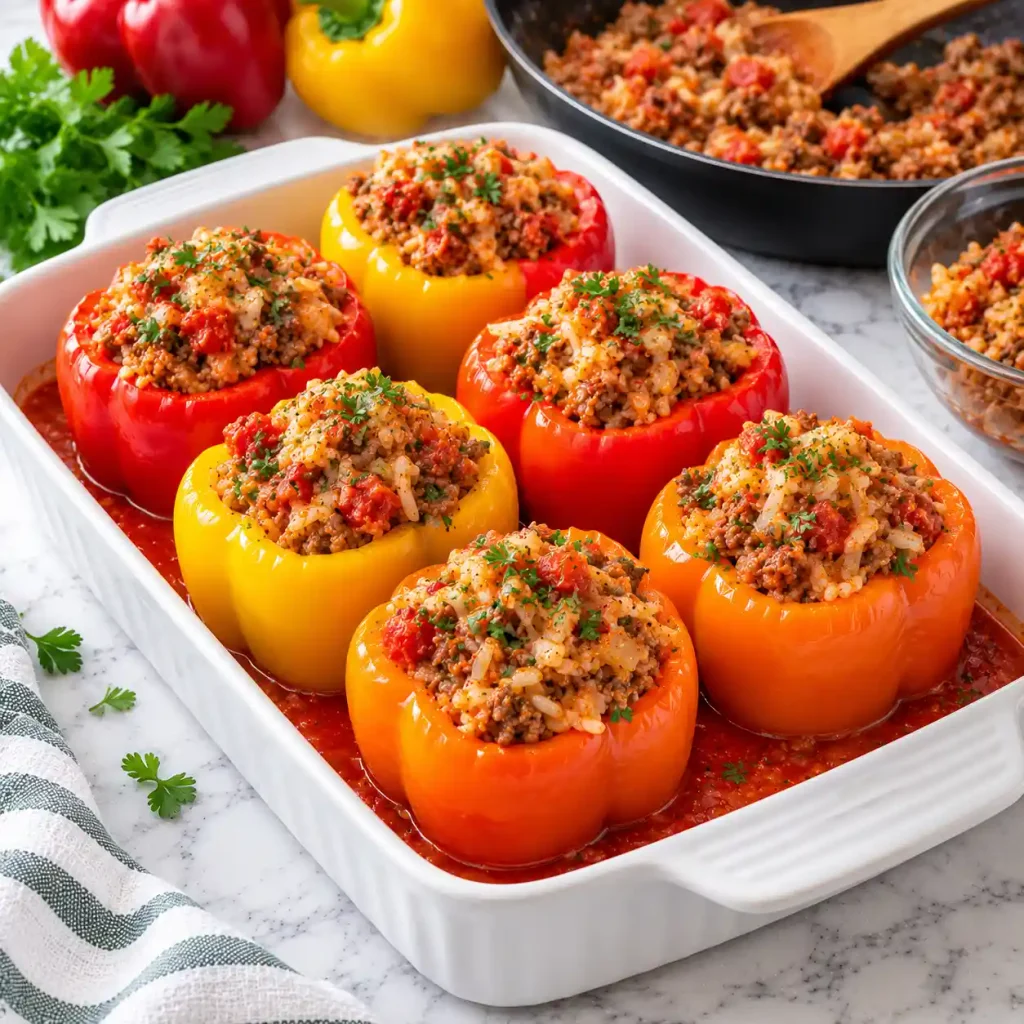
Tip: Press the filling in with the back of a spoon after every few scoops. Packed peppers slice cleanly at the table, while loose ones fall apart.
Step 6: Bake covered
Cover the dish tightly with foil and bake for 30 minutes. The peppers should begin to wrinkle slightly, and the sauce should bubble at the edges of the dish.
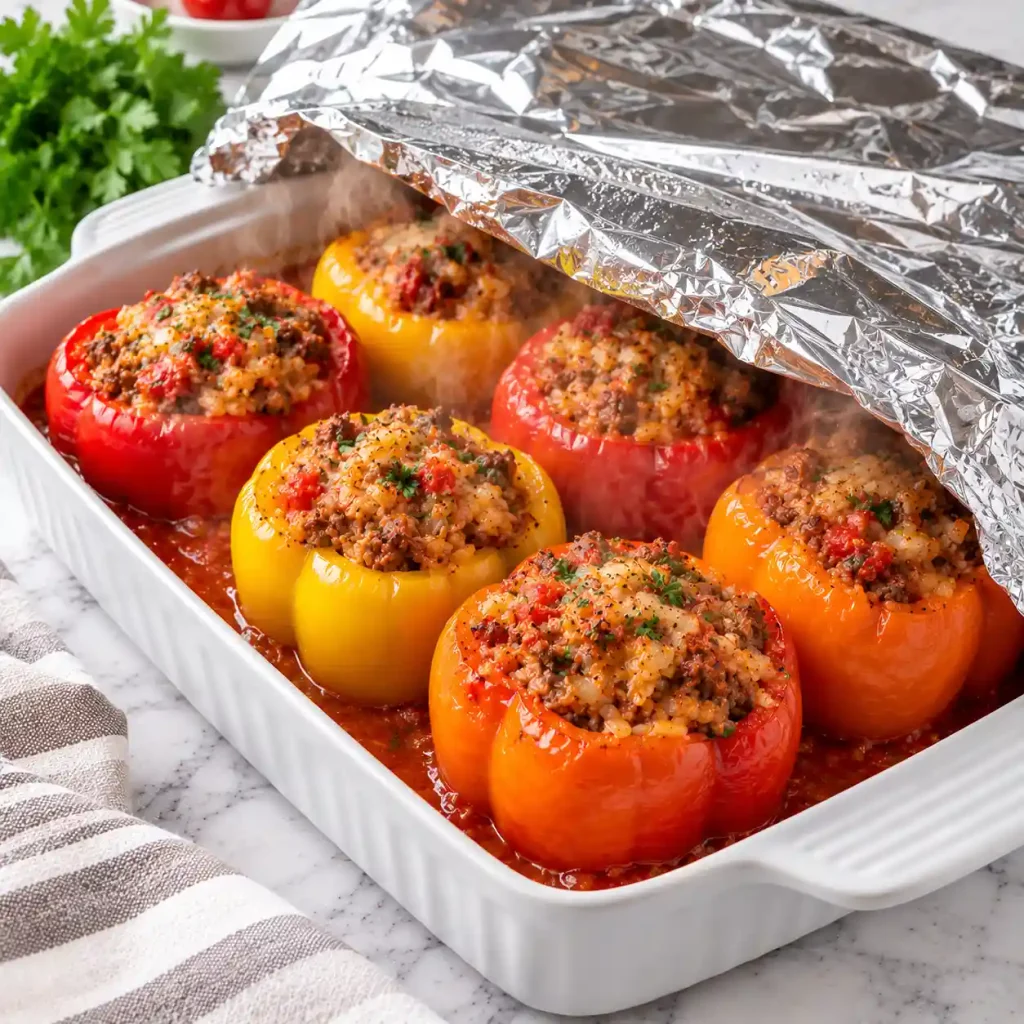
Chef’s Note: The foil traps steam around the peppers, which softens them gently. Skipping it leaves the skin tough and the tops dry.
Step 7: Melt the cheese and rest
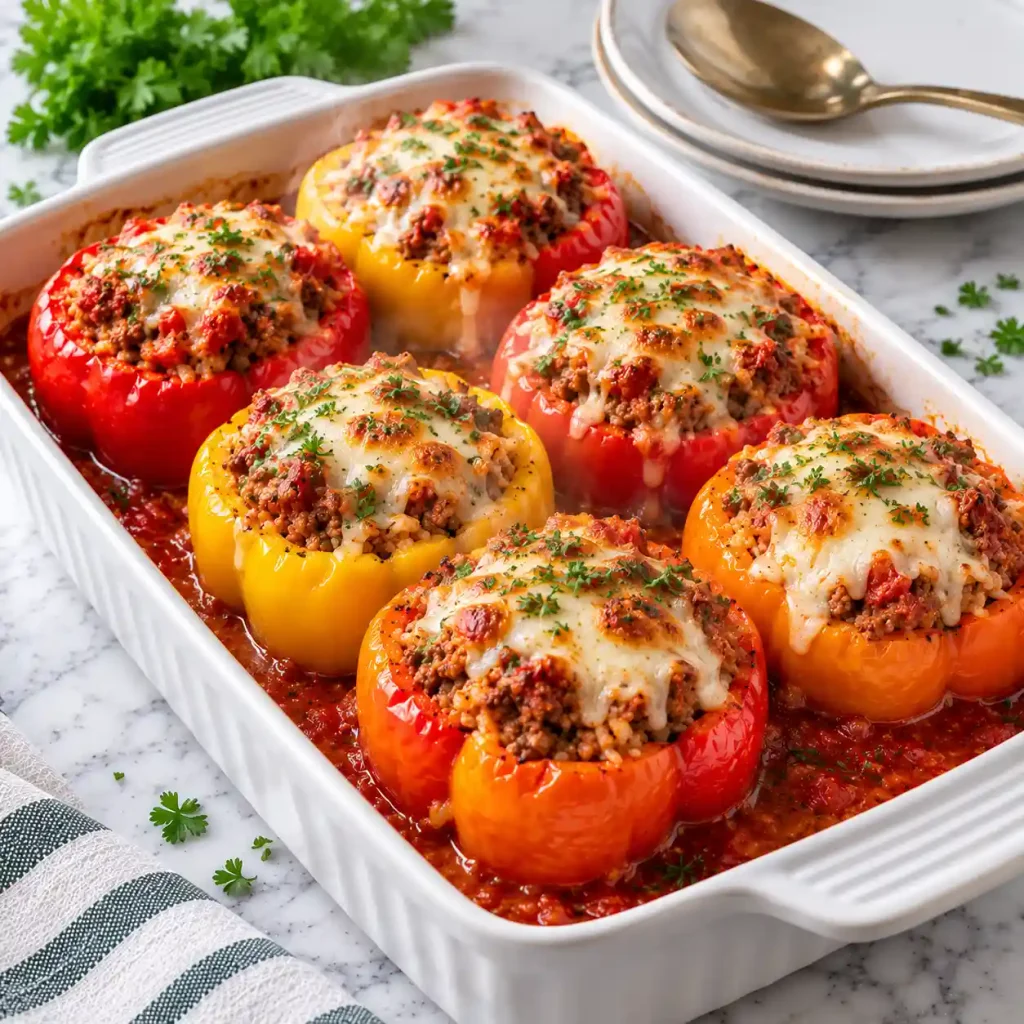
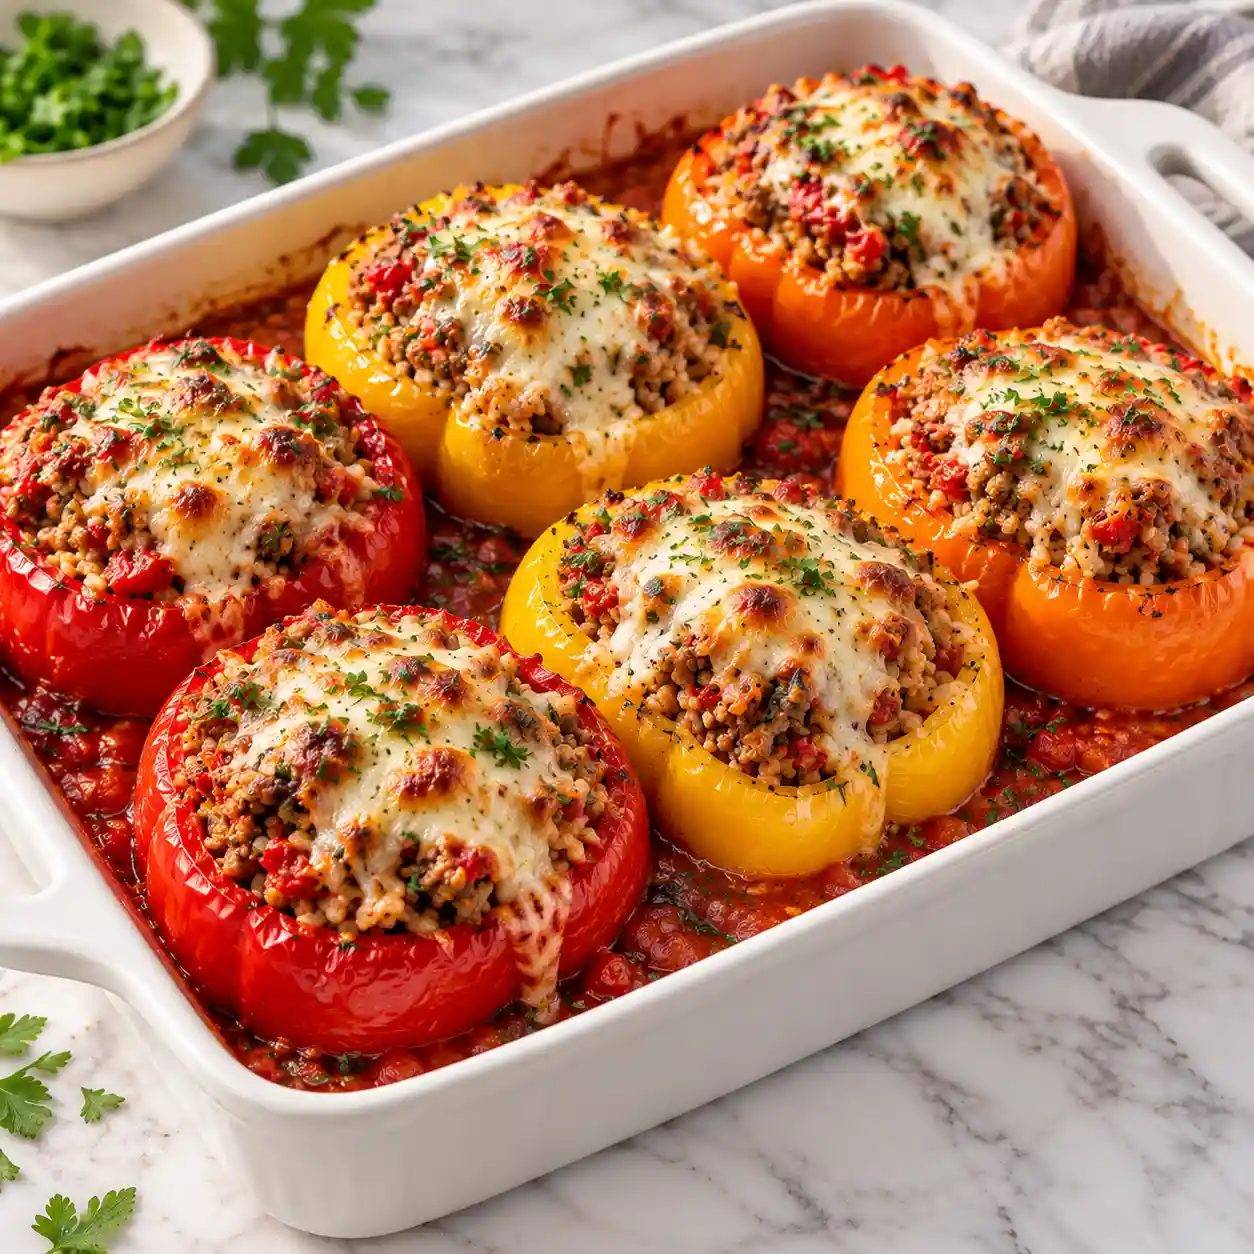
Remove the foil and scatter the remaining 1 cup of cheese over the filling. Bake 10 minutes more, until the cheese melts into bubbling, lightly speckled patches. A paring knife should slide into the side of a pepper with little resistance. Rest the dish for 5 minutes, then finish with the remaining parsley.
Expert Tips & Tricks
- Cut a flat base: A thin slice off a wobbly pepper saves you from tipped peppers and spilled filling.
- My dish mistake: The first time I made these, I used a dish that was too wide, and half the peppers tipped over mid bake. A snug dish props them up.
- Make ahead: Cook the filling up to 3 days ahead and keep it in the fridge. Stuff and bake on the day you plan to serve.
- Storage tip: Cool the leftovers within 2 hours of baking and refrigerate them in a sealed container.
- Texture trick: Use rice that is cooked and fluffy, not mushy, so the filling stays light instead of pasty.
- Time saver: Cook the rice while you chop, and use a bag of pre shredded cheese to save 5 minutes.
Common Mistakes & Troubleshooting
| Problem | Why It Happens | How to Fix or Prevent It |
| Watery filling | Tomatoes were not drained, or the beef released a lot of liquid | Drain the tomatoes well and cook the beef until the pan looks dry |
| Tough, firm peppers | No foil cover, or the peppers were very large | Cover tightly, then add 5 minutes of covered baking if needed |
| Peppers tip over | The dish is too wide or the base was uneven | Use a snug dish and shave a thin slice off wobbly bases |
| Bland filling | Spices were added without heat, or the salt was too low | Toast the spices for 1 minute and taste before stuffing |
| Cheese turned rubbery | The cheese went on at the start of baking | Add it for the final 10 minutes only |
Storage, Reheating, Freezing, Make Ahead
Refrigerator
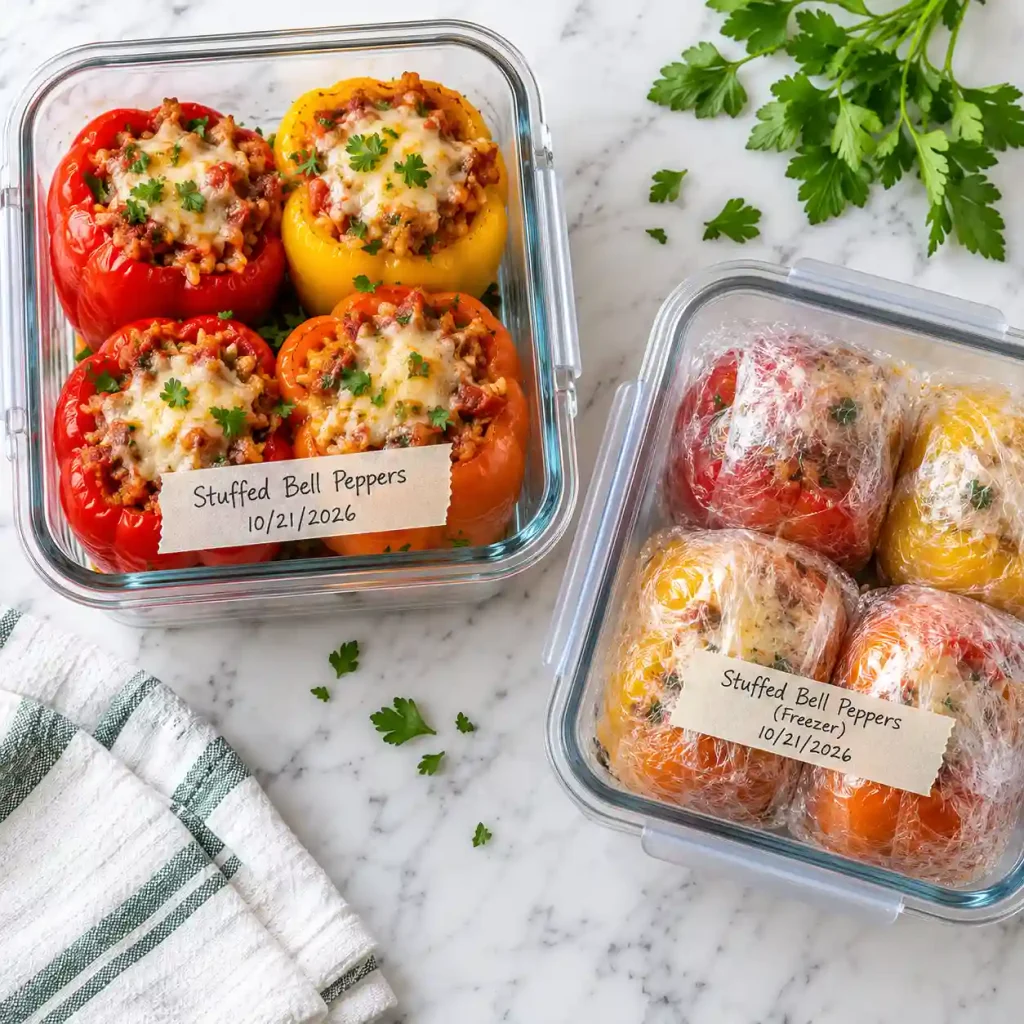
Cool the peppers for up to 30 minutes, then store them in a sealed glass container for up to 4 days.
Freezer
Wrap each cooled pepper tightly in plastic wrap, then place them in a freezer bag. They keep well for up to 3 months. Thaw overnight in the fridge before reheating.
Reheating
Warm one pepper in a 350°F (175°C) oven, covered with foil, for 20 to 25 minutes, until steaming in the center. A microwave works for 2 to 3 minutes, though the skin will be softer.
Make Ahead
Assemble the peppers in the dish without cheese, cover, and refrigerate for up to 24 hours. Add 5 to 10 minutes to the covered bake time.
Tip: Write the date on a strip of tape on the container. A quick label saves you from guessing how old a leftover is.
Variations & Substitutions
- Spicy: Add 1 diced jalapeño and 1/2 teaspoon red pepper flakes to the filling.
- Mild and kid friendly: Use sweet paprika, skip the cumin, and choose red or orange peppers for extra sweetness.
- Vegetarian: Replace the beef with 1 1/2 cups rinsed black beans and 1 cup cooked corn.
- Mediterranean: Use halal ground lamb, swap oregano for mint, and top with crumbled feta instead of mozzarella.
- Turkey or chicken: Use ground turkey or chicken at the same weight and add 1 extra tablespoon of olive oil.
- Lower carb: Replace the rice with cauliflower rice, cooked until the moisture cooks off.
Serving Suggestions
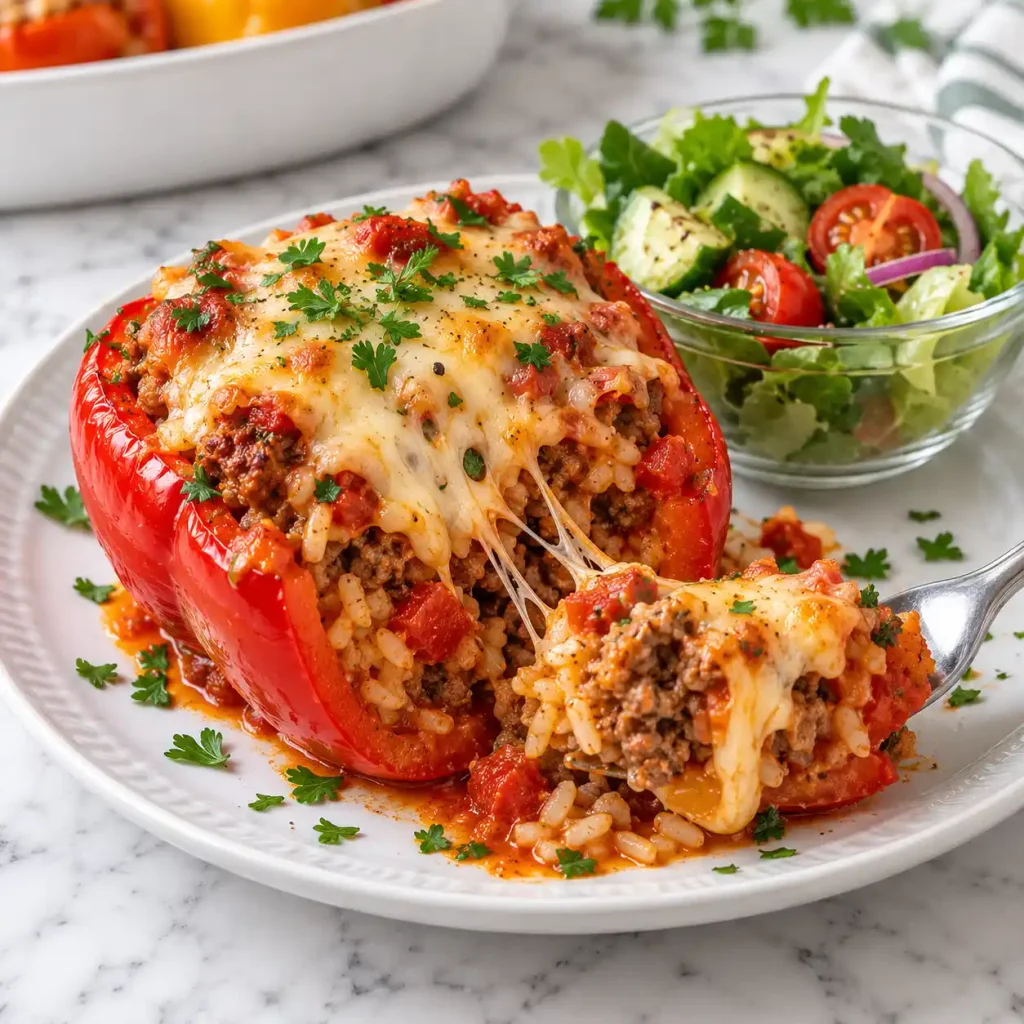
- Side dish: A crisp green salad with lemon dressing balances the richness. [INTERNAL LINK: easy green salad recipe]
- Bread: Warm flatbread or garlic bread soaks up the tomato sauce at the bottom of the dish. [INTERNAL LINK: homemade garlic bread recipe]
- Sauce or dip: A cool yogurt sauce with garlic and mint adds a fresh contrast.
- Drink: Iced mint lemonade or sparkling water with citrus keeps the meal light.
- Meal pairing: Serve with roasted potatoes for a heartier Sunday dinner. [INTERNAL LINK: crispy roasted potatoes recipe]
Nutrition Information
Serving size: 1 stuffed pepper | Servings per recipe: 6
| Nutrient | Amount |
| Calories | 380 |
| Protein | 25 g |
| Carbohydrates | 26 g |
| Fiber | 4 g |
| Sugar | 8 g |
| Fat | 19 g |
| Saturated Fat | 8 g |
| Cholesterol | 80 mg |
| Sodium | 790 mg |
Each pepper is also a good source of vitamin C, vitamin A, and iron. These numbers are estimates and shift with the brands you buy and how you measure.
Why This Recipe Works
Bell peppers are mostly water, which means they soften best when steamed rather than blasted with dry heat. Covering the dish traps that steam and cooks the peppers gently in the sauce around them. Removing the foil at the end lets the surface dry slightly, which is what gives the cheese its melted, lightly speckled finish.
Cooking the filling before it goes in matters just as much. The beef is browned and the spices are toasted on the stove, so the oven only has to heat everything through. Pre cooked rice then soaks up extra juices from the tomatoes and meat instead of turning hard.
Cheese goes on late because it contains fat and protein that turn greasy and rubbery with long baking. Ten minutes is enough to melt it fully while keeping it soft.
Frequently Asked Questions
FAQ Source Note: These questions follow typical patterns seen across People Also Ask style searches and cooking forums. Live search was not used.
Can I make stuffed bell peppers ahead of time?
Yes. Assemble the peppers in the dish, skip the cheese, cover tightly, and refrigerate for up to 24 hours. Take the dish out 20 minutes before baking so the chill wears off, then add 5 to 10 minutes to the covered bake time. Add the cheese at the uncovering stage as usual. You can also cook the filling alone up to 3 days ahead and stuff the peppers on the day you plan to serve them.
Why are my stuffed bell peppers watery?
Watery stuffed bell peppers usually come from a wet filling or undrained tomatoes. Peppers release juice as they bake, so the filling needs to be thick before it goes in. Drain the diced tomatoes well, cook the beef until the pan looks dry, and use rice that is cooked and fluffy, not mushy. A spoonful of tomato sauce in the filling is enough. The rest belongs in the dish, outside the peppers, where extra liquid can pool without soaking the rice.
Can I use a different meat or skip it?
Yes. Ground turkey or ground chicken works at the same weight, and both benefit from an extra tablespoon of olive oil because they are leaner. For a vegetarian version, replace the beef with 1 1/2 cups of rinsed black beans and 1 cup of cooked corn. Season the same way. Lean meats dry out faster, so keep the foil on for the full covered bake and check for tenderness at the 30 minute mark.
How do I know when stuffed bell peppers are done?
Press a paring knife into the side of a pepper. It should slide in with light resistance, and the skin should look slightly wrinkled with dark spots at the edges. The filling in stuffed bell peppers should be steaming in the center, and for safety the middle should read at least 165°F (74°C) on an instant read thermometer. If the peppers still feel firm, cover them again and bake 5 more minutes.
Should I boil the peppers first?
It is optional. Boiling for 3 to 4 minutes softens peppers faster, but it also adds water and one more pot to wash. In this recipe for stuffed bell peppers, the covered bake at 375°F (190°C) steams the peppers tender while they sit in the sauce, so boiling is not needed. If you like very soft peppers, bake them empty for 10 minutes before filling, then shorten the covered bake by 5 minutes.
Is this recipe dairy free or gluten free?
As written it contains dairy from the mozzarella. It uses no gluten ingredients, but check the labels on tomato sauce and any broth you add, since some brands include gluten or dairy. For a dairy free version, use a plant based melting shred or skip the topping and add extra parsley and a squeeze of lemon. This is not a guarantee for severe allergies, so read every label.
Conclusion
Stuffed bell peppers do not need much fuss. A hot skillet, a tight foil cover, and a little patience turn a few pantry staples into a dinner that looks like you worked harder than you did. The part I look forward to most is cutting into one and watching the filling hold its shape.
My best advice is to pick a snug baking dish and drain your tomatoes well. Those two small habits make the difference between peppers that stand tall and ones that slump into a puddle. Once you have the method down, it is easy to make stuffed bell peppers your own with spice, cheese, or a different protein.
If you loved this recipe, save it to your easy dinner Pinterest board so you can find it easily later!
Stuffed Bell Peppers
Ingredients
Method
- Instructions:
- Heat the oven to 375°F (190°C). Cut the tops off the peppers, remove the seeds and ribs, and shave any uneven bases so they stand flat.
- Cook the onion in olive oil over medium heat for 4 to 5 minutes until soft and translucent, then add the garlic for 30 seconds.
- Turn the heat to medium high, add the beef, and cook for 6 to 7 minutes, breaking it apart, until it has no pink left and shows brown patches. Confirm 160°F (71°C) with a thermometer.
- Add the spices and cook for 1 minute. Mix in the tomatoes, 1/2 cup tomato sauce, rice, half the parsley, and 1/2 cup cheese until the mixture holds together.
- Stand the peppers in a snug baking dish. Combine the remaining tomato sauce with the water and pour it around them, then pack in the filling until domed.
- Cover with foil and bake for 30 minutes, until the sauce bubbles at the edges.
- Remove the foil, top with the remaining cheese, and bake 10 minutes more until melted. Rest for 5 minutes and garnish with parsley.
Notes
- Drain the canned tomatoes well to keep the filling thick.
- Refrigerate leftovers in a sealed container for up to 4 days.
- Freeze wrapped peppers for up to 3 months and thaw overnight before reheating.
- Ground turkey or chicken can replace the beef at the same weight.