8 Ingredient Irresistible Chocolate Pudding, Silky and Rich

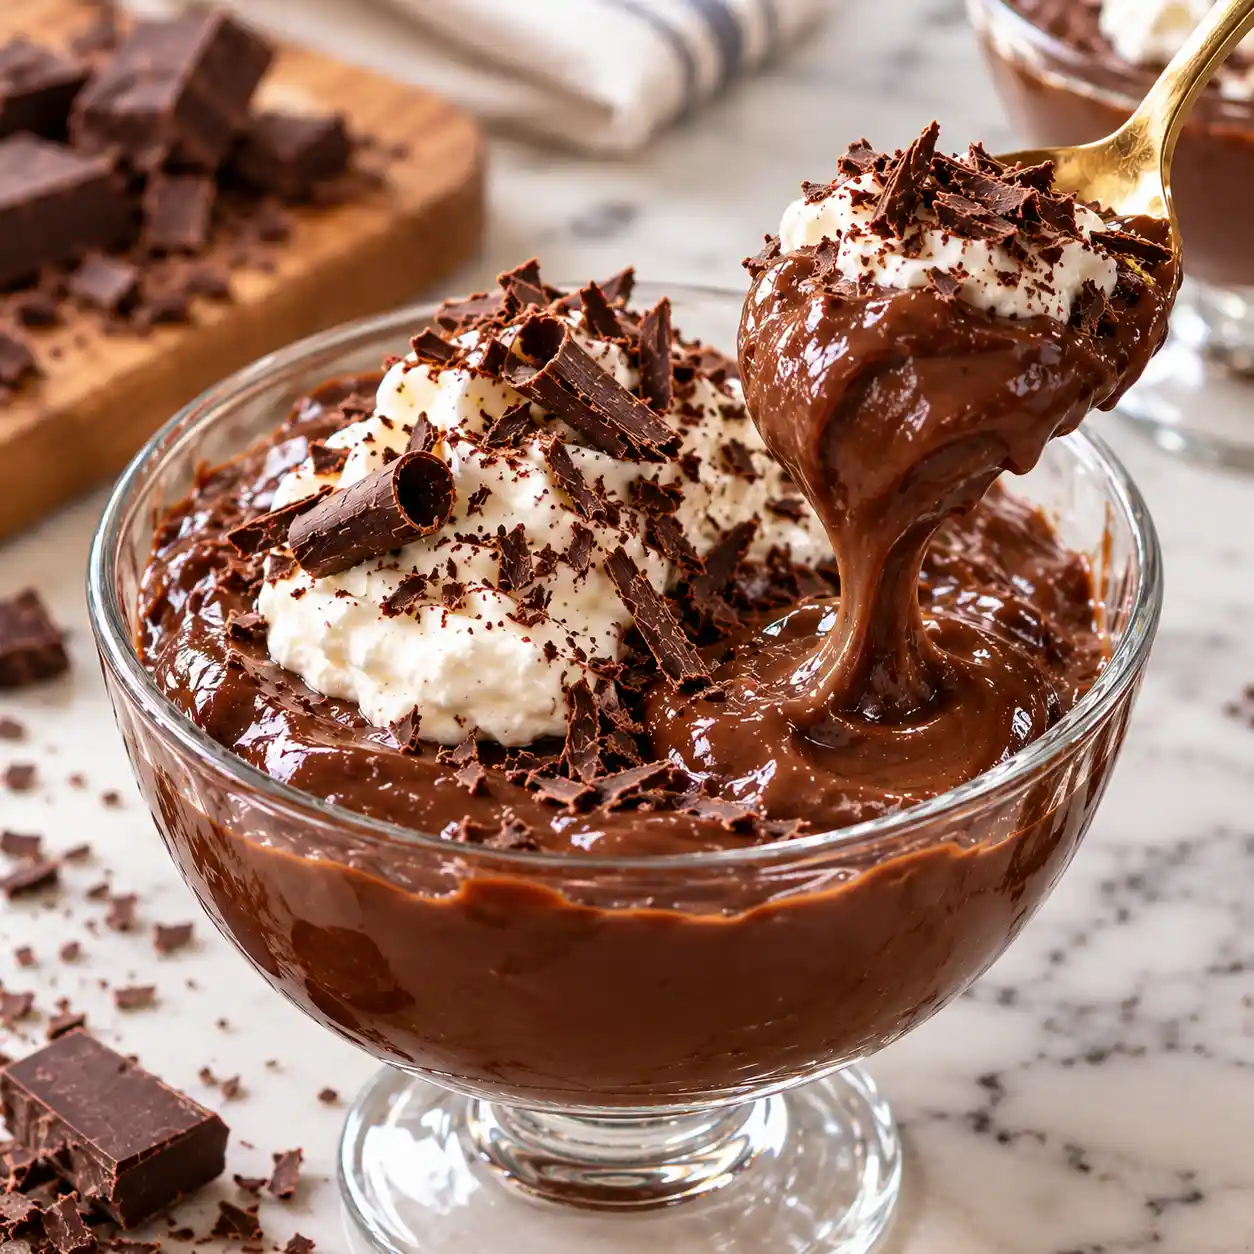
Drag a spoon through cold chocolate pudding and the trench it leaves should hold its edges and shine like fresh paint. Anything thinner reads as chocolate milk, and anything stiffer starts to feel like glue. Hitting that middle ground is easier than most recipes make it sound. Most failures come from rushed heat or lumpy starch, and both are easy to avoid.
This chocolate pudding cooks on the stove with eight everyday ingredients and about 20 minutes of hands on work. Cocoa brings the deep flavor, real chocolate adds body, and a little butter at the end gives it a glossy finish. There are no eggs to temper and no boxed mix involved. Beginners can make it without special equipment, and the whole thing fits in a single saucepan. After a two hour chill, you get a bowl that is smooth, rich, and simple enough for a weeknight.
Why You’ll Love This Chocolate Pudding
- One saucepan cleanup: Everything cooks in the same pot, so you only wash a whisk, a pan, and your serving dishes.
- No eggs required: Cornstarch does the thickening, which means no tempering and no risk of scrambled bits.
- Deep chocolate flavor: Cocoa powder and melted semisweet chocolate work as a pair, giving you both depth and a rounded, smooth finish.
- Pantry friendly: You probably own most of the eight ingredients already, and the rest are easy to find at any grocery store.
- Make it ahead: The pudding keeps for several days in the fridge, so dessert can be done before dinner guests arrive.
- Easy to adapt: Swap the milk, change the chocolate, or add a pinch of spice without throwing off the texture.
Read Also:
Ingredient Selection Tips
Pick a chocolate bar you would happily eat on its own, because it carries a lot of the flavor here. Look for a semisweet or bittersweet bar with cocoa butter listed near the top of the ingredients and no vegetable oil. Chocolate chips work, but many contain stabilizers that keep them from melting as smoothly. For milk, choose full fat. Skim milk will give you a thin, slightly chalky pudding. Check that your cornstarch is fresh and dry, since old, clumped starch is harder to blend smoothly. As for cocoa, either natural or Dutch process works, though Dutch process tastes rounder and darker.
Recipe Snapshot
| Servings | Difficulty | Course | Cuisine | Prep Time | Cook Time | Rest Time | Total Time | Calories |
| 6 | Easy | Dessert | American | 8 minutes | 12 minutes | 2 hours | 2 hours 20 minutes | 320 per serving |
Ingredients
For the pudding base:
- 3 cups (720 ml) whole milk. Fat in the milk is what makes the texture creamy instead of watery.
- 2/3 cup (130 g) granulated sugar
- 1/3 cup (30 g) unsweetened cocoa powder. This supplies the core chocolate flavor and a deep brown color.
- 1/4 cup (30 g) cornstarch. It is the only thickener, so measure it level.
- 1/4 teaspoon fine salt. A small amount sharpens the chocolate and keeps the sugar from tasting flat.
For finishing:
- 4 ounces (115 g) semisweet chocolate, finely chopped. Fine pieces melt quickly in the hot pudding without clumping.
- 2 tablespoons (28 g) unsalted butter. It adds shine and a softer mouthfeel.
- 2 teaspoons alcohol free vanilla extract or vanilla bean paste. Alcohol free versions taste clean and smooth, without the sharp edge that some extracts leave behind.
Substitution notes: Use light brown sugar for a slight caramel edge. Replace up to half the milk with half and half for a richer bowl. If you only have chocolate chips, chop them to speed up melting.
Recipe Timing
Prep takes about 8 minutes, mostly chopping the chocolate and measuring. The stovetop work runs around 12 minutes, and most of that is steady whisking. The pudding then needs a minimum of 2 hours in the fridge to set fully. That brings the whole chocolate pudding to 2 hours and 20 minutes, with only about 20 minutes of that needing your attention.
[AI IMAGE PROMPT: Raw ingredients for chocolate pudding arranged on white marble: a white ceramic pitcher of whole milk, small white ceramic bowls of fine cocoa powder, sugar and cornstarch, chopped semisweet chocolate, butter on a glass dish, vanilla, soft natural daylight, top down flat lay.]
[IMAGE PLACEHOLDER | alt-text: “Flat lay of milk, cocoa, sugar, cornstarch, chopped chocolate, butter and vanilla for chocolate pudding” | filename: “chocolate-pudding-ingredients-flat-lay.jpg” | orientation: vertical]
Allergen and Dietary Disclosure
This recipe contains dairy (milk and butter), and most chocolate bars also contain soy lecithin. Cornstarch is naturally gluten free, but cocoa and chocolate can be processed near wheat, so check labels if you avoid gluten.
- Dairy: Use full fat oat milk, dairy free semisweet chocolate, and plant based butter.
- Soy: Pick a chocolate bar made without soy lecithin.
- Gluten: Choose products labeled gluten free.
If you are cooking for someone with a severe allergy, read every label and confirm with the manufacturer. This recipe cannot be guaranteed safe for any specific allergy.
Equipment Needed
- Heavy bottomed saucepan (3 quarts): Thick metal spreads heat evenly, which lowers the chance of scorching the bottom.
- Balloon whisk: The wires reach the corners of the pan, where pudding likes to stick and burn.
- Silicone spatula: Use it to scrape the pot edges and to push pudding through the sieve.
- Fine mesh sieve: It catches any stray lumps and gives you a perfectly smooth finish.
- Plastic wrap: Pressed onto the surface, it stops a skin from forming.
Preparation
Measure every ingredient before turning on the heat, since the cooking stage moves fast. Chop the chocolate into small, even pieces and place it next to the stove with the butter and vanilla. If your cocoa looks clumpy, press it through a sieve first. Set out six serving dishes or one large bowl, and rest the fine mesh sieve over whichever you choose. Keep the whisk and spatula within reach.
Step by Step Instructions
Step 1: Build the dry base
Add the sugar, cocoa, cornstarch, and salt to a cold saucepan. Whisk the dry ingredients until the mixture looks one even shade of brown with no pale streaks.
Chef’s Note: Mixing the dry ingredients first separates the cornstarch granules, so they spread out instead of clumping when the liquid arrives.
Step 2: Make a smooth paste
Pour in about 1/2 cup of the milk and whisk until you see a thick, shiny paste with no dry pockets. Slowly add the rest of the milk while whisking, and keep going until the mixture looks like thin chocolate milk.
Step 3: Heat and thicken
Place the pan over medium heat and whisk constantly, scraping the corners. After 6 to 8 minutes, the liquid will start to bubble at the edges and coat the back of a spoon. Drag a finger across the spoon: the line should stay clean.
Chef’s Note: Cornstarch thickens only once it hits roughly 203°F (95°C), and it does so suddenly. Constant motion keeps the thickening even instead of leaving a gluey layer on the bottom.
[AI IMAGE PROMPT: Dark glossy chocolate mixture beginning to thicken in a stainless steel saucepan, tiny bubbles at the edges, thin steam rising, whisk trails visible on the surface, a stainless balloon whisk resting inside, white marble counter, warm kitchen light, 45 degree food photography angle.]
[IMAGE PLACEHOLDER | alt-text: “Chocolate pudding thickening in a saucepan with whisk trails and steam” | filename: “chocolate-pudding-thickening-saucepan.jpg” | orientation: horizontal]
Step 4: Bring to a gentle boil
When slow, thick bubbles begin popping across the whole surface, keep whisking for a full 60 seconds. Then pull the pan off the burner.
Chef’s Note: That minute at a boil finishes cooking the starch, which removes any raw, floury taste and gives the pudding its full thickness.
Step 5: Melt in the chocolate
Drop in the chopped chocolate and butter. Whisk for about a minute, until every piece has disappeared and the pudding looks glossy and smooth.
Step 6: Add vanilla and strain
Stir in the vanilla. Pour the hot pudding through the fine mesh sieve into your dishes, pushing it along with the spatula, so any tiny lumps stay behind.
Chef’s Note: Straining takes ten seconds and is cheap insurance. Even careful cooks end up with a few cooked bits near the pan edges.
[AI IMAGE PROMPT: Thick glossy chocolate pudding poured from a stainless steel saucepan into four clear glass dessert cups, each filled evenly, lined up on white marble, velvety ribbons falling, steam curling off the surface, warm kitchen light, top down flat lay.]
[IMAGE PLACEHOLDER | alt-text: “Hot chocolate pudding being poured into four glass cups on white marble” | filename: “pouring-chocolate-pudding-into-glass-cups.jpg” | orientation: horizontal]
Step 7: Cover and chill
Lay plastic wrap directly on the surface of each portion and press it down gently. Refrigerate for at least 2 hours. The pudding is ready when it jiggles slightly and a spoon leaves a clear trench.
Tip: If you like a warm, spoonable dessert, eat a portion after 20 minutes at room temperature. It will be softer and almost like a thick chocolate sauce.
Read Also:
Expert Tips and Tricks
- My early mistake: I once walked away from the pot for a minute to find a phone, and came back to a burnt layer on the bottom. Stay at the stove and keep whisking from start to finish.
- Make ahead: Prepare the pudding the day before serving. The flavor deepens overnight and the texture settles.
- Storage: Keep it in individual covered cups or jars so you only open what you need.
- Technique: Whisk in figure eights, then trace the pan corners. Pudding sticks and scorches there first.
- Texture: For a very silky result, use a blender for 10 seconds after straining. Skip this if the pudding is already smooth.
- Time saving: Chop the chocolate and measure the dry ingredients the night before, and the cooking will take half the stress.
Common Mistakes and Troubleshooting
| Problem | Why It Happens | How to Fix or Prevent It |
| Lumpy pudding | Milk was added too fast, or the starch was not whisked into the dry mix | Make a paste with a small splash of milk first, and strain the finished pudding |
| Runny pudding | The mixture never reached a full boil, or it was not chilled long enough | Boil for a full minute while whisking, and chill at least 2 hours |
| Skin on top | Air touches the warm surface as it cools | Press plastic wrap directly onto the pudding |
| Scorched taste | Heat was too high, or whisking paused | Use medium heat and a heavy pan, and never stop stirring |
| Grainy or oily texture | Chocolate was added over high heat or stirred too roughly | Pull the pan from the burner first, then whisk gently |
| Gluey or too stiff | Too much cornstarch or overcooking | Measure the starch level and stop cooking after one minute at a boil |
Storage, Reheating, Freezing, Make Ahead
Refrigerator
Keep chocolate pudding in covered containers in the fridge for up to 4 days. Glass jars with lids or ramekins wrapped in plastic both work well.
Freezing
Freezing is not recommended. Cornstarch puddings turn watery and slightly curdled after thawing.
Reheating
This pudding is best cold. To enjoy it warm, microwave a single portion in 10 second bursts with a splash of milk, stirring between rounds.
Make Ahead
Cook the pudding up to 2 days before you need it. Wait to add toppings until just before serving so they stay fresh.
My own storage habit is to label each jar with the date on a small piece of tape, so nobody has to guess how old the last portion is.
Tip: Keep the plastic wrap in contact with the surface the entire time. A loose lid alone will not stop a skin from forming.
[AI IMAGE PROMPT: Four glass jars of chocolate pudding with plastic wrap pressed on the surface and small white paper labels, lined up in a neat row on a white ceramic tray over white marble, glossy smooth tops, soft natural daylight, 45 degree food photography angle.]
[IMAGE PLACEHOLDER | alt-text: “Four labeled jars of chocolate pudding covered in plastic wrap on a white tray” | filename: “storing-chocolate-pudding-in-glass-jars.jpg” | orientation: horizontal]
Variations and Substitutions
- Dark chocolate version: Use 70 percent bittersweet chocolate and cut the sugar to 1/2 cup for a more grown up flavor.
- Mexican style: Whisk 1/2 teaspoon cinnamon and a tiny pinch of cayenne into the dry mix for gentle warmth.
- Orange chocolate: Stir in 1 teaspoon fresh orange zest at the end for a bright, citrusy lift.
- Dairy free: Use full fat oat milk, dairy free chocolate, and plant based butter. Expect a slightly softer set.
- Mocha: Add 1 teaspoon instant coffee granules to the dry ingredients to boost the chocolate without a coffee taste.
- Kid friendly: Replace the semisweet chocolate with milk chocolate and reduce the sugar by 2 tablespoons.
Serving Suggestions
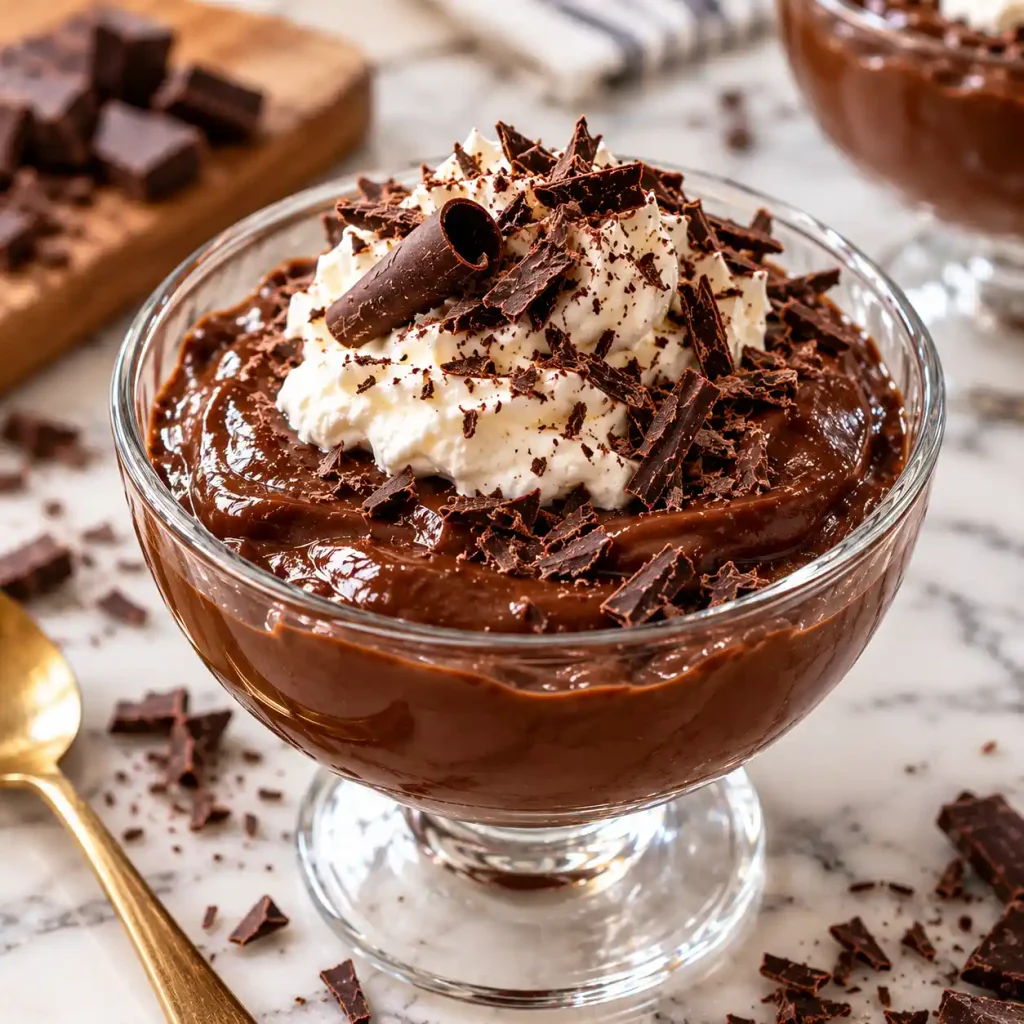
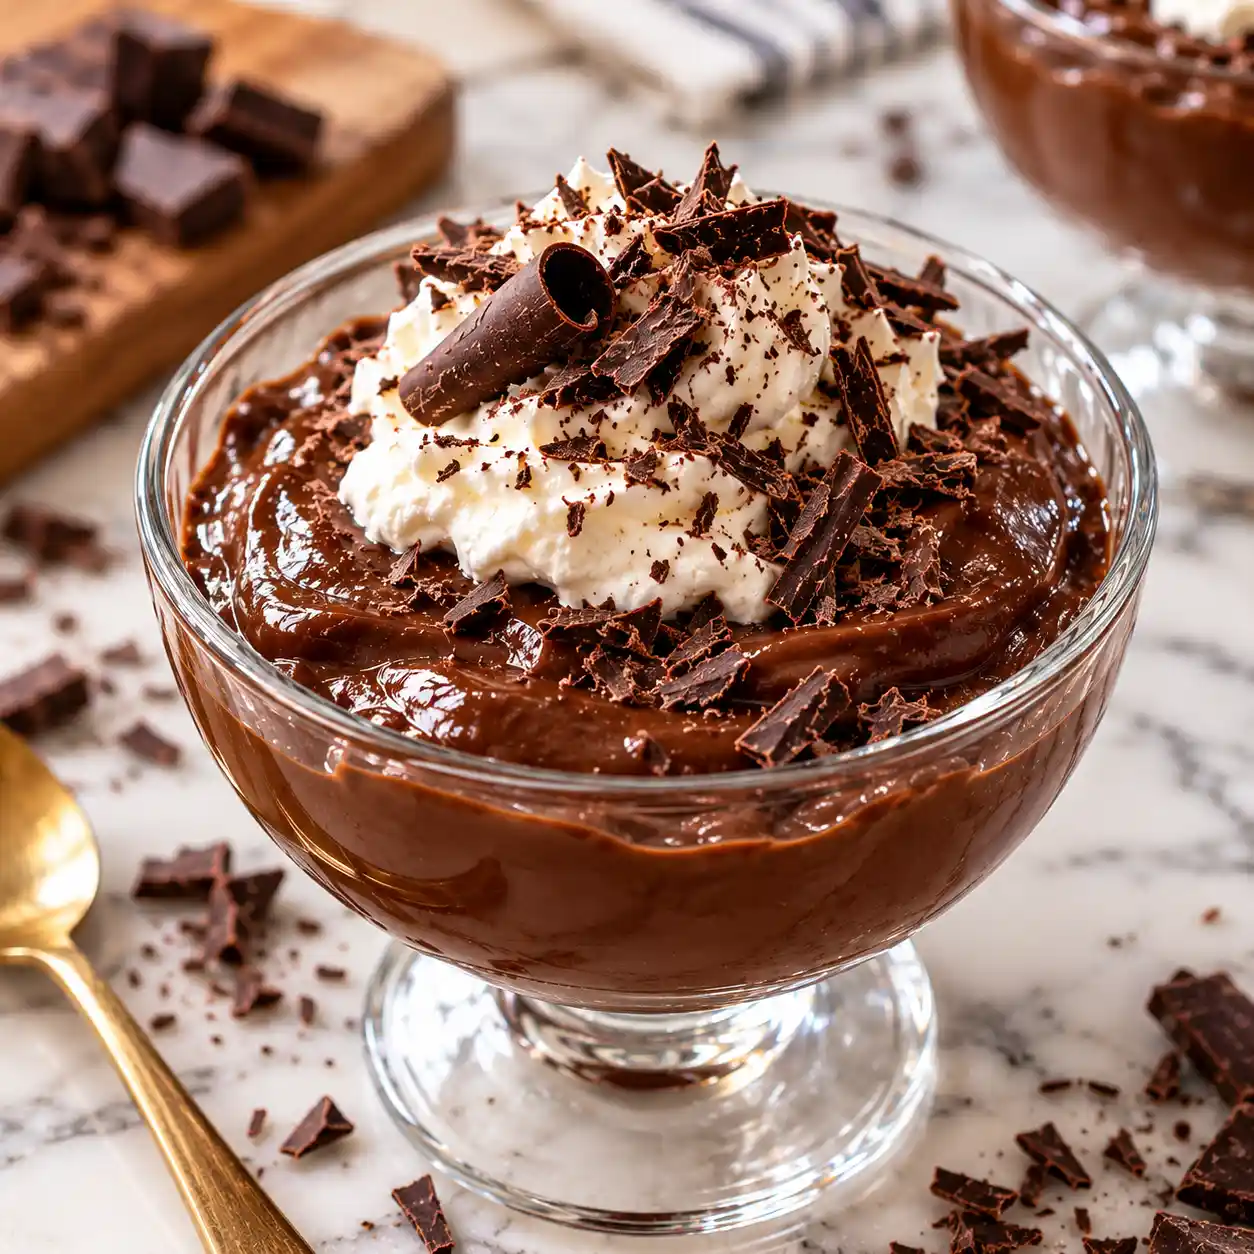
- Whipped cream: A spoonful of softly whipped cream adds a cool, airy contrast. See [INTERNAL LINK: homemade whipped cream recipe].
- Fresh berries: Raspberries and sliced strawberries cut through the richness. Try [INTERNAL LINK: quick berry sauce recipe].
- Crunchy cookies: Serve alongside shortbread or [INTERNAL LINK: crisp butter cookies recipe] for dipping.
- Garnishes: Chocolate shavings, flaky sea salt, or crushed toasted nuts give texture on top.
- Drinks: A cold glass of milk or a hot cup of coffee pairs naturally.
- Parfait style: Layer pudding with crushed cookies and cream in a tall glass for guests.
Nutrition Information
Serving size: about 2/3 cup (140 g) | Servings per recipe: 6
| Nutrient | Amount |
| Calories | 320 |
| Protein | 6 g |
| Carbohydrates | 47 g |
| Fiber | 3 g |
| Sugar | 37 g |
| Fat | 14 g |
| Saturated Fat | 9 g |
| Cholesterol | 22 mg |
| Sodium | 155 mg |
Each portion also provides roughly 150 mg of calcium and about 1 mg of iron. These values are estimates and can shift depending on the brands you buy and how you measure.
Why This Chocolate Pudding Works
Cornstarch is a pure starch. When it is heated in liquid, its granules swell and burst, releasing long chains that tangle together and thicken the milk. This process, called gelatinization, begins around 144°F (62°C) and finishes near the boiling point, which is why the pudding needs a full minute of gentle bubbling.
Fat and cocoa make the texture smooth. Whole milk and butter coat your tongue, and cocoa butter in the real chocolate adds a creamy melt, so the finished chocolate pudding feels rich without eggs. Cocoa powder also contains fine solids that help the pudding feel thick.
Cooling does the final work. As the pudding chills, the starch network firms up into a soft gel, and that is what turns a pourable liquid into something spoonable. A pinch of salt rounds out all of this by sharpening the chocolate flavor.
Read Also:
Frequently Asked Questions
FAQ Source Note: These questions follow typical patterns seen in People Also Ask boxes and cooking forums. They were not pulled from live search.
How far ahead can I make chocolate pudding?
You can make it up to 2 days before serving. Cover each portion with plastic wrap pressed on the surface and keep it in the fridge. It stays fresh for about 4 days in total. Add whipped cream and other toppings right before serving so they stay fresh and the pudding keeps its smooth look.
Why is my homemade chocolate pudding lumpy?
Lumps usually come from adding all the milk at once, or from cornstarch that was not mixed into the dry ingredients first. Start with a thick paste using a little milk, then thin it gradually. If lumps appear anyway, press the hot pudding through a fine mesh sieve and they will disappear.
Can I make chocolate pudding with plant based milk?
Yes. Full fat oat milk works best because it has a similar body to whole milk. Almond and rice milk are thinner, so the pudding will set a little softer. Use dairy free chocolate and plant based butter to keep the whole recipe free of dairy.
How do I know when chocolate pudding is thick enough?
Dip a spoon into the pot and draw a line through the coating on the back. If the line stays clean and does not run, it is ready. The pudding will also bubble slowly across the whole surface. Boil one more minute, then remove it from the heat. It will firm up more as it chills.
Is this chocolate pudding safe for people with allergies?
It contains milk and butter, and many chocolate bars also contain soy. Cornstarch is gluten free, but cocoa and chocolate may be made near wheat. Read all labels carefully and use the dairy free swaps above if needed. For severe allergies, confirm ingredients with the manufacturers, as no recipe can be guaranteed safe.
Why does chocolate pudding form a skin?
A skin forms when the surface dries out and the proteins and starch on top firm up as the pudding cools. Press plastic wrap directly against the surface while the pudding is still warm. That blocks air and keeps the top smooth. If a skin does form, simply lift it off with a spoon.
[AI IMAGE PROMPT: Close up of a serving of chocolate pudding in a white ceramic bowl, glossy surface with a silver spoon lifting a thick velvety scoop, softly whipped cream, chocolate shavings and flaky sea salt, white marble surface, soft natural daylight, low 30 degree angle.]
[IMAGE PLACEHOLDER | alt-text: “Spoon lifting a thick scoop of chocolate pudding from a white bowl with whipped cream” | filename: “chocolate-pudding-final-plated-shot.jpg” | orientation: vertical]
Conclusion
Good chocolate pudding does not need fancy tools or many ingredients. It needs steady heat, constant whisking, and the patience to let the pot reach a full boil before you pull it off. Those three habits matter more than any single ingredient.
I make this one whenever I want a dessert that feels special without a lot of effort. A batch in the fridge on Sunday makes weekday evenings a little sweeter. Cook it once, and you will likely never go back to the boxed version.
If you loved this recipe, save it to your dessert Pinterest board so you can find it easily later!
Chocolate Pudding
Ingredients
Method
- Instructions:
- Combine the sugar, cocoa, cornstarch, and salt in a cold saucepan and stir until the color is even.
- Add a splash of milk and stir into a thick paste, then pour in the remaining milk gradually.
- Cook over medium heat, stirring without pause for 6 to 8 minutes, until the mixture coats a spoon.
- Once large bubbles break across the surface, keep stirring for 1 minute, then remove the pan from the heat.
- Add the chocolate and butter and stir until fully melted and shiny.
- Mix in the vanilla, then pour the pudding through a fine sieve into serving dishes.
- Press plastic wrap onto each surface and chill for at least 2 hours until set.
Notes
- Keep covered in the fridge for up to 4 days.
- Do not freeze, as the texture turns watery.
- For a dairy free version, use full fat oat milk, dairy free chocolate, and plant based butter.
- Add toppings just before serving.