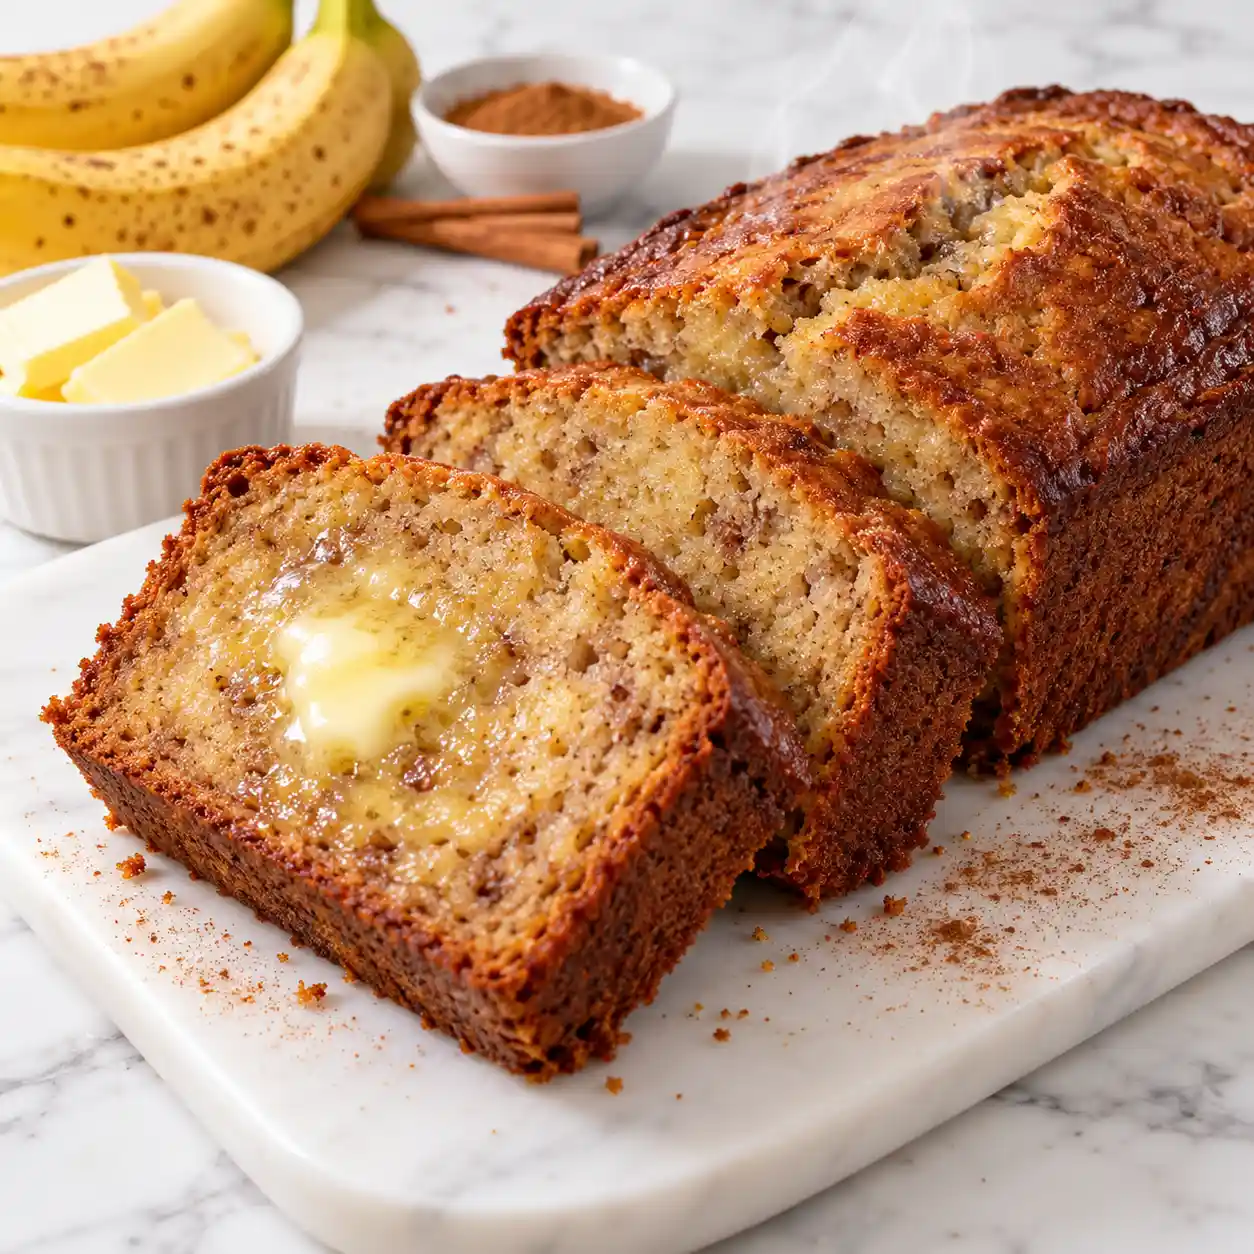
Banana Bread: Super Moist Loaf in 80 Minutes

Around minute 35 of baking, the whole house starts to smell like caramel, warm cinnamon, and melted butter. That smell is the best part of banana bread, and it pulls people into the kitchen before the timer goes off. What you are after is a crackly top, a tender middle, and slightly sticky edges, and all three are easier to get than most recipes make them sound.
This banana bread comes together in one bowl with a whisk and a spatula, so cleanup is nearly nothing. Total time is 80 minutes, and only 10 of those are hands on. Brown sugar and a spoonful of plain yogurt keep the crumb soft for days, while a little cinnamon gives it that warm bakery flavor. If you have three spotted bananas on the counter, you are most of the way there. You do not need a mixer or any special tools at all.
Why You’ll Love This Banana Bread
- One bowl cleanup: Everything gets mixed in a single bowl, so you wash one bowl, one whisk, and one loaf pan.
- Soft for days: Yogurt and brown sugar hold onto moisture, so a slice on day three still tastes fresh.
- Pantry friendly: Flour, sugar, butter, an egg, and baking soda are probably already in your kitchen.
- Forgiving batter: Melted butter makes a batter that handles a few extra stirs better than a creamed one, though gentle folding still gives the softest crumb.
- Built for ripe bananas: Fruit that is too soft to eat becomes the reason this loaf tastes so rich.
Ingredient Selection Tips
Ripeness decides how good your banana bread will be. Look for peels that are heavily freckled or mostly brown, with fruit that feels soft and smells sweet. As bananas ripen, their starch turns into sugar, which means more flavor and more moisture in the loaf. Buy unsalted butter so you control the salt, and check that your baking soda is less than six months old, because stale soda gives a flat, pale loaf. Plain whole milk yogurt gives the best texture, since low fat versions add more water than richness.
Callout: Freezer Bananas. Peel overripe bananas, freeze them in a bag, and thaw them when you are ready to bake. They turn soft and watery, which is fine. Mash them with all of their liquid, because that liquid is pure banana flavor.
Recipe Snapshot
| Servings | Difficulty | Course | Cuisine | Prep Time | Cook Time | Rest Time | Total Time | Calories |
| 10 slices | Easy | Breakfast, Snack | American | 10 minutes | 55 minutes | 15 minutes | 80 minutes | 215 per slice |
Ingredients
For the dry mix:
- 1 1/2 cups (190 g) all purpose flour. This gives the loaf enough structure to hold wet banana without turning gummy.
- 1 teaspoon baking soda. It reacts with the acid in brown sugar and yogurt to lift the loaf and deepen the browning.
- 1/2 teaspoon fine salt
- 1 teaspoon ground cinnamon
For the wet mix:
- 3 large very ripe bananas (about 1 1/2 cups or 340 g mashed). They supply nearly all of the sweetness and moisture.
- 1/3 cup (75 g) unsalted butter, melted. Melted butter keeps the crumb tender and the mixing simple.
- 2/3 cup (130 g) packed light brown sugar. Its molasses adds moisture and a caramel note that white sugar cannot.
- 1 large egg, at room temperature
- 1/4 cup (60 g) plain whole milk yogurt. The gentle acid softens the crumb and keeps it moist for days.
- 1 teaspoon alcohol free vanilla extract. It tastes a bit softer and rounder, which suits the banana well.
Optional:
- 1/2 cup (60 g) chopped walnuts, folded into the batter
- 1 tablespoon coarse sugar for the top
Substitution notes: Sour cream or buttermilk can replace the yogurt in equal amounts. Swap up to half of the flour for whole wheat flour for a nuttier, slightly denser loaf. Light olive oil or another neutral oil can replace the butter at the same quantity, though you will lose some of the buttery flavor.
Recipe Timing
Plan on 10 minutes of mashing and mixing while the oven warms up. The loaf bakes for 55 minutes, and you can check it from the 50 minute mark. A 15 minute rest in the pan helps it firm up enough to slice cleanly, which brings the total to 80 minutes.
[AI IMAGE PROMPT: Raw banana bread ingredients arranged on a white marble surface: three spotted ripe bananas, brown sugar in a small white ceramic bowl, flour in a glass jar, melted butter in a glass measuring cup, one egg, cinnamon, soft natural daylight, top down flat lay, crisp and fresh.]
[IMAGE PLACEHOLDER: alt-text: “Banana bread ingredients flat lay with ripe bananas, flour, brown sugar, butter, and egg” | filename: “banana-bread-ingredients-flat-lay.jpg” | orientation: horizontal]
Allergen & Dietary Disclosure
This banana bread contains the following common allergens, each with a realistic swap:
- Wheat and gluten (flour): Use a 1 to 1 gluten free baking blend that includes xanthan gum.
- Dairy (butter and yogurt): Use plant based butter and an unsweetened soy or coconut yogurt.
- Egg: Stir 1 tablespoon ground flaxseed into 3 tablespoons water, wait 5 minutes, and use it in place of the egg.
- Tree nuts (optional walnuts): Leave them out or use pumpkin seeds.
Swaps can change the texture and bake time, and no substitution makes a recipe guaranteed safe. If someone has a severe allergy, check every ingredient label and talk to their doctor first.
Equipment Needed
- 9 by 5 inch loaf pan: Pick a light colored metal pan, because dark pans brown the edges faster than the center bakes.
- Digital kitchen scale: Weighing the flour prevents the most common cause of a dry loaf.
- Instant read thermometer: A reading of 205°F (96°C) in the center removes all guesswork.
- Wire rack: Air circulation under the pan keeps the bottom from turning damp.
- Rubber spatula: It scrapes the bowl clean and folds gently without crushing air out of the batter.
Preparation
Move an oven rack to the middle position and heat the oven to 350°F (175°C). Butter the loaf pan, then press a strip of parchment into it so it covers the bottom and hangs over both long sides like handles. Pull the egg and yogurt out of the fridge now. Melt the butter and let it cool for about 5 minutes so it will not cook the egg. Measure every ingredient before you begin, and the mixing will take about 5 minutes.
Step-by-Step Instructions
Step 1: Mash the bananas
Peel the bananas into your mixing bowl and crush them with a fork until mostly smooth, leaving a few small lumps. You should end up with a thick, glossy puree that measures about 1 1/2 cups.
Step 2: Whisk the wet ingredients
Pour in the cooled melted butter, then add the brown sugar, egg, yogurt, and vanilla. Whisk for about 1 minute until the mixture looks glossy and no sugar streaks remain. Wash your hands and any surface the raw egg touched with hot soapy water.
Chef’s Note: Butter that has cooled slightly keeps the egg from scrambling. The brown sugar dissolves into the banana moisture here, which gives the finished crumb a smoother, deeper flavor.
Step 3: Fold in the dry ingredients
Scatter the flour, baking soda, salt, and cinnamon over the wet mixture. Fold with a spatula for about 12 to 15 strokes, stopping when the last streak of flour disappears. The batter should look thick and fall off the spatula slowly. Fold in the walnuts now if you are using them.
Chef’s Note: Extra stirring builds gluten, and gluten makes banana bread rubbery. The baking soda also starts reacting the moment it meets the wet ingredients, so move straight to the pan.
[AI IMAGE PROMPT: Thick creamy banana bread batter being folded with a rubber spatula in a white ceramic mixing bowl, flecks of mashed banana and cinnamon visible, glossy ribbons of batter, white marble counter, warm kitchen light, low side angle close up, vertical shot.]
[IMAGE PLACEHOLDER: alt-text: “Folding thick banana bread batter with a spatula in a white mixing bowl” | filename: “banana-bread-batter-folding.jpg” | orientation: vertical]
Step 4: Fill the pan
Scoop the batter into the prepared pan and smooth the top with the back of the spatula. Tap the pan on the counter twice to release large air pockets, then sprinkle the coarse sugar over the surface for a crackly crust.
Step 5: Bake the loaf
Slide the pan onto the middle rack and bake for 55 minutes at 350°F (175°C). If the top turns deep brown before the 40 minute mark, lay a loose piece of foil over it.
Chef’s Note: The surface browns well before the center sets, because sugar caramelizes faster than batter cooks through. Foil slows the browning while the middle catches up.
Step 6: Test for doneness
Starting at 50 minutes, push a toothpick into the center, through the split if there is one. It should come out with a few moist crumbs and no wet batter. A thermometer in the center should read 205°F (96°C), and the top should spring back lightly. If you see wet streaks, bake in 5 minute increments.
[AI IMAGE PROMPT: Freshly baked banana bread in an aluminum loaf pan, cracked golden domed top with a deep central split, steam rising, set on a white marble counter beside a folded white linen cloth, warm kitchen light, top down view, glossy caramelized edges.]
[IMAGE PLACEHOLDER: alt-text: “Freshly baked banana bread in a loaf pan with a golden cracked top” | filename: “banana-bread-fresh-from-oven.jpg” | orientation: horizontal]
Step 7: Rest and slice
Leave the loaf in its pan on a wire rack for 15 minutes. Lift it out by the parchment handles and slice with a serrated knife using a gentle sawing motion. Waiting longer gives even cleaner slices, but the loaf is already firm enough to cut at this point.
Expert Tips & Tricks
- Weigh the flour: Scooping a measuring cup packs in up to 40 grams extra, and that extra flour is what makes banana bread dry. A scale solves it.
- A mistake worth skipping: Pulling the loaf at 40 minutes because the top looks dark. The top browns early, so trust the toothpick and the thermometer instead of the color.
- Make ahead: Mix the flour, baking soda, salt, and cinnamon in a jar up to a week early. On baking day, you only need to mash and whisk.
- Storage tip: Cool the loaf, then wrap it in foil or tuck a paper towel into the container. It soaks up surface moisture that would otherwise turn the top sticky.
- Time saver: Melt the butter in your mixing bowl, wait 3 minutes, then mash the bananas straight into it. You skip a bowl and a whole cleanup.
- Texture trick: Keep a few banana lumps. They bake into soft, jammy pockets that taste like the fruit itself.
Common Mistakes & Troubleshooting
| Problem | Why It Happens | How to Fix or Prevent It |
| Gummy, dense center | The batter was overmixed or the loaf came out too early | Fold only until the flour disappears and confirm 205°F (96°C) in the center |
| Sunken middle | The oven door opened early or the baking soda was stale | Keep the door shut for 45 minutes and replace old baking soda |
| Dry, crumbly slices | Too much flour from scooping, or too long in the oven | Weigh the flour and start checking at 50 minutes |
| Dark top, raw middle | The oven runs hot or the pan is dark metal | Tent with foil and use an oven thermometer to check your temperature |
| Loaf sticks to the pan | The pan was not greased or lined | Butter the pan and use a parchment sling every time |
| Bland flavor | The bananas were not ripe enough | Wait for heavily spotted peels or use thawed frozen bananas |
Storage, Reheating, Freezing, Make Ahead
Counter
Wrap the cooled loaf tightly and keep it at room temperature for up to 3 days. Slice only what you plan to eat so the rest stays soft.
Refrigerator
Store in an airtight container for up to 7 days. The fridge dries the crumb a little, so warm each slice before serving.
Freezer
Slice the loaf and wrap each piece in parchment, then pack the slices in a freezer bag. They keep for up to 3 months.
Callout: Freezer Shortcut. Freeze the slices on a tray for 1 hour before wrapping them. They will not stick together, and you can pull out exactly one slice at a time.
Reheating
Microwave a slice for 15 to 20 seconds, or warm it in a toaster oven at 325°F (160°C) for 8 to 10 minutes. Thaw a whole frozen loaf overnight on the counter, still wrapped.
Make Ahead
Bake the loaf a day early, since the flavor deepens overnight. Do not hold the batter for later, because baking soda starts working the moment it gets wet.
[AI IMAGE PROMPT: Banana bread slices individually wrapped in white parchment paper, stacked inside a clear glass storage container with a labeled white lid, fresh tender slices visible through the glass, on a white marble counter, soft natural daylight, 45 degree angle, tidy and organized.]
[IMAGE PLACEHOLDER: alt-text: “Wrapped banana bread slices stored in a glass container for freezing” | filename: “banana-bread-storage-container.jpg” | orientation: horizontal]
Variations & Substitutions
- Chocolate chip: Fold in 1/2 cup (90 g) semisweet chocolate chips and skip the walnuts. [INTERNAL LINK: chocolate chip banana muffins]
- Cinnamon swirl: Mix 2 tablespoons brown sugar with 1 teaspoon cinnamon, layer it between two halves of batter, and drag a knife through once.
- Mini muffins or regular muffins: Fill a lined 12 cup muffin tin about three quarters full and bake at 350°F (175°C) for 18 to 20 minutes.
- Gluten free: Use a 1 to 1 gluten free baking blend and rest the batter for 10 minutes before baking to hydrate the flour.
- Dairy free: Use plant based butter and unsweetened coconut yogurt, and expect a slightly softer top.
- Oat crumble top: Mix 1/4 cup oats, 1 tablespoon brown sugar, and 1 tablespoon melted butter, and scatter it on top before baking.
Serving Suggestions
- Serve a warm slice with a thin spread of butter that melts into the crumb.
- Spread whipped cream cheese or honey butter over the top. [INTERNAL LINK: homemade honey butter recipe]
- Pair it with hot tea, coffee, or a cold glass of milk.
- Stack slices next to plain yogurt and berries for a quick breakfast plate.
- Pack a slice in a lunchbox with a few apple wedges.
- Toast a thick slice and top it with peanut butter. [INTERNAL LINK: simple breakfast ideas for busy mornings]
Nutrition Information
Serving size: 1 slice (about 1/10 of the loaf) | Servings per recipe: 10
| Nutrient | Amount |
| Calories | 215 |
| Protein | 3 g |
| Carbohydrates | 35 g |
| Fiber | 1 g |
| Sugar | 17 g |
| Fat | 7 g |
| Saturated Fat | 4 g |
| Cholesterol | 35 mg |
| Sodium | 245 mg |
Each slice also gives you a small amount of potassium (about 120 mg) from the bananas and a little iron from the flour. These values are estimates and can shift depending on the brands you buy and how you measure. Adding walnuts or chocolate chips will change them.
Why This Recipe Works
Ripe bananas do most of the work here. As the fruit ripens, starch converts to sugar, so spotted bananas add sweetness and moisture that a yellow banana cannot. That is also why this banana bread needs less sugar than many older recipes.
The structure comes from a short mixing time and a gentle acid. Brown sugar and yogurt both carry a little acid, which reacts with baking soda to create gas bubbles and also softens the flour proteins. Folding only until the flour disappears keeps gluten low, and low gluten means a tender crumb instead of a chewy one.
Melted butter and a moderate oven finish the job. Melted butter coats the flour and slows gluten formation, and 350°F (175°C) bakes the center through before the crust gets too dark. The 205°F (96°C) internal temperature marks the point where the starch has set and the loaf is cooked, not just browned.
Frequently Asked Questions
FAQ Source Note: These questions follow typical question patterns seen around banana bread searches and were not pulled from a live search run.
How ripe should bananas be for banana bread?
Aim for peels that are heavily freckled or mostly brown, with soft fruit that smells sweet. Ripe bananas carry more sugar and moisture, which is what makes banana bread taste rich instead of starchy. Yellow bananas with green tips work poorly because they give a mild flavor and a drier crumb. If yours are not ready, roast them unpeeled at 300°F (150°C) for 15 to 20 minutes until the skins turn black.
Can I make banana bread ahead of time?
Yes, and it often tastes better on day two. Once cooled, wrap the loaf tightly and keep it on the counter for up to 3 days or in the fridge for up to 7 days. For longer storage, freeze sliced banana bread for up to 3 months, then warm single slices in a toaster oven or microwave. Always let slices come to room temperature or reheat them before serving for the softest bite.
Why did my banana bread sink in the middle?
A sunken center usually means the loaf was underbaked or the oven door opened too early. Steam from the batter needs time for the structure to set, and a sudden temperature drop can make the dome collapse. Stale soda can also cause it, since it gives weak lift. Wait until at least 45 minutes before opening the oven, and confirm doneness with a toothpick or a 205°F (96°C) reading.
Can I use something besides yogurt?
Sour cream swaps in one to one and gives the richest crumb. Buttermilk works too, though the loaf comes out a little lighter. Unsweetened applesauce is fine in a pinch, but the crumb turns denser. Stick to 1/4 cup (60 g) of whichever you choose so the batter stays thick, and avoid plain milk, since the baking soda needs some acid to rise well in this banana bread.
How do I know when banana bread is done?
Start checking at 50 minutes. A toothpick pushed into the center should come out with a few moist crumbs, not wet batter. The top should feel springy and the crust should look deep golden, with the split down the middle set rather than glossy. An instant read thermometer in the center should read 205°F (96°C). If the top browns early, cover it loosely with foil and keep baking.
Can I make this recipe without eggs, and is it safe for allergies?
A flax egg works well: stir 1 tablespoon ground flaxseed into 3 tablespoons water, wait 5 minutes, and use it in place of the egg. The loaf will be a bit denser but still moist. This banana bread also contains wheat, dairy, and optional nuts, so it will not suit everyone. Swap ingredients as listed in the allergen section, and check every label if someone has a severe allergy.
[AI IMAGE PROMPT: Two thick slices of banana bread stacked on a white ceramic plate, tender golden crumb with a glossy butter pat melting on top, caramelized crust edges, white marble table, a whole loaf softly blurred behind, warm kitchen light, low close up angle, vertical shot.]
[IMAGE PLACEHOLDER: alt-text: “Two thick slices of banana bread stacked on a white plate with melting butter” | filename: “banana-bread-final-plated-shot.jpg” | orientation: vertical]
Conclusion
The real secret to great banana bread is patience at the grocery store and in the kitchen: let the bananas get spotted, mix only until the flour disappears, and trust the toothpick instead of the clock. Everything else in this recipe is just support for those three habits.
This is the first recipe I would teach anyone who says they cannot bake. The ingredients cost little, the batter forgives small slips, and the payoff is a warm slice you can eat at breakfast, in a lunchbox, or at midnight with a cup of tea. Bake a loaf this weekend and watch how fast it disappears.
If you loved this recipe, save it to your baking Pinterest board so you can find it easily later!
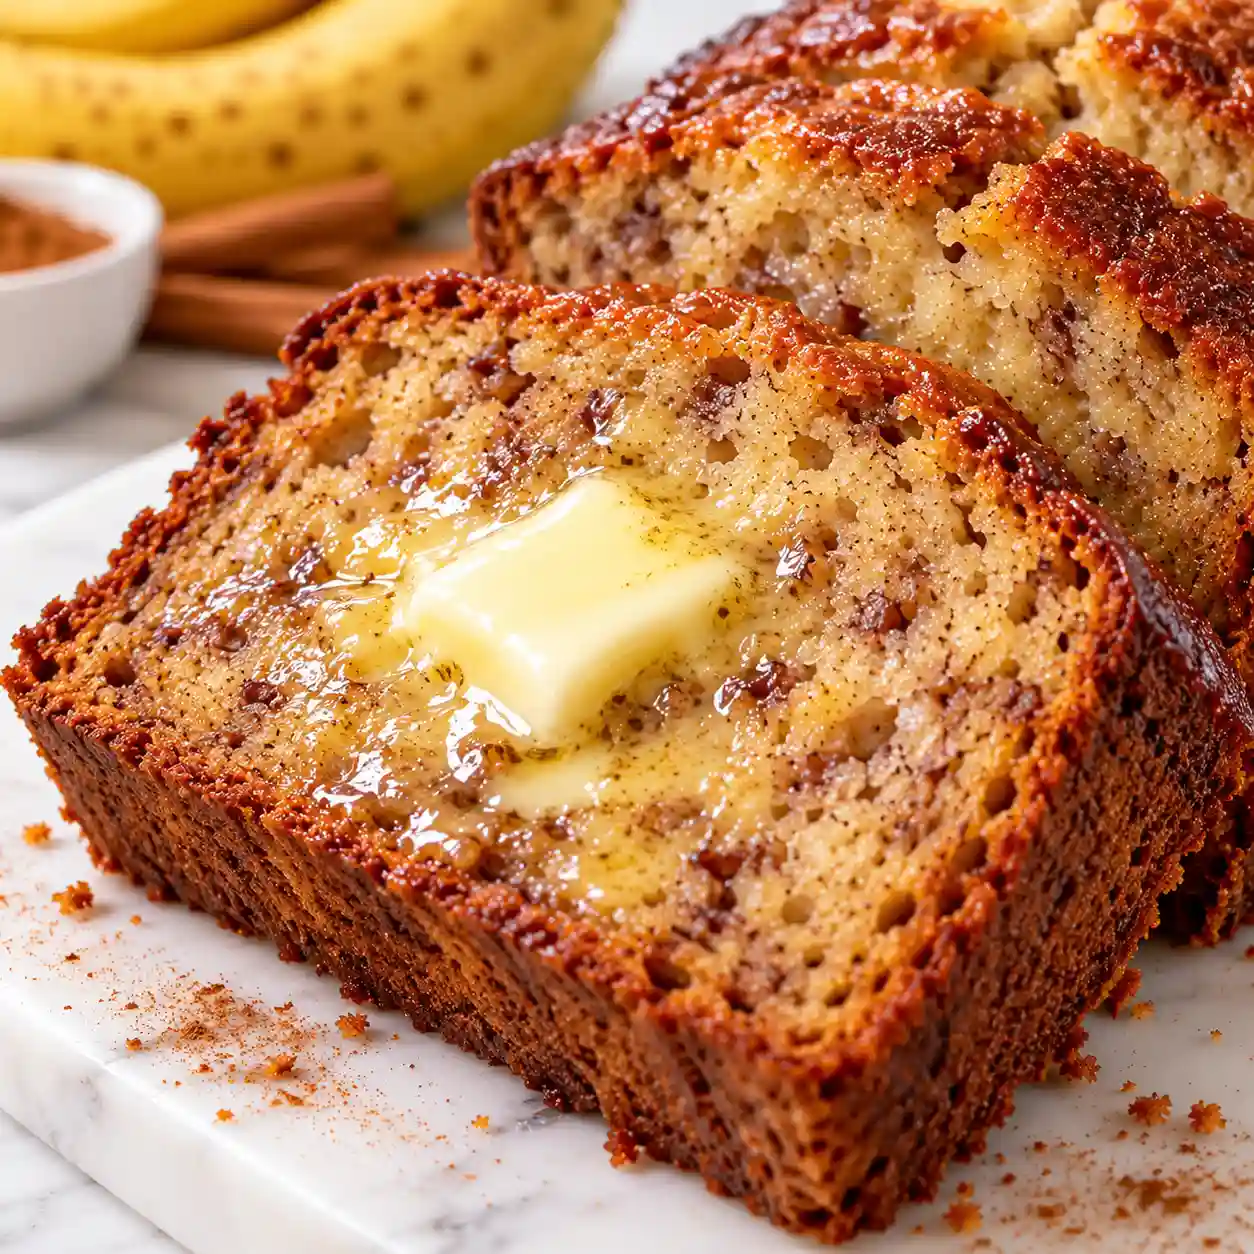
Banana Bread
Ingredients
Method
- Instructions:
- Bring the oven to 350°F (175°C) with a rack in the middle. Butter a 9 by 5 inch loaf pan and lay a parchment strip across the bottom and up the long sides.
- Crush the bananas with a fork in a mixing bowl until you have a thick puree with a few small lumps.
- Whisk in the cooled butter, brown sugar, egg, yogurt, and vanilla for about 1 minute until glossy. Wash your hands after handling the raw egg.
- Sprinkle the flour, baking soda, salt, and cinnamon over the bowl. Fold 12 to 15 strokes, just until no dry flour shows. Add walnuts if using.
- Transfer the batter to the pan, level the top, tap the pan twice on the counter, and scatter coarse sugar over the surface.
- Bake for 55 minutes. Cover with foil if the top darkens early. The center should read 205°F (96°C), and a toothpick should come out with a few moist crumbs.
- Rest the loaf in the pan for 15 minutes, lift it out by the parchment, and slice with a serrated knife.
Notes
- Weigh the flour for the most reliable texture.
- Store wrapped on the counter for up to 3 days, in the fridge for up to 7 days, or freeze slices for up to 3 months.
- Sour cream or buttermilk can replace the yogurt in equal amounts.
- Swap ingredients per the allergen list if you need gluten free, dairy free, or egg free versions.