Best & Easy 5-Minute Chocolate Overnight Oats

Cocoa powder and cold milk turn plain oats into something that tastes closer to pudding than breakfast. Stir the jar before bed, and by morning the oats have soaked up every bit of that chocolate flavor while softening into a texture you’d normally need a saucepan for.
This version skips the sugar bombs some recipes lean on and gets its sweetness mostly from banana or maple syrup, so you control how rich it gets. It takes about five minutes of hands on time the night before, sits in the fridge for six to eight hours, and needs zero cooking. Chocolate overnight oats like these work for meal prep because one batch multiplies into five days of breakfast without repeating a single step.
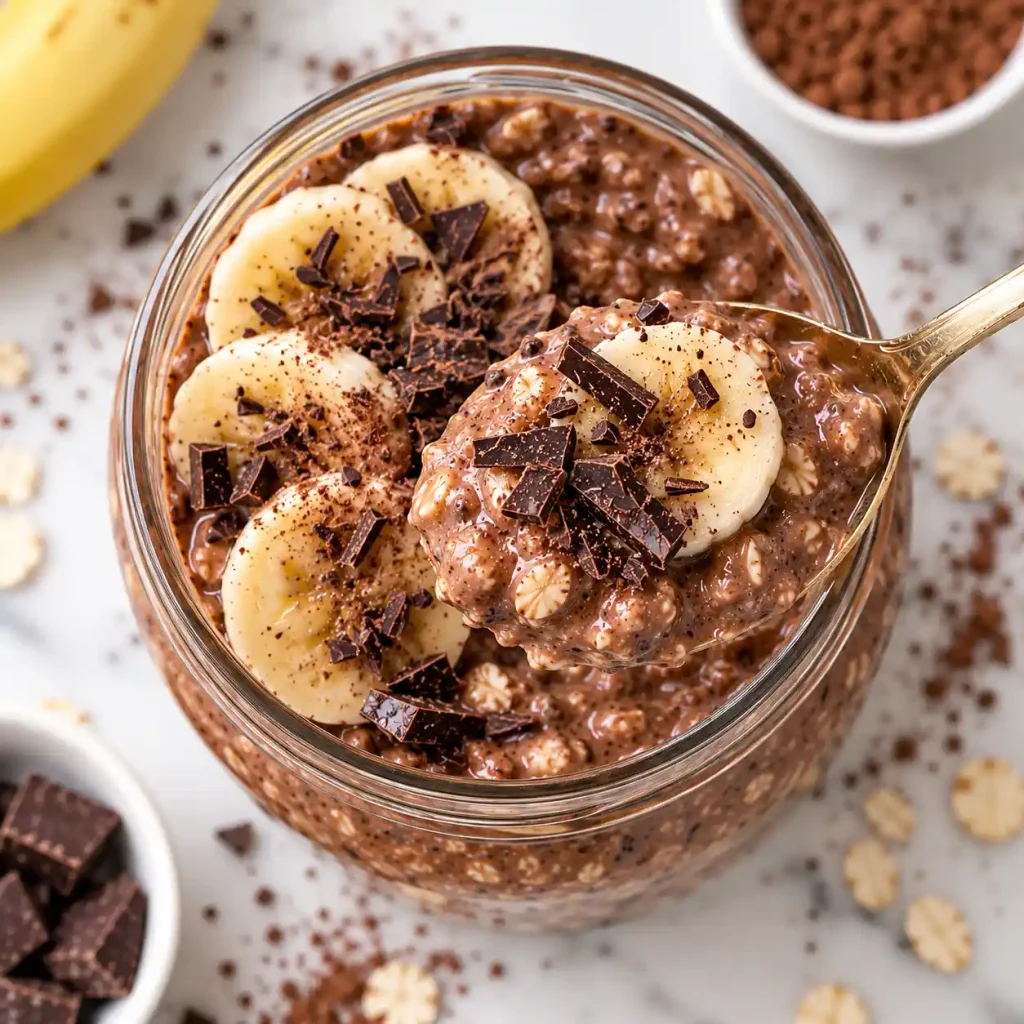
Why You’ll Love This Recipe
- No cooking required. Everything happens cold, so there’s no pot to scrub and no risk of scorched milk on the stove.
- Five ingredients, no substitutes needed. Oats, cocoa, milk, a sweetener, and a pinch of salt are usually already in the kitchen.
- Batch-friendly. Multiply the recipe by five and portion it into jars for a full week of grab-and-go breakfasts.
- Naturally kid-approved. The chocolate flavor reads more like dessert than “health food,” which helps with picky eaters.
- Flexible texture. Add more liquid for a drinkable smoothie-bowl consistency or less for a thick, spoonable pudding.
Ingredient Selection Tips
Old-fashioned rolled oats hold their shape and give the best chew after soaking; quick oats turn mushy and steel-cut oats stay too firm without cooking, so rolled oats are the one to reach for here. For the cocoa, unsweetened natural cocoa powder gives a sharper chocolate note, while Dutch-process cocoa tastes smoother and darker if that’s what’s in the pantry. Whichever milk you use, full-fat versions (whole dairy milk or canned coconut milk) make the oats noticeably creamier than skim or watery plant milks.
Recipe Snapshot
| Servings | Difficulty | Course | Cuisine | Prep Time | Rest Time | Total Time | Calories |
| 2 | Easy | Breakfast | American | 5 minutes | 6 hours | 6 hours 5 minutes | 312 kcal |
Ingredients
For the base:
- 1 cup (90g) old-fashioned rolled oats — the foundation that soaks up the liquid without turning to mush
- 1 cup (240ml) milk of choice (dairy, oat, or almond) — full-fat versions give the richest final texture
- 2 tablespoons (15g) unsweetened cocoa powder — natural cocoa gives a sharper chocolate edge; Dutch-process gives a rounder, darker flavor
- 1 tablespoon (15ml) maple syrup or honey — adjust up if using a very ripe banana instead
- 1/2 ripe banana, mashed (optional) — adds natural sweetness and a thicker, pudding-like body
- 1/4 teaspoon fine sea salt — sharpens the chocolate flavor without tasting salty
- 1/2 teaspoon vanilla extract
For topping (optional):
- Sliced banana, dark chocolate shavings, or a spoonful of peanut butter
Substitution note: swap the maple syrup for date syrup or coconut sugar dissolved in the milk if that’s what’s on hand; the texture holds up the same either way.
Read Also:
Recipe Timing
Five minutes covers all the prep here, since nothing gets heated or measured with precision beyond a level scoop of oats. The real work happens in the fridge, where the oats need a minimum of six hours to fully soften; anything shorter leaves a slightly chalky bite in the center of each flake. Eight hours or a full overnight rest gives the creamiest result without the mixture turning gluey.
[AI IMAGE PROMPT: Overhead flat lay of raw ingredients for chocolate overnight oats: rolled oats in a white ceramic bowl, cocoa powder, a small glass of milk, maple syrup, and a banana, arranged on a white marble surface, soft natural daylight, top-down flat lay angle, matte and dry textures contrasted against the glossy syrup.] [IMAGE PLACEHOLDER — alt-text: “Raw ingredients for chocolate overnight oats laid out on white marble” | filename: “chocolate-overnight-oats-ingredients-flatlay.jpg” | orientation: horizontal]
Allergen & Dietary Disclosure
This recipe contains dairy if regular milk is used and can be made dairy-free with oat or almond milk instead. Standard rolled oats are naturally gluten-free but are often processed in facilities that also handle wheat, so anyone with celiac disease should look for oats certified gluten-free. If nuts are a concern, skip almond milk and any peanut butter topping in favor of oat or dairy milk. Anyone managing a severe allergy should always double-check packaging, since this recipe cannot guarantee safety for a specific allergy.
Preparation
Grab a jar, container, or bowl with a lid, something roughly 12 to 16 ounces so there’s room for the oats to expand. Mash the banana in a separate small bowl if using one, since it blends in smoother that way than dropped in whole. Have the cocoa powder ready to sift or whisk in, as clumps are easier to break up before the liquid goes in than after.
Step-by-Step Instructions
Step 1: Combine the dry ingredients Add the rolled oats, cocoa powder, and salt directly to the jar. Give it a quick stir with a fork so the cocoa doesn’t clump when the liquid hits it.
Step 2: Pour in the milk Add the milk, maple syrup, mashed banana, and vanilla extract. Stir everything together until the cocoa powder is fully dissolved and no dry streaks remain.
Chef’s Note: If the mixture looks thin at this stage, that’s expected. Oats absorb most of the liquid over the next several hours, so resist the urge to add extra oats now.
Step 3: Seal and chill Cap the jar tightly and place it in the refrigerator. Let it rest for at least 6 hours, though a full overnight rest of 8 hours gives the softest texture.
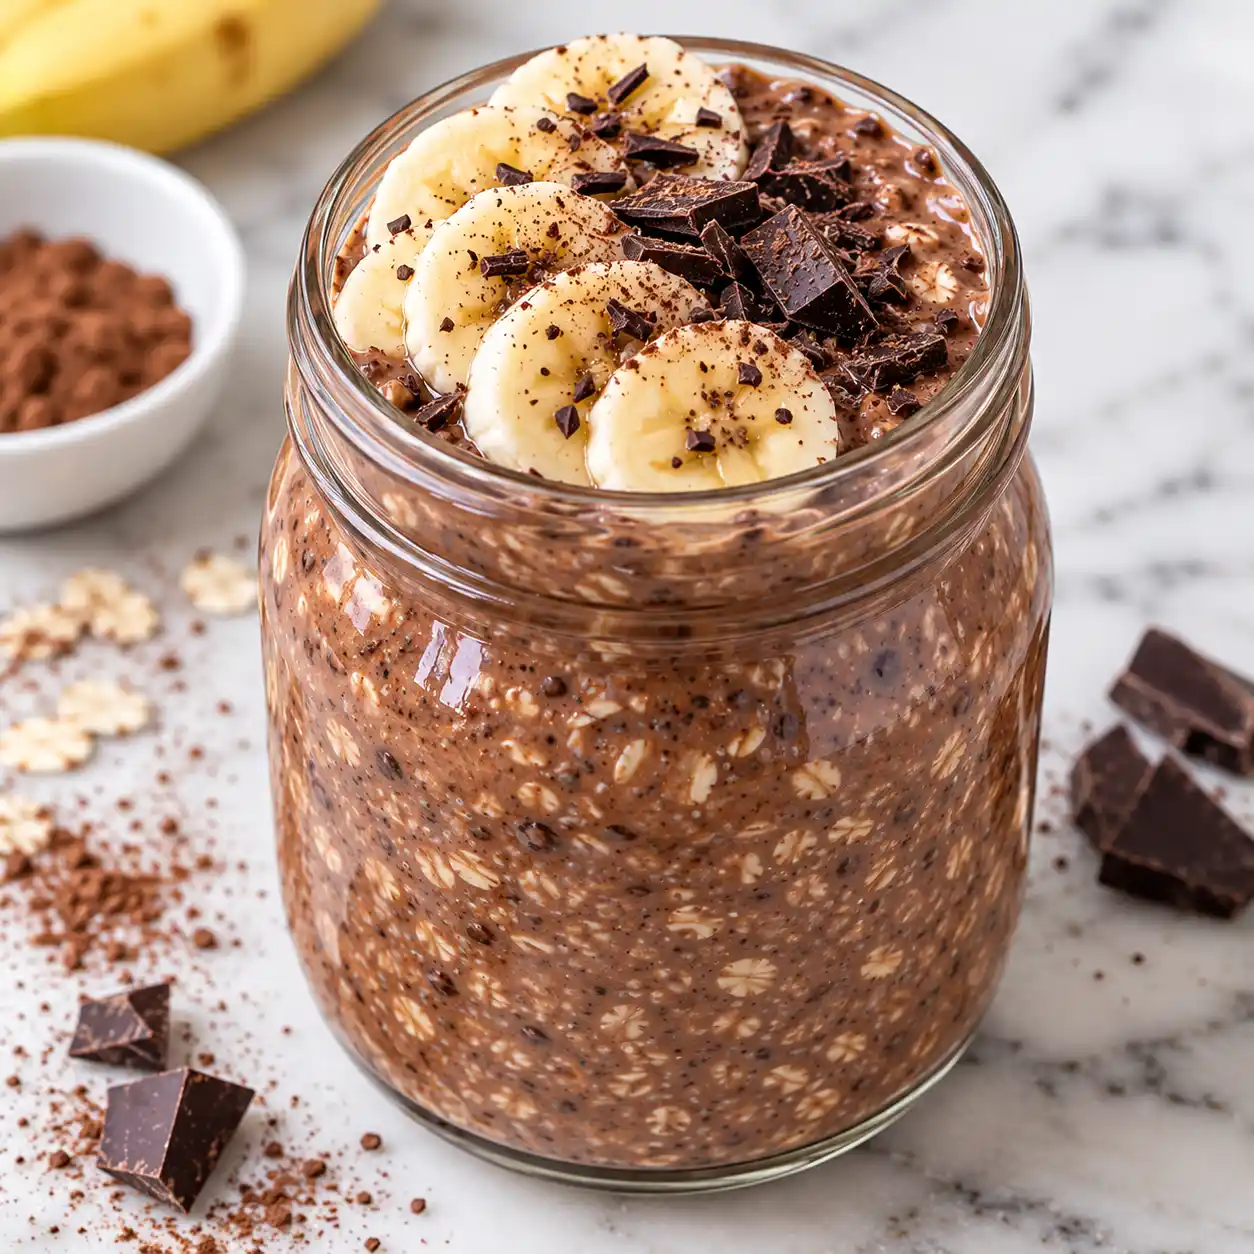
Step 4: Check the consistency in the morning Open the jar and stir once. The oats should look thick, glossy, and pudding-like, similar to a soft chocolate mousse.
Chef’s Note: If the texture is thicker than you’d like, stir in a splash of milk, one tablespoon at a time, until it loosens to your preference.
Step 5: Adjust sweetness if needed Taste a small spoonful before adding toppings. Since banana ripeness varies, stir in an extra half teaspoon of maple syrup if the batch tastes flat.
Chef’s Note: Cocoa powder mutes sweetness as it sits, so a batch that tasted sweet enough the night before often needs a small top-up by morning.
Step 6: Add toppings and serve Finish with sliced banana, chocolate shavings, or a spoonful of peanut butter, then serve straight from the jar or transfer to a bowl.
[AI IMAGE PROMPT: Close-up 45-degree shot of a spoon lifting a thick, glossy scoop of chocolate overnight oats from a jar, rich brown color with visible oat texture, banana slices resting nearby on a white marble surface, warm kitchen light highlighting the creamy pull of the spoon.] [IMAGE PLACEHOLDER — alt-text: “Spoon lifting a scoop of chocolate overnight oats showing thick, glossy texture” | filename: “chocolate-overnight-oats-texture-closeup.jpg” | orientation: vertical]
Read Also:
Expert Tips & Tricks
- Weigh the oats if precision matters. A cup of rolled oats can vary by up to 20 grams depending on how it’s scooped, which throws off the liquid ratio more than people expect.
- My early mistake: using quick oats. The first few batches I made with quick oats turned into something closer to wallpaper paste by morning. Rolled oats hold their shape and stay pleasantly chewy instead.
- Make five jars at once. Multiply every ingredient by five and portion into individual jars on Sunday night for breakfast through Friday.
- Chia seeds add thickness. A teaspoon per jar thickens the texture further and adds a bit of extra fiber without changing the flavor.
- Room-temperature banana blends smoother. A cold banana straight from the fridge is harder to mash evenly than one left out for twenty minutes first.
- Cocoa clumps if added last. Always mix the dry ingredients together before the liquid goes in, or small bitter pockets of cocoa can survive the soak.
Common Mistakes & Troubleshooting
| Problem | Why It Happens | How to Fix or Prevent It |
| Oats are gritty or chalky | Not enough rest time, usually under 4 hours | Chill for a minimum of 6 hours, ideally overnight |
| Mixture is gluey and stiff | Quick oats used instead of rolled, or too little liquid | Switch to old-fashioned rolled oats and use the full milk amount |
| Flavor tastes bitter | Too much cocoa powder relative to sweetener | Start with 2 tablespoons cocoa and adjust sweetness after tasting |
| Oats are watery instead of thick | Too much milk added, or oats measured loosely | Level off the oat measurement and add milk gradually if adjusting |
| Banana turns the mixture gray | Banana browned before mixing, a natural but cosmetic reaction | Mash the banana right before combining rather than ahead of time |
Storage, Reheating, Freezing, Make-Ahead
Refrigerator: Sealed jars keep well for up to 5 days. The texture actually improves slightly by day two as the oats finish softening.
Freezer: Portion into freezer-safe containers and freeze for up to 1 month. Thaw overnight in the refrigerator before eating; the texture softens slightly but stays fine to eat straight from the fridge.
Reheating: These are meant to be eaten cold, but if a warm bowl sounds better, microwave in 20-second bursts, stirring between each, until it reaches the temperature you want.
Make-Ahead: This recipe is built for batching. Making five jars on a Sunday covers breakfast for the entire work week without repeating any prep.
Personal storage tip: label each jar with the date it was made, since after three or four days in a full fridge it’s easy to lose track of which jar is oldest.
[AI IMAGE PROMPT: Three glass jars of chocolate overnight oats lined up with lids on, labeled with small white tags showing dates, arranged on a white marble counter, soft natural daylight, top-down flat lay angle, condensation visible on the glass suggesting fresh from the fridge.] [IMAGE PLACEHOLDER — alt-text: “Labeled glass jars of chocolate overnight oats stored in the refrigerator” | filename: “chocolate-overnight-oats-meal-prep-jars.jpg” | orientation: horizontal]
Variations & Substitutions
- Peanut butter chocolate: Stir in a tablespoon of peanut butter along with the milk for a richer, nuttier version.
- Mild and kid-friendly: Drop the cocoa to 1 tablespoon and add an extra half tablespoon of maple syrup for a gentler chocolate flavor.
- Vegetarian and vegan: Use a plant-based milk and swap honey for maple syrup or date syrup to keep the recipe fully plant-based.
- Gluten-free: Use oats specifically labeled gluten-free, since standard rolled oats often carry cross-contamination risk from shared processing facilities.
- Mocha version: Add a half teaspoon of instant coffee granules to the dry ingredients for a coffee-chocolate combination.
Serving Suggestions
- Top with fresh berries for a tart contrast to the chocolate.
- Add a drizzle of nut butter for extra protein and staying power.
- Pair with a glass of cold-brew coffee for a full breakfast.
- Layer into a parfait glass with yogurt for added texture variety.
- Serve alongside [INTERNAL LINK: a simple homemade granola recipe] for crunch on top.
- Try it next to [INTERNAL LINK: a fresh fruit salad recipe] for a lighter side.
Nutrition Information
Per serving (makes 2 servings)
| Nutrient | Amount |
| Calories | 312 kcal |
| Protein | 11g |
| Carbohydrates | 48g |
| Fiber | 8g |
| Sugar | 14g |
| Fat | 9g |
| Saturated Fat | 3g |
| Cholesterol | 5mg |
| Sodium | 210mg |
Notable nutrients: this serving provides roughly 8g of fiber largely from the oats, along with a meaningful dose of magnesium and iron from the cocoa powder. These figures are estimates only and will shift depending on the specific brands and measuring methods used.
Why This Recipe Works
Oats soften through simple hydration, not heat. Rolled oats have already been steamed and flattened during processing, which means the starch on their surface is exposed and ready to absorb liquid slowly over several hours in the fridge, rather than needing a stovetop to break down.
Cocoa powder is naturally bitter and mostly fat-free, so pairing it with a fat source like whole milk or a mashed banana rounds out the flavor and keeps the final texture from tasting chalky. The small amount of salt in the recipe isn’t there to make the oats taste salty; it’s there because salt sharpens perceived sweetness and chocolate flavor, a basic principle that shows up across most chocolate desserts, not just this one.
The overnight rest also matters for food safety and texture consistency alike. A minimum six-hour soak gives the oat starches enough time to fully hydrate, which is what separates a creamy, spoonable batch from one with a hard, undercooked center.
Read Also:
Frequently Asked Questions
FAQ Source Note: The following questions reflect typical patterns seen in recipe-related search behavior (Google’s related searches and common reader questions), not a specific live search pull.
Can I make chocolate overnight oats without a banana?
Yes. The banana adds natural sweetness and thickness, but it’s optional. Leave it out and add an extra half tablespoon of maple syrup to keep the sweetness balanced, and expect a slightly thinner final texture.
How long do chocolate overnight oats last in the fridge?
Sealed jars stay fresh for up to 5 days in the refrigerator. The texture tends to improve by the second day as the oats continue to soften and absorb the remaining liquid.
Why are my overnight oats still hard in the morning?
This usually means the rest time was too short. Oats need a minimum of 6 hours to fully hydrate, so a rest under 4 hours often leaves a slightly chalky or firm center.
Can I use quick oats instead of rolled oats?
Quick oats will work but turn noticeably softer and closer to mush, since they’re processed thinner and absorb liquid faster than rolled oats. For the best texture in chocolate overnight oats, old-fashioned rolled oats hold up better.
Is this recipe gluten-free?
Oats are naturally gluten-free, but many brands are processed in facilities that also handle wheat. Anyone avoiding gluten for a medical reason should look specifically for oats labeled gluten-free on the package.
Can I heat these up instead of eating them cold?
Yes, though it changes the intended texture. Microwave in 20-second increments, stirring in between, until warmed to preference.
What milk works best for this recipe?
Whole dairy milk or full-fat coconut milk gives the creamiest result. Lower-fat and plant milks like almond milk work fine too, just with a slightly thinner final texture.
[AI IMAGE PROMPT: A single jar of chocolate overnight oats fully plated in a white ceramic bowl, topped with banana slices, a drizzle of peanut butter, and chocolate shavings, glossy and rich texture, side-lit warm kitchen light for depth, 45-degree food photography angle, final hero-style presentation.] [IMAGE PLACEHOLDER — alt-text: “Plated chocolate overnight oats topped with banana, peanut butter, and chocolate shavings” | filename: “chocolate-overnight-oats-final-plated.jpg” | orientation: vertical]
Conclusion
Chocolate overnight oats solve the same problem every weekday morning: not enough time, but still wanting something that doesn’t feel like a compromise. Five minutes the night before buys a breakfast that tastes closer to dessert than anything scooped from a cereal box.
I’ve made this exact batch on repeat for months now, mostly because it holds up through a full work week without getting boring. Swap the toppings, adjust the sweetness, and it never quite tastes the same jar twice.
If you loved this recipe, save it to your breakfast recipes Pinterest board so you can find it easily later!
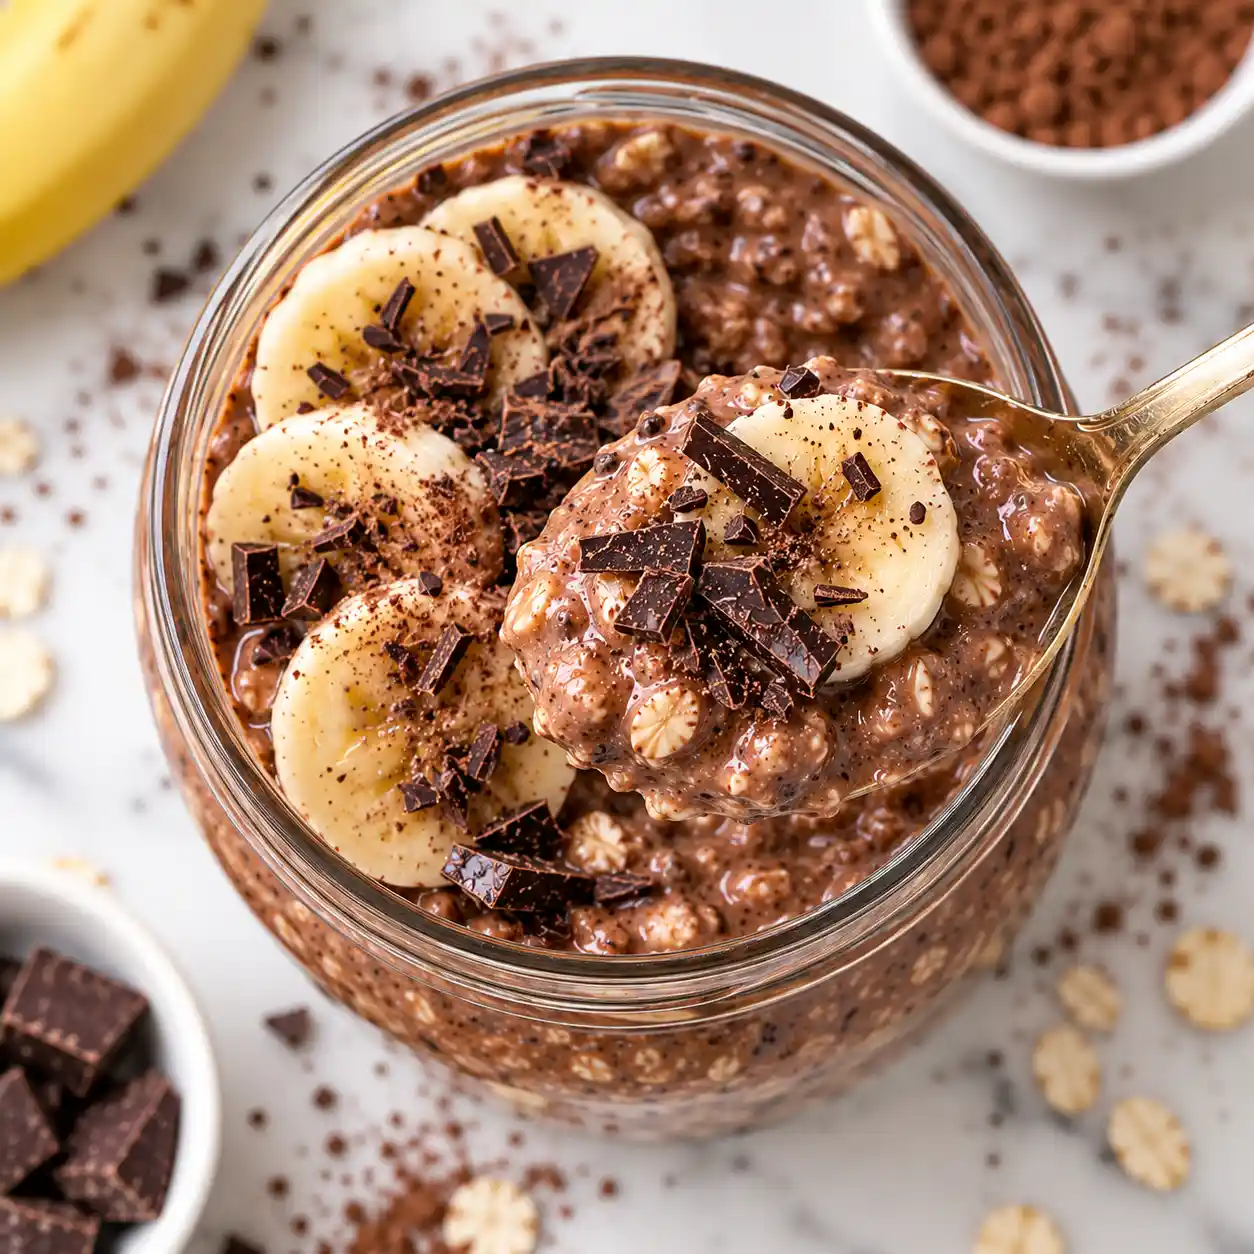
Chocolate Overnight Oats
Ingredients
Method
- Instructions:
- Stir the oats, cocoa powder, and salt together in a jar until evenly combined.
- Pour in the milk, maple syrup, mashed banana, and vanilla, then mix until no dry cocoa streaks remain.
- Seal the jar and refrigerate for a minimum of 6 hours, or overnight for the best texture.
- Stir the chilled oats before serving; add a splash of milk if a thinner consistency is preferred.
- Taste and stir in extra sweetener if needed, then finish with toppings of choice before serving.
Notes
- Keeps refrigerated for up to 5 days in a sealed container.
- Freezes well for up to 1 month; thaw overnight in the fridge before eating.
- Use certified gluten-free oats if needed for dietary restrictions.
- Multiply the recipe by 5 for a full week of grab-and-go breakfasts.