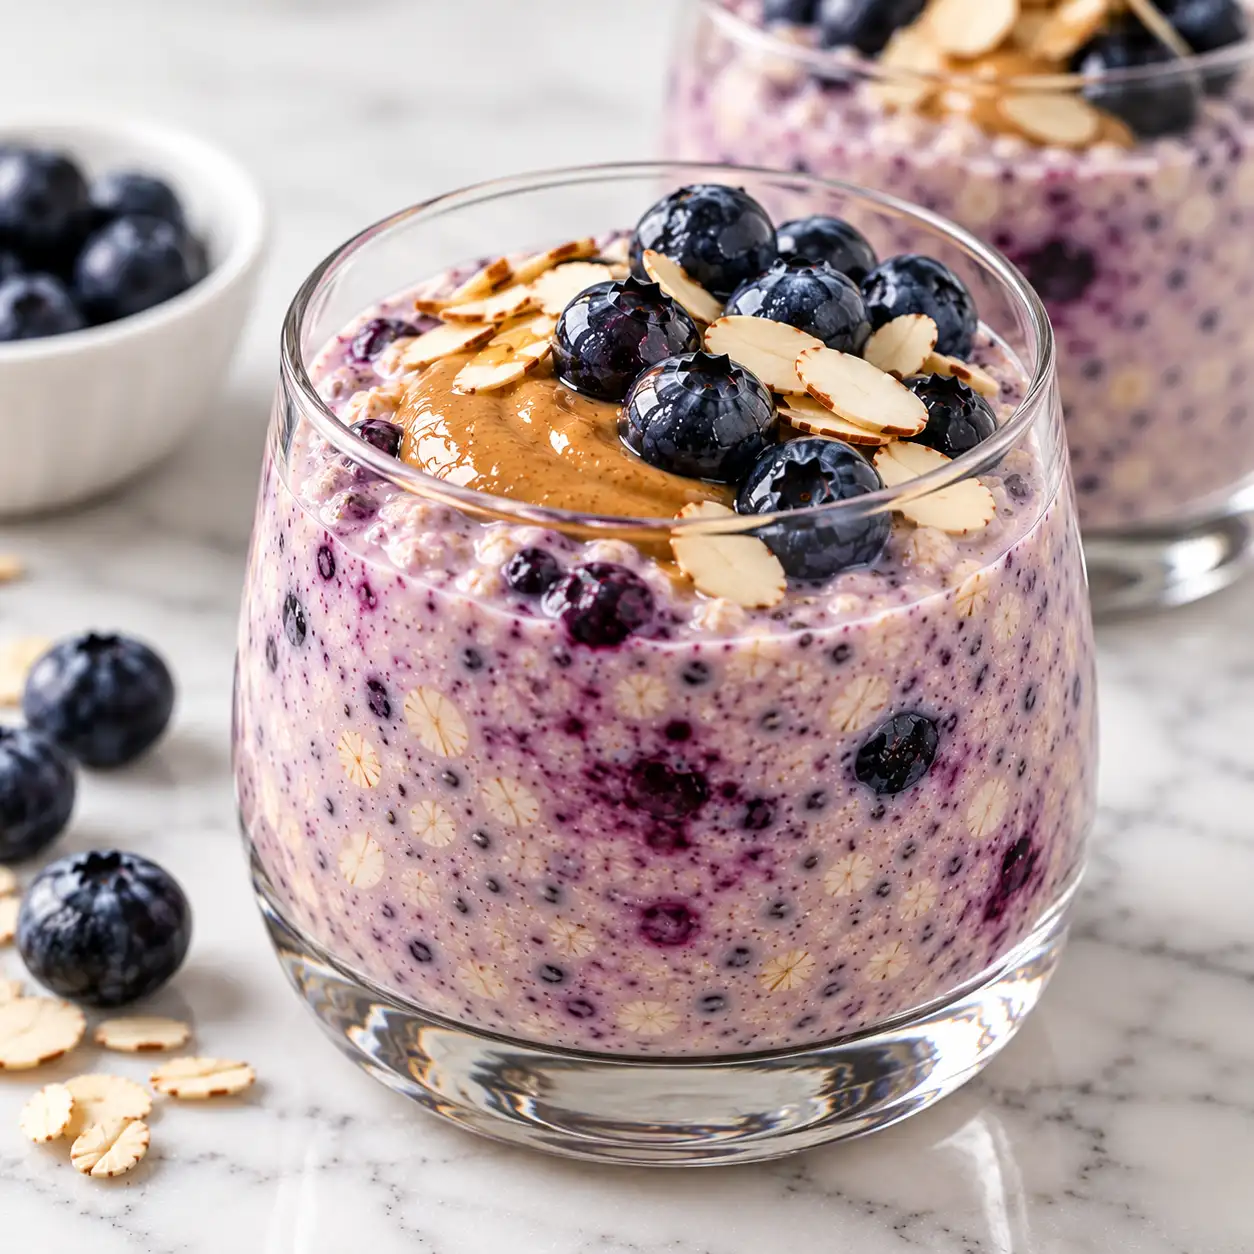
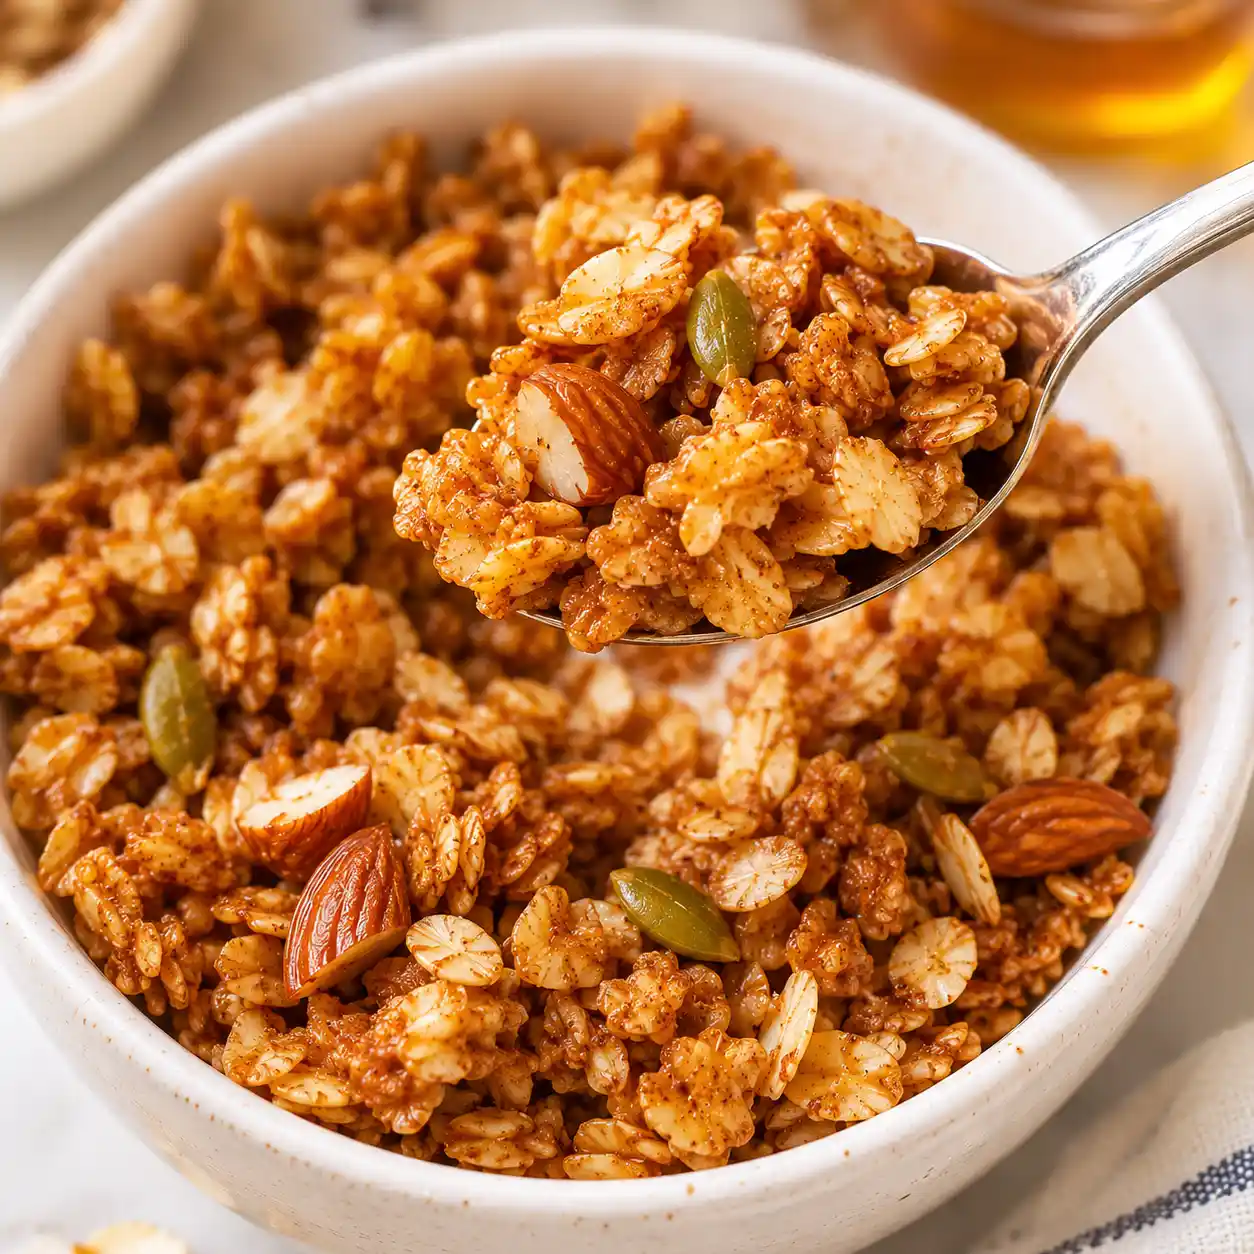
Homemade Granola: 7 Simple Ingredients for Irresistible Crunch

The smell reaches the hallway before the timer does: something warm, toasty, and a little caramel sweet drifting out of the oven. Someone always wanders into the kitchen to ask what is baking. The answer is a tray of granola that is about to turn crisp, and the first bite from the cooled tray is loud in the best way.
This granola recipe is different from the sandy, overly sweet bags on store shelves. It bakes low and slow so the oats dry out evenly, and a firm press before baking builds big clusters instead of loose crumbs. You only need 7 ingredients and about 10 minutes of hands on work. With cooling time, the whole batch takes 70 minutes, and it keeps for two weeks, so breakfast is handled for a while. The method is simple enough for a first timer, yet the result tastes like it came from a bakery counter.
Why You Will Love This Granola Recipe
- Big, real clusters: Pressing the mix flat before baking and leaving it untouched fuses the pieces into chunks you can snack on by hand.
- Only 7 ingredients: Everything comes from the pantry, so there is no special trip to a health food store.
- You control the sugar: One third cup of maple syrup sweetens the whole batch, which is less than many packaged versions use.
- Mostly hands off: After a quick mix, the oven does the work and you only turn the tray once.
- Keeps for 2 weeks: One batch covers yogurt bowls, cereal bowls, and desk snacks for a full week and then some.
Ingredient Selection Tips
Buy old fashioned rolled oats, not instant (they turn mushy) and not steel cut (they stay hard). Choose raw almonds that smell clean and sweet, since a sharp paint like smell means the oils have gone stale. Look for plump, bright green pumpkin seeds rather than shriveled ones. Use pure maple syrup, not pancake syrup, because the real thing browns properly and tastes deeper. Refined coconut oil gives no coconut flavor, while unrefined adds a mild tropical note.
Recipe Snapshot
| Servings | Difficulty | Course | Cuisine | Prep Time | Cook Time | Rest Time | Total Time | Calories |
| 10 (1/2 cup each) | Easy | Breakfast | American | 10 minutes | 30 minutes | 30 minutes | 70 minutes | 300 kcal |
Ingredients
For the dry base:
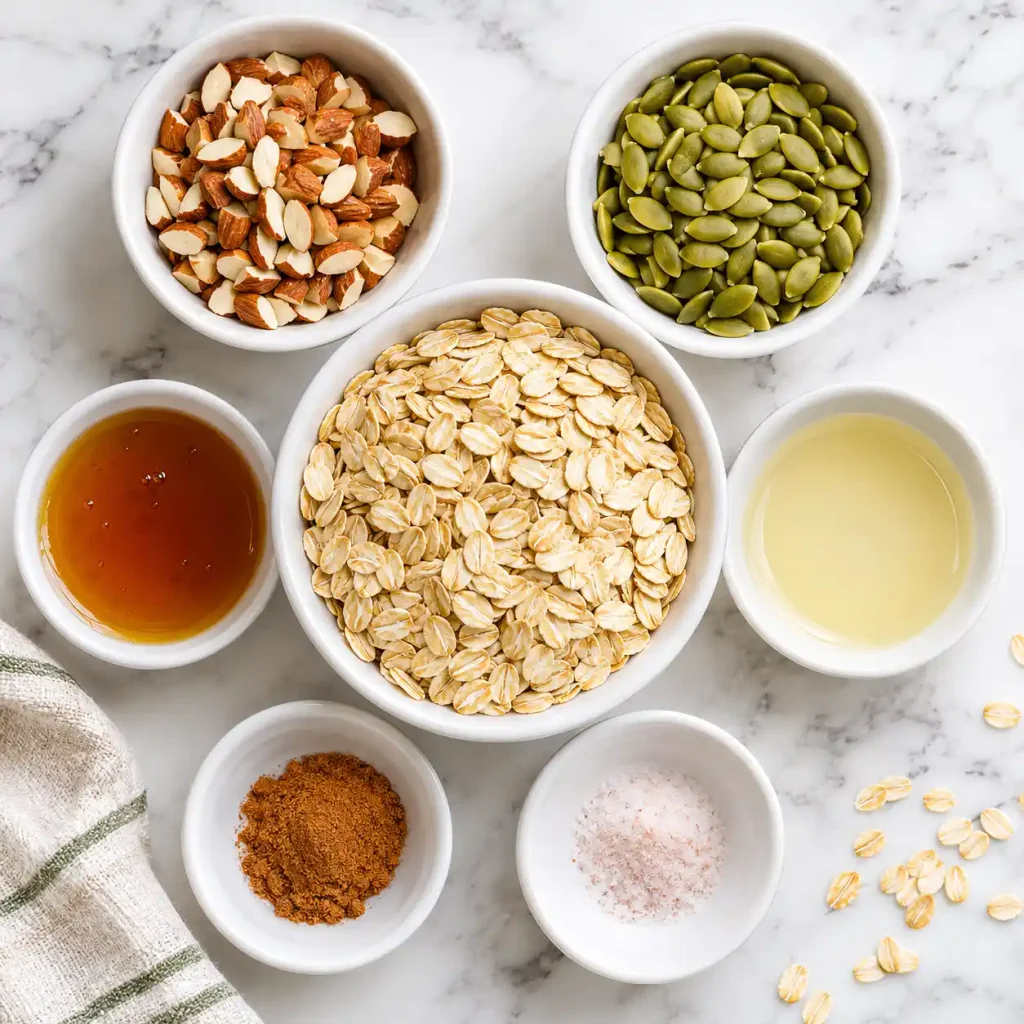
- 3 cups (270 g) old fashioned rolled oats. They give the granola its structure and chew.
- 1 cup (140 g) raw almonds, roughly chopped. Pea sized pieces toast evenly and stay crunchy.
- 1/2 cup (70 g) raw pumpkin seeds. They add a nutty crunch and a green color against the oats.
- 1 teaspoon ground cinnamon. It adds warmth without extra sugar.
- 1/2 teaspoon fine salt. Salt keeps the sweetness from tasting flat.
For the binder:
- 1/3 cup (80 ml) pure maple syrup. It sweetens the batch and glues the clusters as it caramelizes.
- 1/4 cup (60 ml) coconut oil, melted. The fat crisps the oats and carries the cinnamon flavor.
Substitutions: Honey works in place of maple syrup (see the FAQ for oven adjustments). Sunflower oil can replace coconut oil. Sunflower seeds can stand in for the pumpkin seeds.
Recipe Timing
You need 10 minutes to chop, melt, and mix. The tray then spends 30 minutes in the oven with one turn halfway. After that comes a 30 minute rest on the counter, which is when the clusters lock in. Only the oven stretch needs you nearby. That makes 70 minutes from the first chop to the first handful.
Allergen and Dietary Disclosure
- Tree nuts: The recipe uses almonds. Replace them with extra pumpkin seeds or sunflower seeds.
- Coconut: Some people with tree nut allergies avoid coconut oil. Sunflower oil is a workable swap.
- Gluten: Oats are often processed near wheat. Choose oats labeled certified gluten free if that matters to you.
This recipe is not guaranteed safe for any specific allergy. Check every label, and talk to a doctor before serving it to someone with a severe allergy.
Equipment Needed
- Rimmed baking sheet: The rim keeps loose pieces from sliding off. Use a heavy one so the bottom does not scorch.
- Parchment or silicone baking mat: Syrup sticks to bare metal, and either option lets the finished slab lift off cleanly.
- Flat bottomed measuring cup: This presses the mix into a tight, even layer.
- Oven thermometer: Many ovens run hot, and 25 degrees too hot is enough to burn the almonds.
- Wide silicone spatula: It folds the mix from the bottom of the bowl without leaving dry oats behind.
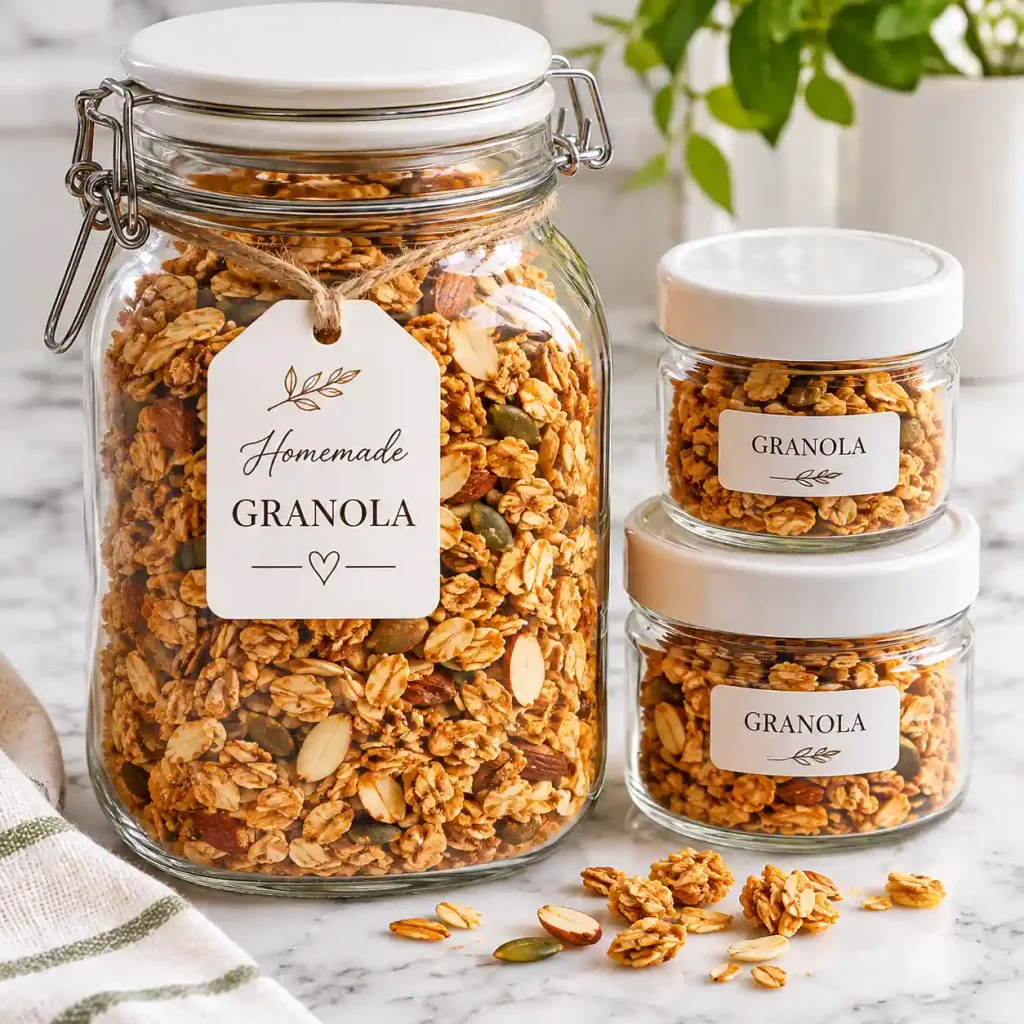
- Airtight glass jar: It keeps air and moisture out so the crunch lasts.
Preparation
Slide an oven rack to the middle position and heat the oven to 300°F (150°C). Cover a rimmed baking sheet with parchment or a silicone mat so the syrup never touches bare metal. Chop the almonds into pieces about the size of a pea, melt the coconut oil in a small pan or the microwave, and measure everything into separate small bowls before you start mixing.
Step by Step Instructions
- Step 1: Build the dry base. Tip the oats, almonds, pumpkin seeds, cinnamon, and salt into a large mixing bowl. Stir for about 20 seconds so the cinnamon and salt spread evenly.
- Step 2: Combine the binder. Pour the melted coconut oil and maple syrup into a small jug and stir until the mixture looks smooth and glossy. If the oil has cooled and turned cloudy, warm it for 10 seconds in the microwave first.
Chef’s Note: Oil and syrup do not blend on their own. Stirring them into one binder before adding them means every oat gets coated, so you avoid greasy spots and dry pockets. - Step 3: Coat everything. Pour the binder over the dry mix and fold from the bottom for about 1 minute. Every flake should look slightly shiny, with no pale oats hiding at the bottom of the bowl.
[AI IMAGE PROMPT: A large glass mixing bowl of oats and nuts being folded with a silicone spatula as glossy maple coconut oil coats every flake, cinnamon flecks visible, white marble counter, warm kitchen light, tender oats glistening, shot from a 45 degree angle.]
[IMAGE PLACEHOLDER: alt text: “Oats and almonds being folded with maple coconut oil binder in a large glass bowl” | filename: “granola-mixing-step.jpg” | orientation: horizontal]
- Step 4: Spread and press. Tip the mixture onto the prepared tray and spread it into a layer about 1/2 inch thick. Press down firmly with the flat bottom of a measuring cup, working across the whole tray, until the surface looks compact and level.
Chef’s Note: Pressing pushes the pieces into contact with each other. As the syrup caramelizes in the oven, it cements those touching points into clusters.
Callout: Mind the thickness. Keep the layer at or under 1/2 inch. A thicker pile traps steam, and the center stays damp while the edges darken.
- Step 5: Bake the first round. Slide the tray onto the middle rack and bake for 15 minutes. The edges should look pale tan and the kitchen should smell toasty. Do not stir.
- Step 6: Turn and finish. Rotate the tray 180 degrees and bake 15 more minutes. Pull it out when the edges look deep amber and the center looks dry rather than shiny, even though it still feels a little soft. Use oven mitts, because the tray stays very hot.
Chef’s Note: Granola does not finish crisping in the oven. It hardens as it cools, so pulling it at deep amber keeps it from turning bitter and overbaked.
[AI IMAGE PROMPT: Freshly baked granola pressed into one sheet on a light gray rimmed aluminum baking sheet, tender almond pieces visible between clusters, deep golden clusters with crisp edges, steam rising faintly, white marble surface, warm kitchen light, top down flat lay angle.]
[IMAGE PLACEHOLDER: alt text: “Freshly baked granola slab with golden clusters and almond pieces on a baking sheet” | filename: “baked-granola-on-tray.jpg” | orientation: horizontal]
- Step 7: Rest the tray untouched. Move the tray to a wire rack or a heatproof counter and leave it for 30 minutes. It is ready when the surface feels hard and the tray is barely warm against the back of your hand.
Chef’s Note: The melted sugars set like thin brittle as they cool. Breaking the slab while it is warm shatters those bonds, and you end up with crumbs. - Step 8: Break and store. Snap the slab into pieces of any size, from small nuggets to palm sized chunks. Pour the pieces into an airtight jar once every one feels fully room temperature.
Expert Tips and Tricks
- My crumb mistake: The first batch I ever made, I stirred every 10 minutes the way older recipes suggest. It came out as loose oat gravel. Leaving the tray alone is the whole secret.
- Press with a flat base: The bottom of a measuring cup reaches corners better than your hands and keeps the layer even.
- Make ahead the dry base: Mix the oats, nuts, seeds, cinnamon, and salt in a jar up to 3 days early. On baking day, you only need to stir the binder and fold. [INTERNAL LINK: creamy overnight oats recipe]
- Jar it only when cool: Even a few warm pieces create condensation inside the jar and soften the whole batch.
- Chop for texture: Smaller almond pieces blend into the clusters, while larger chunks give you a louder crunch.
- Save time with two trays: Bake two batches at once on separate racks and swap their positions when you turn them.
Common Mistakes and Troubleshooting
| Problem | Why It Happens | How to Fix or Prevent It |
| Crumbly granola with no clusters | The mix was stirred during baking or never pressed down | Press firmly before baking, do not stir, and break the slab only after it cools |
| Soft or chewy texture | It was pulled too early or jarred while warm | Bake to deep amber edges, cool for the full 30 minutes, and jar only when cool |
| Bitter, dark almonds | The oven runs hot, or the nut pieces are too small | Check the oven with a thermometer and chop almonds into pea sized pieces |
| Pale, damp center | I once piled the mix 1 inch thick on a crowded tray and the middle never dried out | Spread it to 1/2 inch, or split it across two trays |
| Tastes flat | The salt was left out or under measured | Use the full 1/2 teaspoon of fine salt next time |
Storage, Reheating, Freezing, Make Ahead
Counter: Keep granola in an airtight glass jar at room temperature for up to 2 weeks. Store it away from the stove and direct sunlight.
Freezer: Pack it in a sealed freezer bag with the air pressed out. It keeps for up to 3 months. Thaw on the counter for 15 minutes, or eat it straight from the freezer.
Reheating: Granola does not need reheating, but soft pieces can be crisped up again. Spread them on a tray and bake at 300°F (150°C) for 5 to 8 minutes, then cool again.
Make ahead: Bake a full batch on Sunday and fill small jars for the week. Mixing the dry base up to 3 days early also works.
My storage tip: I keep one small jar on the counter and the rest in the freezer, so the main batch never goes stale.
Callout: The refresh trick. If a jar goes soft after a few humid days, the 5 to 8 minute oven refresh brings the crunch back almost completely.
Variations and Substitutions
- Nut free: Replace the almonds with sunflower seeds and use sunflower oil instead of coconut oil.
- Dried fruit: After baking and cooling, stir in 1/2 cup of raisins, cranberries, or chopped apricots.
- Chocolate chunk: Fold in dark chocolate chunks only after the granola has fully cooled, or they will melt.
- Warm spice: Add 1/2 teaspoon of ground ginger or cardamom to the dry mix for a chai style batch.
- Coconut crunch: Stir in 1/2 cup of unsweetened coconut flakes with the dry ingredients and watch the tray closely, since they brown faster.
- Gluten free: Use oats labeled certified gluten free.
Serving Suggestions
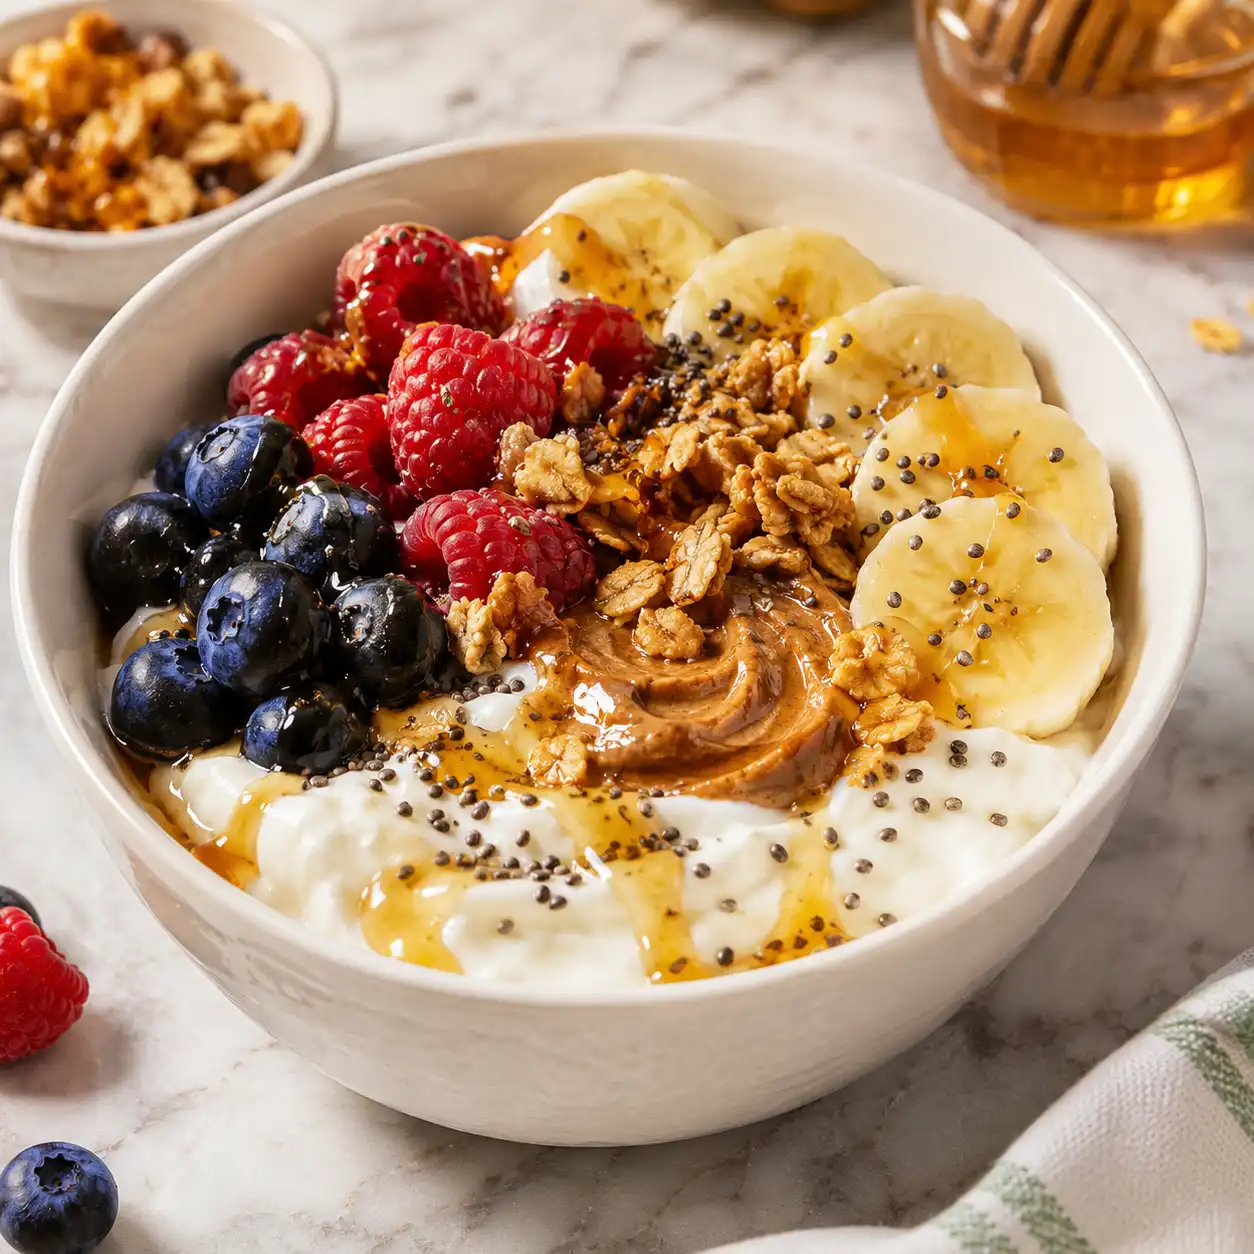
- Yogurt parfait: Layer 1/2 cup of granola with plain Greek yogurt and fresh berries. [INTERNAL LINK: easy yogurt parfait ideas]
- Milk bowl: Pour cold milk over a bowl and eat it while the clusters are still crunchy.
- Smoothie bowl topper: Scatter a handful over a thick fruit smoothie for texture.
- Baked apples: Spoon it into the center of cinnamon baked apples.
- Drinks: Pair it with a hot cup of chai, fresh orange juice, or [INTERNAL LINK: homemade almond milk].
- Snack mix: Combine it with banana slices or dried figs for an afternoon snack.
Nutrition Information
Serving size: 1/2 cup (about 60 g) | Servings per recipe: 10
| Nutrient | Amount |
| Calories | 300 kcal |
| Protein | 8 g |
| Carbohydrates | 29 g |
| Fiber | 5 g |
| Sugar | 8 g |
| Fat | 17 g |
| Saturated Fat | 6 g |
| Cholesterol | 0 mg |
| Sodium | 115 mg |
Notable micronutrients: vitamin E from the almonds, magnesium from the pumpkin seeds, and manganese from the oats. These numbers are estimates and will shift depending on the brands you buy and how you measure.
Why This Recipe Works
The low oven temperature is the foundation. At 300°F (150°C), the water in the oats leaves slowly, so the flakes dry through to the center before the surface darkens. A hotter oven browns the outside first and leaves a chewy core.
The binder does two jobs. The oil coats each flake so it toasts evenly instead of drying out, and the maple syrup supplies sugars that caramelize as the tray bakes. Sugar behaves like glue when it is hot and like brittle when it cools, which is exactly what you want for clusters.
Pressing and resting finish the job. Pressing brings the pieces into contact so the syrup can join them. Resting lets that caramelized sugar harden into a firm network, and that cooling stage is what creates the crunch.
Frequently Asked Questions
FAQ source note: These questions are based on typical question patterns seen around homemade granola searches. Live search was not used.
How long does homemade granola last?
Stored in an airtight jar at room temperature, this granola stays crisp for about 2 weeks. Keep the jar away from the stove and sunlight, since heat and light speed up the oils going stale. For longer storage, freeze it in a sealed bag for up to 3 months. If the clusters ever smell like old crayons or taste bitter, the nuts have turned and it is time to toss the batch.
Why is my granola chewy instead of crunchy?
Soft granola usually means it came out of the oven too early or was stored while still warm. The center of the tray feels slightly soft when it is done, and it only turns crisp as it cools, so give it the full 30 minutes. Trapped steam also softens it, so seal the jar only after the granola is fully cool. Humid kitchens can add to the problem.
Can I use honey instead of maple syrup?
Yes, swap honey in at the same amount. Honey is thicker and browns faster, so drop the oven to 290°F (145°C) and check the edges at the 20 minute mark. The flavor turns slightly floral rather than woodsy, which suits granola served with plain yogurt. Keep in mind honey makes the recipe not vegan, so stick with maple syrup if you are feeding vegan guests. Agave also works with the same adjustment.
How do I know when granola is done baking?
Look for deep amber edges and a toasty, nutty smell filling the kitchen, which usually happens around the 30 minute mark. The center should look dry, not shiny or wet, though it will still feel a little soft under a spatula. Do not wait for it to feel crisp in the oven, because that means it will taste overbaked once cooled. Pull the tray when the almonds look tanned.
Is this granola safe for people with nut allergies?
Not as written. The recipe uses almonds, and the coconut oil can also matter to some people with tree nut allergies. You can replace the almonds with extra pumpkin seeds and sunflower seeds, and swap in a neutral oil like sunflower oil. Always check labels for cross contact warnings, since oats are often processed near nuts and wheat. For a severe allergy, ask your doctor before serving.
Can I add dried fruit before baking?
Add it after baking. Dried fruit scorches in the oven, turning hard and bitter, and the extra moisture can soften nearby clusters. Once the granola has cooled and been broken apart, stir in about 1/2 cup of raisins, cranberries, or chopped apricots. Chocolate chunks follow the same rule, since warm granola melts them. Fruit and chocolate keep the texture crisp this way.
[AI IMAGE PROMPT: Creamy white yogurt layered with crunchy granola clusters and fresh juicy blueberries in a tall glass parfait cup, maple syrup drizzled on top, white marble surface, soft natural daylight, golden crunch and glossy syrup sheen, vertical composition, straight on side angle.]
[IMAGE PLACEHOLDER: alt text: “Granola yogurt parfait with blueberries and maple drizzle in a tall glass cup” | filename: “granola-yogurt-parfait-final-shot.jpg” | orientation: vertical]
Conclusion
Once you have made granola at home, the bagged kind starts to feel like a compromise. This version takes one bowl, one tray, and a bit of patience while the slab cools. The clusters come out big, the sweetness stays gentle, and the whole house smells like a bakery for an hour.
After a few batches, my own jar started disappearing by Thursday, so I began baking a double. Make it once as written, then change the nuts, spices, or add ins until it feels like yours.
If you loved this recipe, save it to your homemade granola Pinterest board so you can find it easily later!
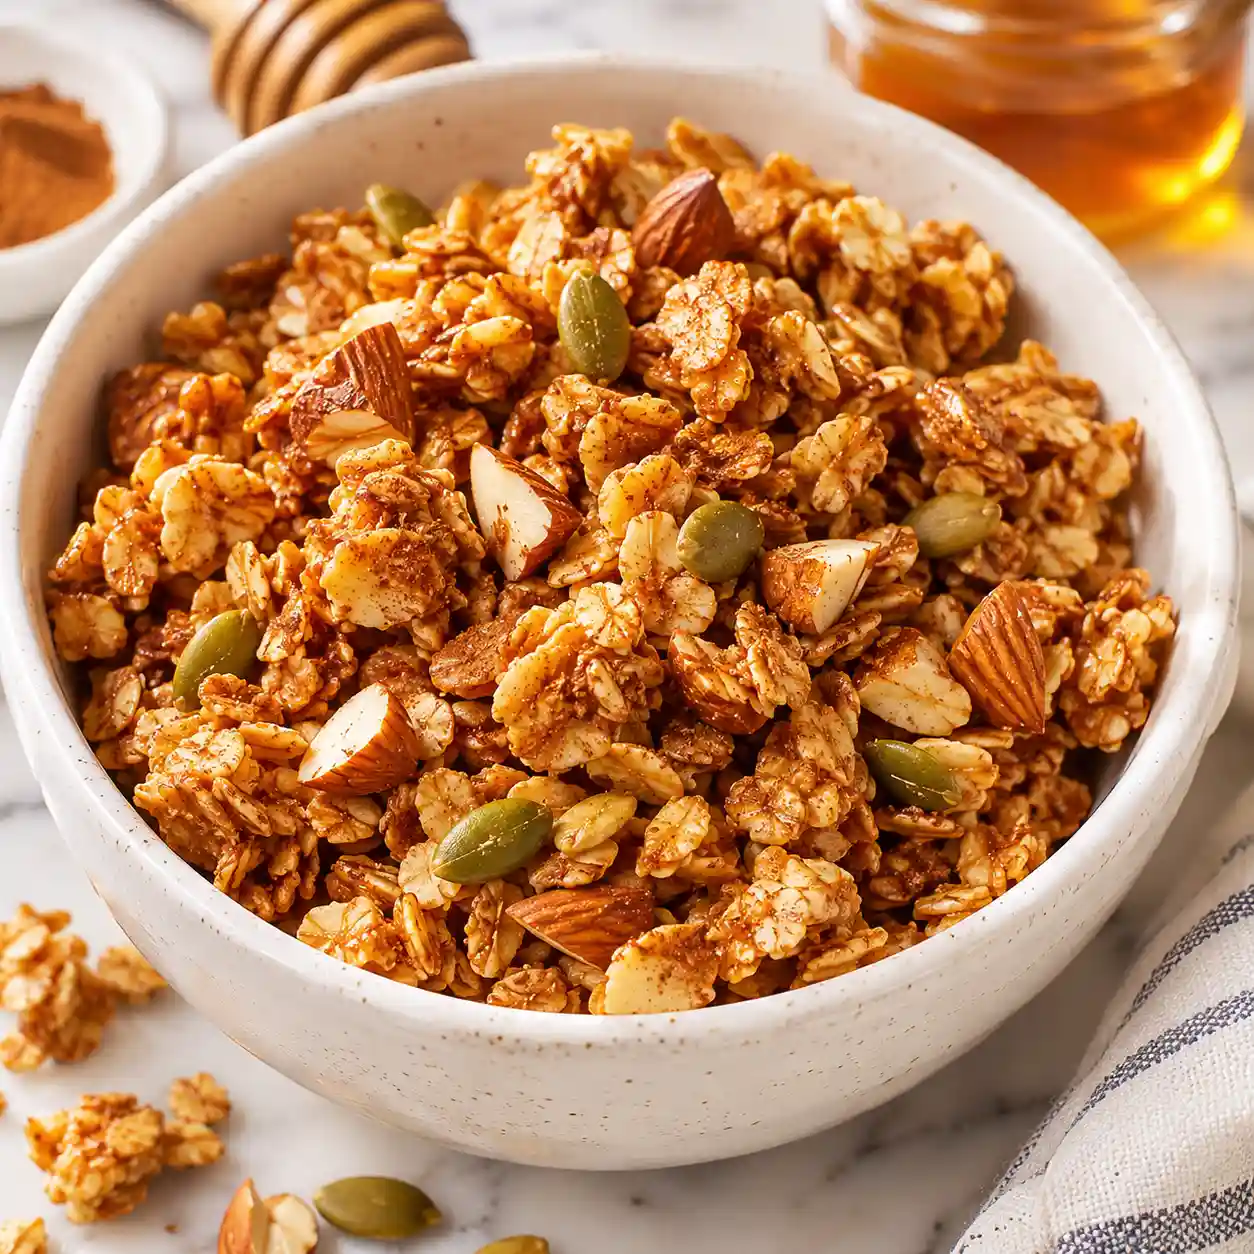
Homemade Granola with Almonds and Pumpkin Seeds
Ingredients
Method
- Instructions:
- Place a rack in the middle of the oven and set it to 300°F (150°C). Cover a rimmed baking sheet with parchment or a silicone mat.
- Combine the oats, almonds, pumpkin seeds, cinnamon, and salt in a big bowl and mix briefly.
- Stir the melted coconut oil into the maple syrup in a jug until smooth.
- Pour the binder over the dry mix and fold for about 1 minute until all the oats shine.
- Transfer the mix to the tray, spread to 1/2 inch thick, and press hard with a flat bottomed cup.
- Bake for 15 minutes without touching it. Turn the tray around and bake 15 minutes more, until the edges are deep amber and the middle looks dry.
- Leave the tray on a rack for 30 minutes without moving it, until the surface feels hard.
- Snap into clusters and transfer to an airtight jar once all pieces are at room temperature.
Notes
- Store in an airtight jar for up to 2 weeks at room temperature or up to 3 months in the freezer.
- Soft granola can be crisped again at 300°F (150°C) for 5 to 8 minutes.
- Add dried fruit and chocolate after baking, once the granola has cooled.
- Honey can replace maple syrup at the same amount, but lower the oven to 290°F (145°C).