Strawberry Cake: 7 Easy Steps to a Stunning Homemade Dessert

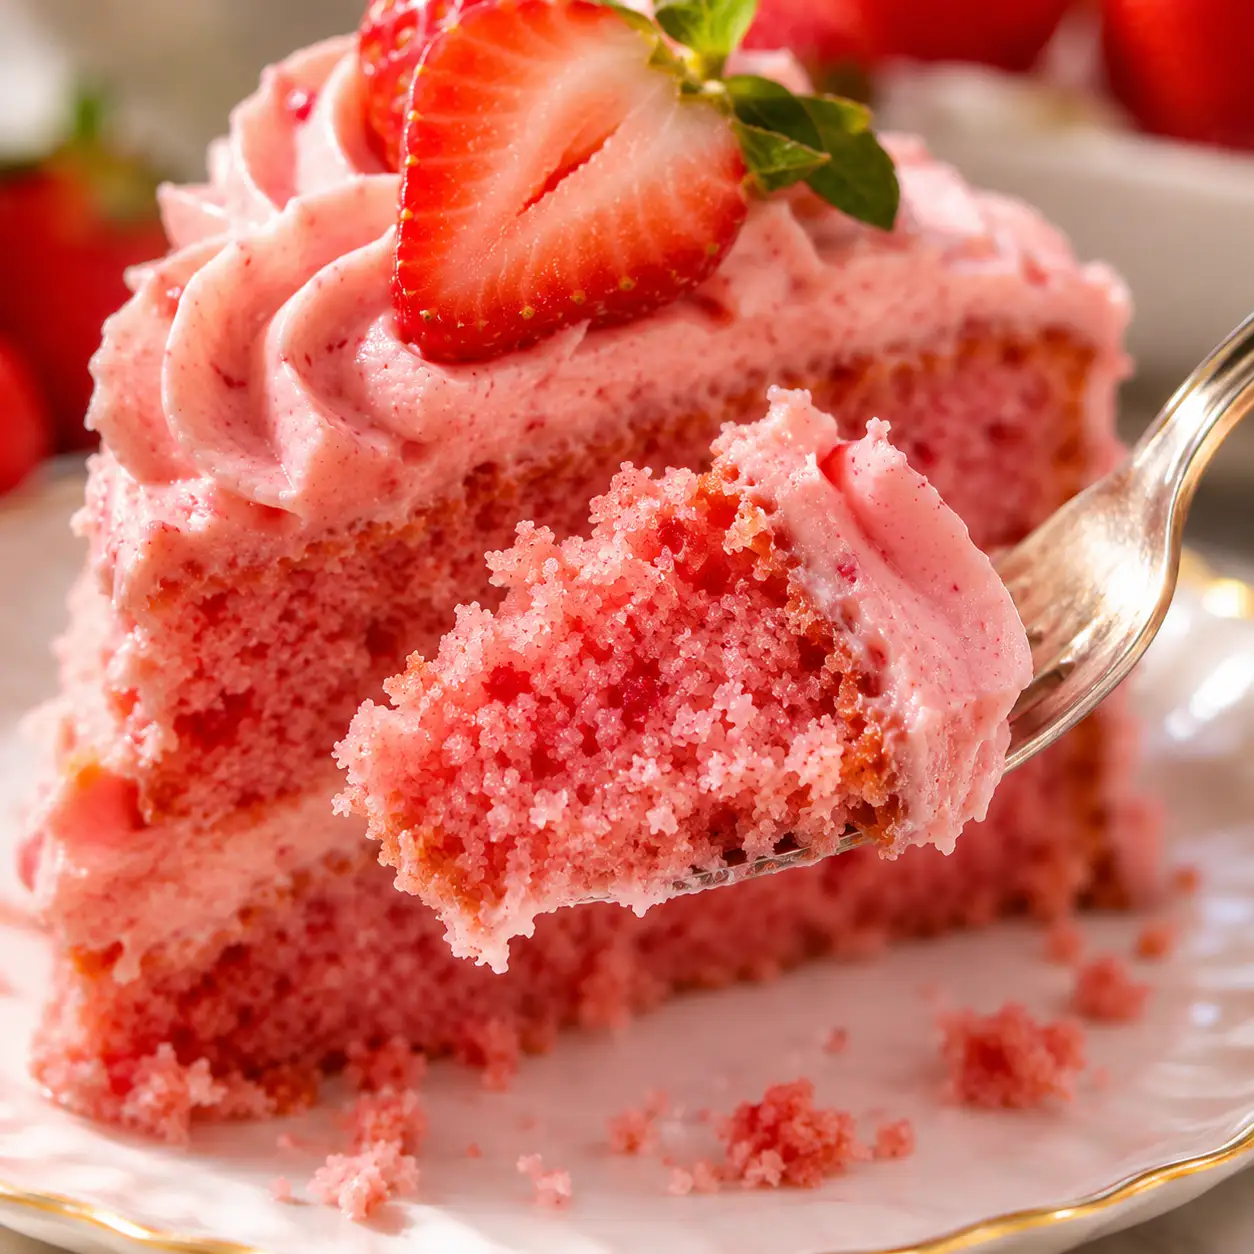
The first slice always tells you everything. Your fork presses through a soft, pale pink crumb, and the smell of ripe berries drifts up before you even take a bite. That is the moment a strawberry cake either wins the table or quietly disappoints it. This one wins, and it does it without a drop of food dye, which is rare.
Most versions lean on pink gel color and a splash of flavoring. This strawberry cake gets its blush and its taste from fresh berries that you cook down into a thick reduction, so the batter never turns soggy. The whole bake takes 2 hours 35 minutes, and most of that is simply cooling time. You only need pantry staples and a hand mixer, so first timers can pull it off without stress.
Why You’ll Love This Strawberry Cake
- Real fruit flavor: The cooked down berry reduction goes into both the batter and the frosting, so the taste comes from fruit and not from flavoring.
- No food dye needed: The reduction gives the crumb a soft natural blush, so you can skip the gel color completely.
- Moist but sturdy layers: Cooking the puree first drives off extra water, which means the layers stack and slice cleanly.
- Beginner friendly method: You need one saucepan and a hand mixer, and every step has a clear visual cue to follow.
- Easy to plan ahead: The layers and the reduction both keep well, so you can spread the work over two days.
Ingredient Selection Tips
Pick berries that are deep red from tip to shoulder, with fresh green caps and a strong sweet smell. White or pale shoulders mean less sugar and less flavor in your reduction. In winter, frozen strawberries work fine (thaw them and drain the juice first). Choose unsalted butter so you control the salt, and take the butter, eggs, and milk out of the fridge about an hour before you start.
Recipe Snapshot
| Servings | Difficulty | Course | Cuisine | Prep Time | Cook Time | Rest Time | Total Time | Calories |
| 12 slices | Easy | Dessert | American | 50 minutes | 30 minutes | 75 minutes | 2 hours 35 minutes | 550 per slice |
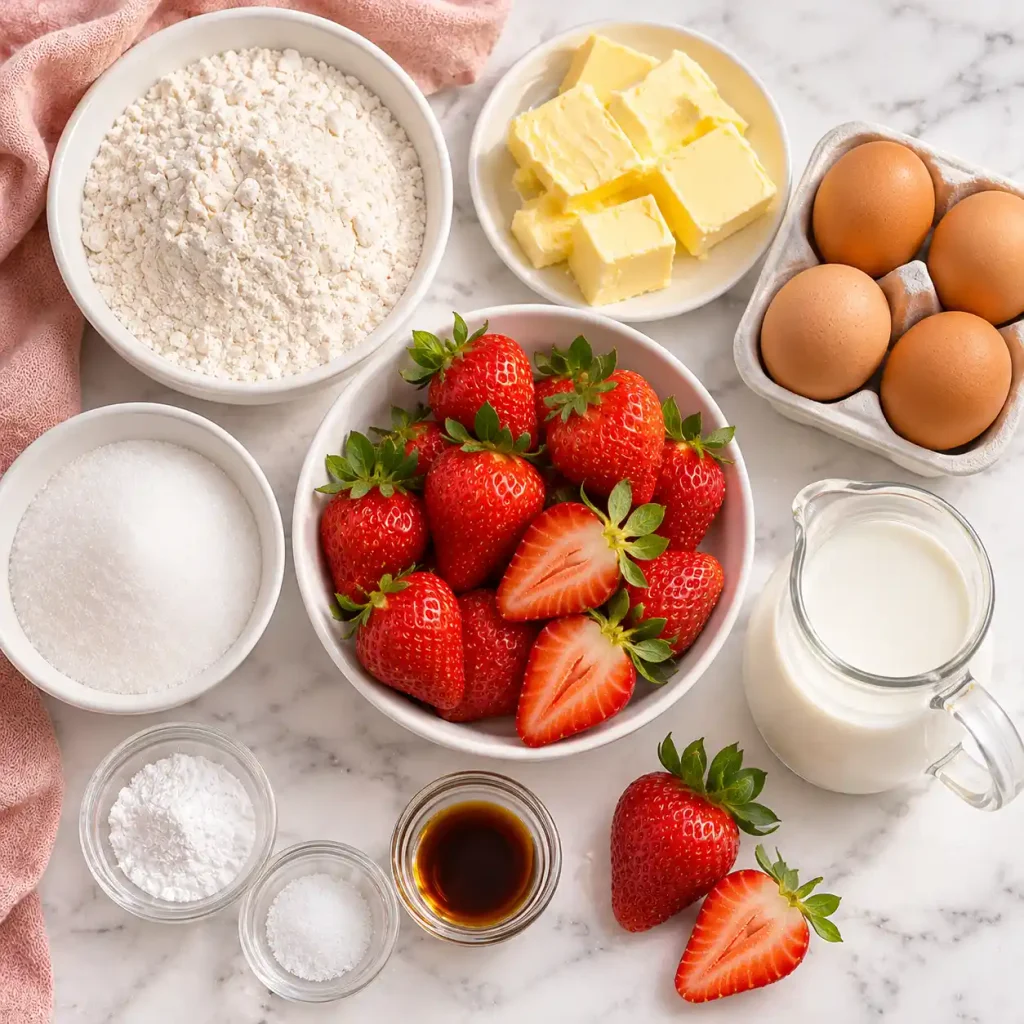
Ingredients
For the strawberry reduction:
- 600 g (about 4 cups) fresh strawberries, hulled and roughly chopped. Ripe berries give the deepest flavor once the water cooks off.
- 1 tablespoon lemon juice. A little acid keeps the fruit taste bright instead of flat.
For the cake:
- 2 cups (250 g) all purpose flour
- 1 1/2 teaspoons baking powder. It gives the layers their lift.
- 1/2 teaspoon baking soda. It reacts with the acid in the fruit and softens the crumb.
- 3/4 teaspoon fine salt
- 3/4 cup (170 g) unsalted butter, softened
- 1 cup (200 g) granulated sugar
- 3 large eggs, room temperature. Warm eggs blend smoothly into the butter and hold more air.
- 2 teaspoons alcohol free vanilla extract. It adds a clean vanilla note that does not compete with the berries.
- 1/2 cup (120 ml) whole milk, room temperature
- 3/4 cup (180 g) cooled strawberry reduction
For the strawberry buttercream:
- 1 cup (225 g) unsalted butter, softened
- 3 1/2 cups (420 g) powdered sugar, sifted
- 1/4 cup (60 g) cooled strawberry reduction
- 1 teaspoon alcohol free vanilla extract
- Pinch of fine salt
- 1 to 2 tablespoons heavy cream, only if the frosting feels too stiff
For decorating:
- 8 to 10 fresh whole strawberries, halved
Substitution notes: Buttermilk can replace the whole milk if you like a slightly tangier crumb. Frozen berries work in place of fresh. Thaw them, drain the liquid, and weigh out 600 g before blending.
Quick Tip: Weigh your flour instead of scooping it. A cup scooped straight from the bag can weigh 20 percent more than a spooned and leveled cup, and that gap is enough to dry out the cake.
Recipe Timing
Plan on 50 minutes of hands on work, and much of that is the reduction simmering while you prep everything else. The layers bake for 30 minutes. After that they need 75 minutes to cool before frosting, and that window is the right time to whip up the buttercream. From first berry to final slice, you are looking at 2 hours 35 minutes.
Read Also:
Allergen & Dietary Disclosure
This strawberry cake contains dairy (butter, milk, heavy cream), eggs, and gluten (all purpose flour).
- Dairy: Use a firm plant based baking butter and an equal amount of oat or soy milk.
- Eggs: A flax egg (1 tablespoon ground flax mixed with 3 tablespoons water, per egg) works, though the crumb turns denser.
- Gluten: Use a one to one gluten free baking blend that lists xanthan gum on the label.
If anyone at your table has a severe allergy, read every label, since brands change formulas, and keep tools and surfaces separate. This recipe is not guaranteed safe for any specific allergy.
Equipment Needed
- Two 8 inch round cake pans: Pans with straight sides give you even layers that stack neatly.
- Kitchen scale: It is the easiest way to get the flour and the reduction right.
- Hand mixer or stand mixer: Creaming the butter by hand takes a long time and rarely gets the batter fluffy enough.
- Wire cooling rack: Air under the layers stops steam from making the bottoms damp.
- Offset spatula: It spreads frosting in smooth, even strokes without dragging crumbs.
- Medium saucepan with a wide base: More surface area means the reduction thickens faster.
Preparation
Pull the butter, eggs, and milk out of the fridge an hour ahead. Slide an oven rack to the middle and heat the oven to 350°F (175°C). Brush two 8 inch pans with softened butter, press a parchment round into each base, and dust the sides with flour. Rinse the berries, pat them dry, and hull them. Measure everything into small bowls before you start so the mixing steps move without pauses.
Step by Step Instructions
Step 1: Cook Down the Berries
Blend the chopped strawberries and lemon juice until smooth. Pour the puree into the saucepan and simmer over medium heat for 20 to 25 minutes, stirring often. It is ready when you have about 1 cup (240 g) and a spatula leaves a clear trail along the pan bottom. Cool it fully.
Chef’s Note: Raw puree carries a lot of water, and extra water makes layers gummy. Cooking it down concentrates the sugar and flavor while keeping the batter balanced.
Step 2: Mix the Dry Ingredients
Put the flour, baking powder, baking soda, and salt into a medium bowl and whisk for about 30 seconds. The mixture should look even in color with no visible clumps.
Step 3: Cream the Butter and Sugar
Beat the 170 g of butter with the granulated sugar on medium high speed for 3 minutes. It should turn pale and fluffy, noticeably lighter than when you started. Scrape the bowl once halfway through.
Chef’s Note: Beating butter with sugar pushes tiny air pockets into the fat. Those pockets expand in the oven and give the cake a tender, even crumb.
[AI IMAGE PROMPT: A silicone spatula drags a trail through thick red strawberry reduction in a white enameled saucepan, glossy deep crimson puree with tiny seeds visible, steam rising, white marble surface, warm kitchen light, 45 degree food photography angle, a few chopped berries nearby.] [IMAGE PLACEHOLDER | alt-text: “Thick strawberry reduction simmering in a white saucepan with a spatula trail” | filename: “strawberry-cake-berry-reduction.jpg” | orientation: horizontal]
Step 4: Add the Eggs and Vanilla
Add the eggs one at a time, mixing for 30 seconds after each. Stir in the vanilla last. The batter should look smooth and glossy, not curdled or split. Eggs are raw at this stage, so wash your hands and tools afterward and skip tasting the raw batter.
Chef’s Note: Room temperature eggs blend into the butter without breaking the mixture. Cold eggs can make it look grainy and leave you with a heavier cake.
Step 5: Alternate the Dry and Wet Mixtures
Stir the milk into 3/4 cup of the cooled reduction. With the mixer on low, add the dry mixture in three portions and the milk mixture in two, beginning and ending with dry. Stop the moment the last streak of flour disappears, then divide the batter between the pans and smooth the tops.
Chef’s Note: Every extra second of mixing builds gluten, and gluten makes cake tough. Alternating the additions also keeps the batter from separating.
[AI IMAGE PROMPT: Two round 8 inch cake pans filled with pale pink strawberry batter, smooth swirled surface, a silicone spatula resting on a white ceramic plate, white marble surface, warm kitchen light, top down flat lay angle, flecks of crimson fruit visible, creamy glossy texture.] [IMAGE PLACEHOLDER | alt-text: “Two cake pans filled with pale pink strawberry cake batter ready for the oven” | filename: “strawberry-cake-batter-in-pans.jpg” | orientation: horizontal]
Step 6: Bake and Cool the Layers
Bake for 28 to 32 minutes. The tops should spring back under a light press, and a toothpick in the center should come out with a few moist crumbs. Rest the pans on a wire rack for 15 minutes, run a knife around the edges, turn the layers out, and peel off the parchment. Then leave them on the rack for 60 more minutes until cool to the touch.
Step 7: Frost and Finish
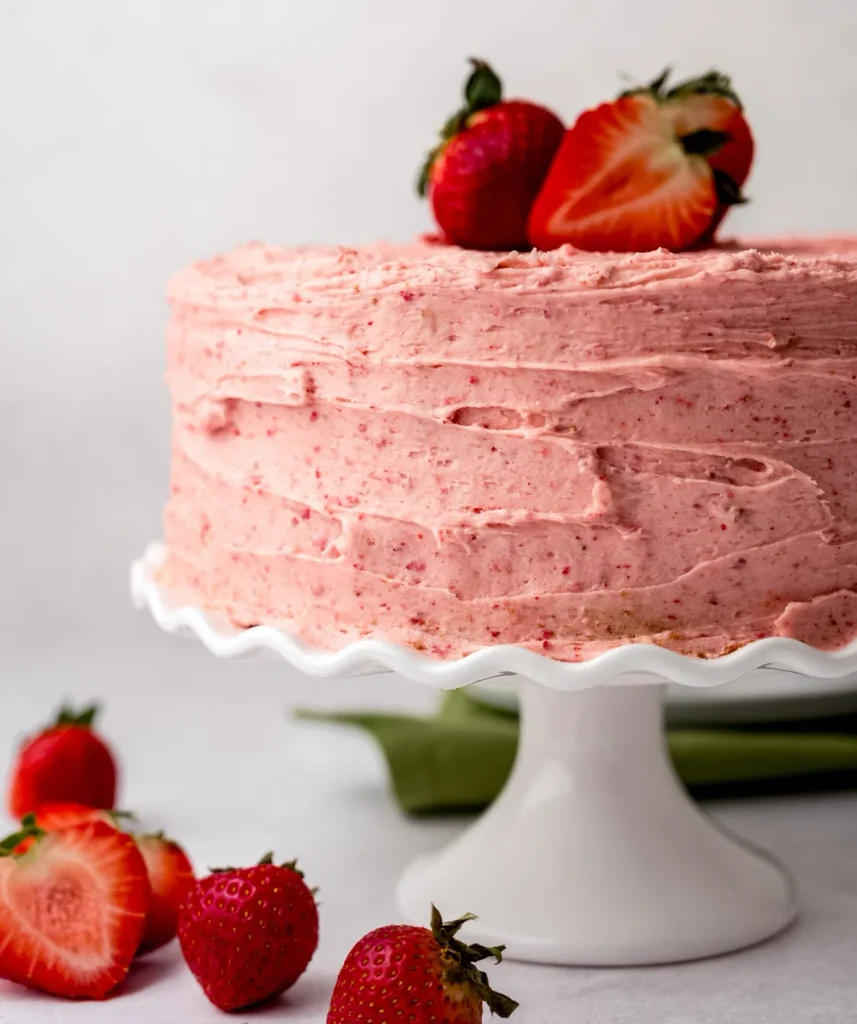
Beat the 225 g of frosting butter for 3 minutes until pale. Add the powdered sugar one cup at a time, then the 1/4 cup reduction, vanilla, and salt, and beat for 2 more minutes until fluffy (add cream if it feels stiff). Spread about 1 cup of frosting over the first layer, set the second layer on top, cover the cake, and crown it with the halved berries.
Chef’s Note: Warm layers melt buttercream into a slick mess. Touch the center of each layer before frosting, and wait if you feel any warmth.
[AI IMAGE PROMPT: Close up of strawberry buttercream spread with an offset spatula across a pale pink cake layer, glossy ridges, fresh sliced strawberries on the frosting, white ceramic cake stand, white marble surface, soft natural daylight, 45 degree food photography angle, creamy texture.] [IMAGE PLACEHOLDER | alt-text: “Offset spatula spreading strawberry buttercream over a pink cake layer on a white cake stand” | filename: “strawberry-cake-frosting-layer.jpg” | orientation: horizontal]
Read Also:
Expert Tips & Tricks
- A mistake I made early on: I once folded raw puree straight into the batter to save time. The layers sank in the middle and turned gummy. The reduction is not optional.
- Make the reduction ahead: Cook it up to 5 days early and keep it in a covered jar in the fridge. Bring it back to room temperature before mixing.
- Chill smart: If your kitchen is hot, refrigerate the frosted cake for 20 minutes so the buttercream firms up before slicing.
- Use a scale: Weighing the flour and the reduction is the single biggest fix for dry or soggy results.
- Cut the clock: Chop and blend the berries while the butter softens on the counter. The simmer then runs while you prep the pans and measure everything else.
- Keep the crumb moist: Press a small piece of parchment against any cut side of the cake before you refrigerate leftovers.
Quick Tip: For the cleanest slices, dip a long knife in hot water, wipe it dry, and cut with one smooth downward motion. Rinse and wipe between cuts.
Common Mistakes & Troubleshooting
| Problem | Why It Happens | How to Fix or Prevent It |
| Sunken center | Oven door opened early, or too much liquid in the batter | Wait until 25 minutes before checking, and reduce the puree to 1 cup by weight |
| Dense, tough crumb | Overmixed batter or packed flour | Stop mixing at the last streak and weigh the flour |
| Gummy layers | Raw or under reduced puree | Simmer until a spatula leaves a clear trail on the pan bottom |
| Runny frosting | Butter too warm or reduction added hot | Cool the reduction fully and chill the bowl 10 minutes before beating again |
| Weak berry flavor | Pale berries or skipped lemon juice | Use deeply red fruit and add the lemon juice before simmering |
Storage, Reheating, Freezing, Make Ahead
Room temperature: Keep the frosted cake under a cover for up to 4 hours while serving.
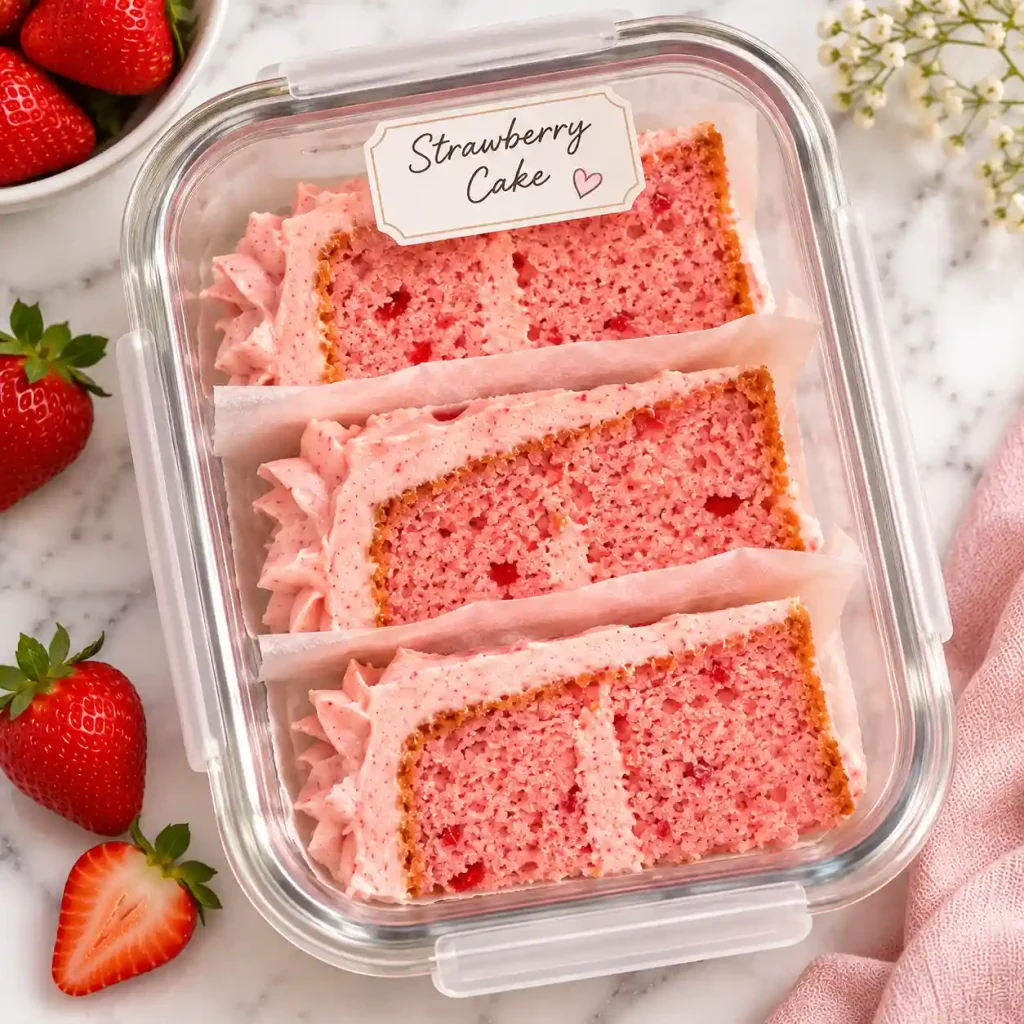
Refrigerator: Store it in an airtight container for up to 4 days. Let a slice sit for 30 minutes before eating so the butter softens and the flavor opens up.
Freezer: Wrap cooled, unfrosted layers in plastic, then foil, and freeze for up to 2 months. Thaw them overnight in the fridge. Frosted slices can be frozen on a tray for 1 hour, then wrapped, and kept for up to 1 month.
Make ahead: Bake the layers up to 2 days early and store them wrapped at room temperature. Make the buttercream up to 3 days ahead, refrigerate it, and rewhip for a minute before spreading.
Personal storage tip: I keep a few single slices frozen so there is always a dessert ready when guests drop by.
Variations & Substitutions
- Cream cheese frosting: Swap the buttercream for 8 ounces (225 g) of cream cheese beaten with 1/2 cup (115 g) butter and 2 cups (240 g) powdered sugar for a tangier finish.
- Strawberry lemon: Add 1 tablespoon of lemon zest to the sugar before creaming for a brighter, fresher taste.
- Cupcakes: Fill liners two thirds full and bake for 18 to 20 minutes. The batter makes about 16 to 18.
- Gluten free: Use a one to one gluten free flour blend and bake the same time, checking at 26 minutes.
- Dairy free: Replace the butter and milk with plant based versions in equal amounts.
- Less sweet: Cut the powdered sugar to 3 cups (360 g) for a lighter, softer frosting.
Serving Suggestions
- Vanilla ice cream: A cold scoop beside a slice balances the sweet frosting. [INTERNAL LINK: homemade vanilla ice cream recipe]
- Fresh whipped cream: Spoon a soft cloud over each plate for a lighter finish. [INTERNAL LINK: stabilized whipped cream recipe]
- Fresh mint and berries: A few extra strawberries and a mint leaf make each plate look bakery ready.
- Chocolate drizzle: A thin line of melted dark chocolate adds a bittersweet contrast.
- Hot tea or coffee: The fruit and cream pair well with a strong black tea or a milky coffee.
- Pair with another cake: Serve alongside a classic vanilla cake at birthdays so guests can choose. [INTERNAL LINK: vanilla layer cake recipe]
Nutrition Information
Serving size: 1 slice (1/12 of the cake, with frosting) | Servings per recipe: 12
| Nutrient | Amount |
| Calories | 550 kcal |
| Protein | 4 g |
| Carbohydrates | 71 g |
| Fiber | 1 g |
| Sugar | 54 g |
| Fat | 28 g |
| Saturated Fat | 17 g |
| Cholesterol | 117 mg |
| Sodium | 310 mg |
The berries add small amounts of vitamin C and manganese, and the milk and butter contribute some calcium. These values are estimates and can shift depending on the brands you buy and how you measure.
Why This Recipe Works
The reduction is the key to this strawberry cake. Fresh berries are mostly water, and water in cake batter leads to dense, wet layers. Simmering the puree evaporates much of that water and leaves behind concentrated sugar and fruit flavor, so you get strong taste without upsetting the balance between liquid and flour.
Creaming the butter and sugar builds the structure. Sugar crystals cut small air pockets into the butter, and those pockets expand when the batter heats up. Adding the dry and wet ingredients in alternating portions keeps the batter stable and limits gluten development, which protects the soft crumb.
The fruit also helps chemically. Strawberries are mildly acidic, and that acid reacts with the baking soda to give extra lift and a gentle browning on the crust. The baking powder handles the rest of the rise, which is why the layers come out tall and even.
Read Also:
Frequently Asked Questions
FAQ Source Note: These questions reflect typical question patterns people ask about strawberry cake, based on common People Also Ask style topics. They were not pulled from live search.
Can I make strawberry cake ahead of time?
Yes. Bake the layers up to two days early, cool them fully, and wrap each one tightly in plastic. Keep them at room temperature. You can also cook the berry reduction up to five days ahead and refrigerate it. Make the buttercream the day you assemble, or whip it up to three days early and rewhip it briefly before spreading. Frosted, the strawberry cake keeps four days in the fridge.
Why did my strawberry cake turn out dense or gummy?
Gummy layers usually come from too much liquid, which happens when raw puree goes into the batter. Cooking the berries down to 1 cup removes that extra water. A dense crumb has other causes: cold ingredients that did not blend, flour packed into the cup, or batter mixed past the point where the flour disappears. Weigh the flour, use room temperature eggs and milk, and stop mixing at the last streak.
Can I use frozen strawberries in this recipe?
Yes, and they work well in the colder months. Thaw 600 g of berries completely, pour off the juice that collects, then blend and simmer as written. Frozen fruit can still carry extra water, so expect the reduction to take a few extra minutes to reach 1 cup. Check by weight, not by time. The finished strawberry cake tastes almost the same as the fresh fruit version.
How do I know the cake layers are done?
Look for three signs. The tops should spring back when you press lightly, the edges should begin pulling away from the pan, and a toothpick pushed into the center should come out with a few moist crumbs. Wet batter on the pick means more time. Start checking at 28 minutes, since ovens run hot or cool by 25 degrees or more. A bone dry pick means the cake is close to overbaked.
Can I make this strawberry cake dairy free or egg free?
Dairy free works well. Swap the butter for a firm plant based baking butter and the milk for oat or soy milk, using equal amounts. Eggs are harder because they give structure. A flax egg or applesauce version bakes, but the crumb turns denser and the layers may dome less. If someone has a severe allergy, check every label and keep tools separate, because cross contact can still cause a reaction.
Can I bake this in a 9 by 13 pan?
Yes. Grease a 9 by 13 inch pan, pour in all the batter, and bake at 350°F for 33 to 38 minutes, using the same doneness checks. Cool completely in the pan. You will have enough buttercream to cover the top with a thick layer, and a sheet version slices neatly for parties. Cut with a hot, wiped knife for clean edges.
Conclusion
A good strawberry cake does not need dye, a boxed mix, or a long list of tricks. It needs ripe berries, a little patience at the stove, and a gentle hand when the flour goes in. Once you taste real fruit in both the crumb and the frosting, the shortcut versions stop being tempting.
I bake this one most often when berries are at their best, and it rarely lasts past the second day in my house. Make the reduction first, trust the visual cues, and let the layers cool all the way before frosting. Those three habits matter more than anything else on this page.
If you loved this recipe, save it to your strawberry cake Pinterest board so you can find it easily later!
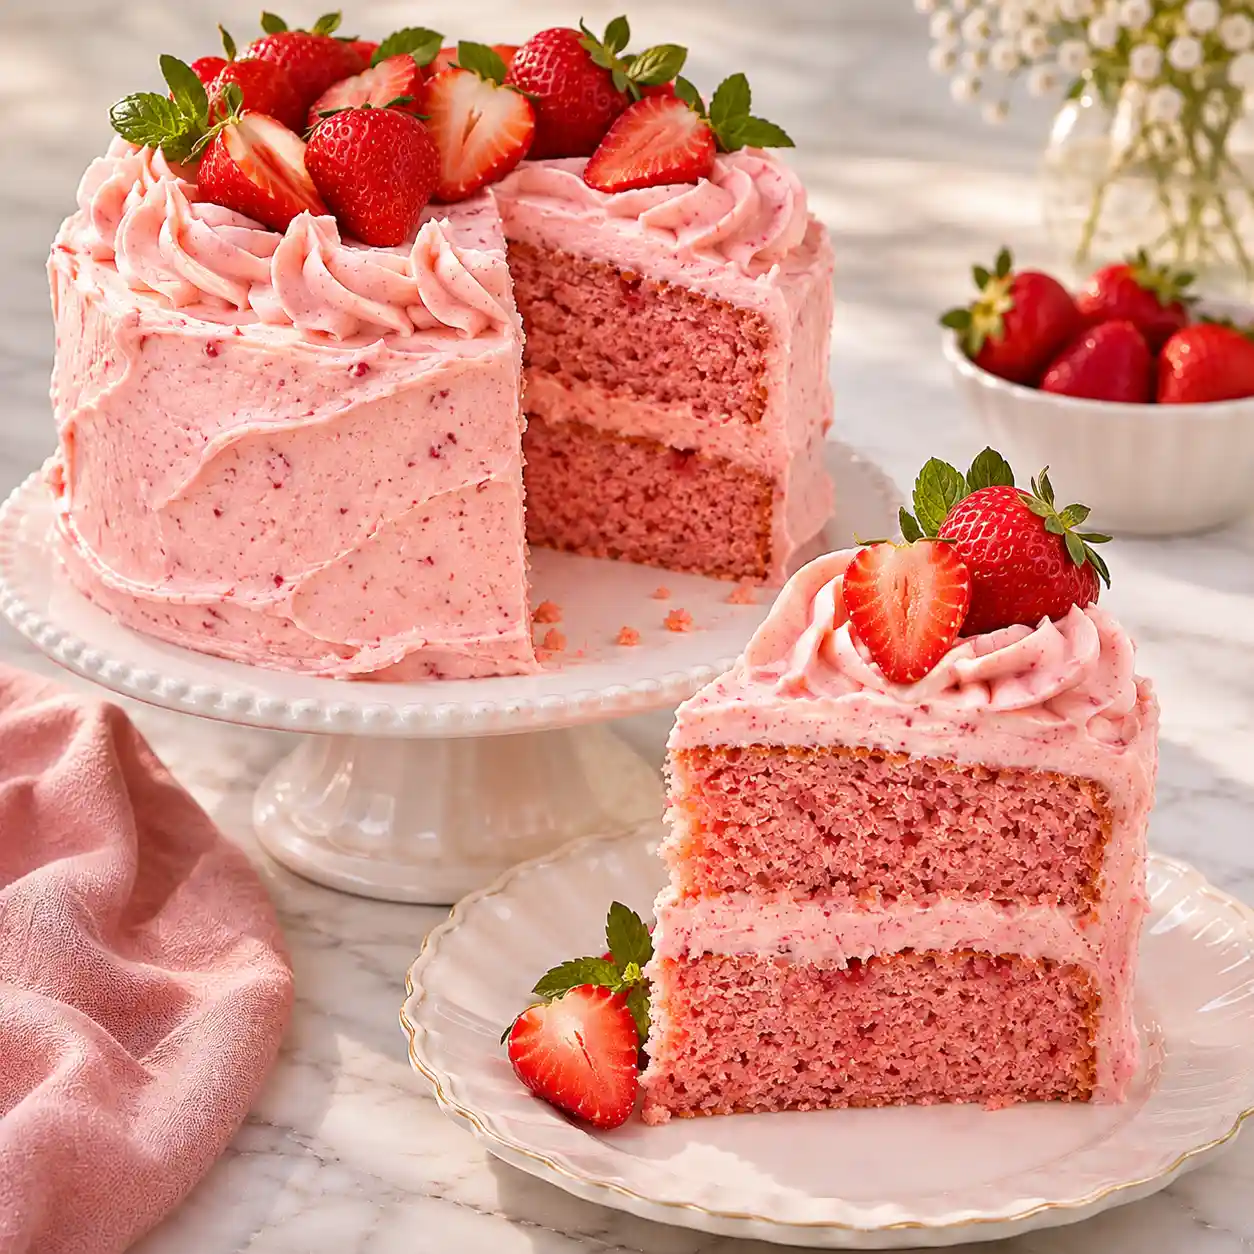
Strawberry Cake
Ingredients
Method
- Instructions:
- Heat the oven to 350°F (175°C). Butter two 8 inch pans, fit parchment into the bottoms, and flour the sides.
- Puree the strawberries with the lemon juice. Simmer in a saucepan over medium heat for 20 to 25 minutes, stirring often, until you have 1 cup (240 g) of thick puree. Let it cool completely.
- Whisk the flour, baking powder, baking soda, and salt together in a medium bowl for 30 seconds.
- Cream 170 g butter and the sugar for 3 minutes on medium high until light and fluffy.
- Mix in the eggs one by one, then the vanilla, until the batter looks smooth and glossy. Do not taste the raw batter.
- Stir the milk into 3/4 cup of the cooled puree. Fold in the flour mixture in three parts and the milk mixture in two, starting and ending with flour, until just combined.
- Split the batter between the pans and level the tops. Bake for 28 to 32 minutes, until the tops spring back and a toothpick shows a few moist crumbs.
- Cool in the pans for 15 minutes, turn out onto a rack, and cool another 60 minutes.
- Beat 225 g butter for 3 minutes. Add the powdered sugar gradually, then the remaining puree, vanilla, and salt. Beat 2 minutes, adding cream if too stiff.
- Sandwich the layers with frosting, coat the top and sides, and decorate with halved strawberries.
Notes
- Weigh the flour and the finished puree for the most reliable result.
- Store the frosted cake in an airtight container in the fridge for up to 4 days and bring slices to room temperature before serving.
- Unfrosted layers freeze for up to 2 months when wrapped in plastic and foil.
- Frozen strawberries can replace fresh once thawed and drained.